
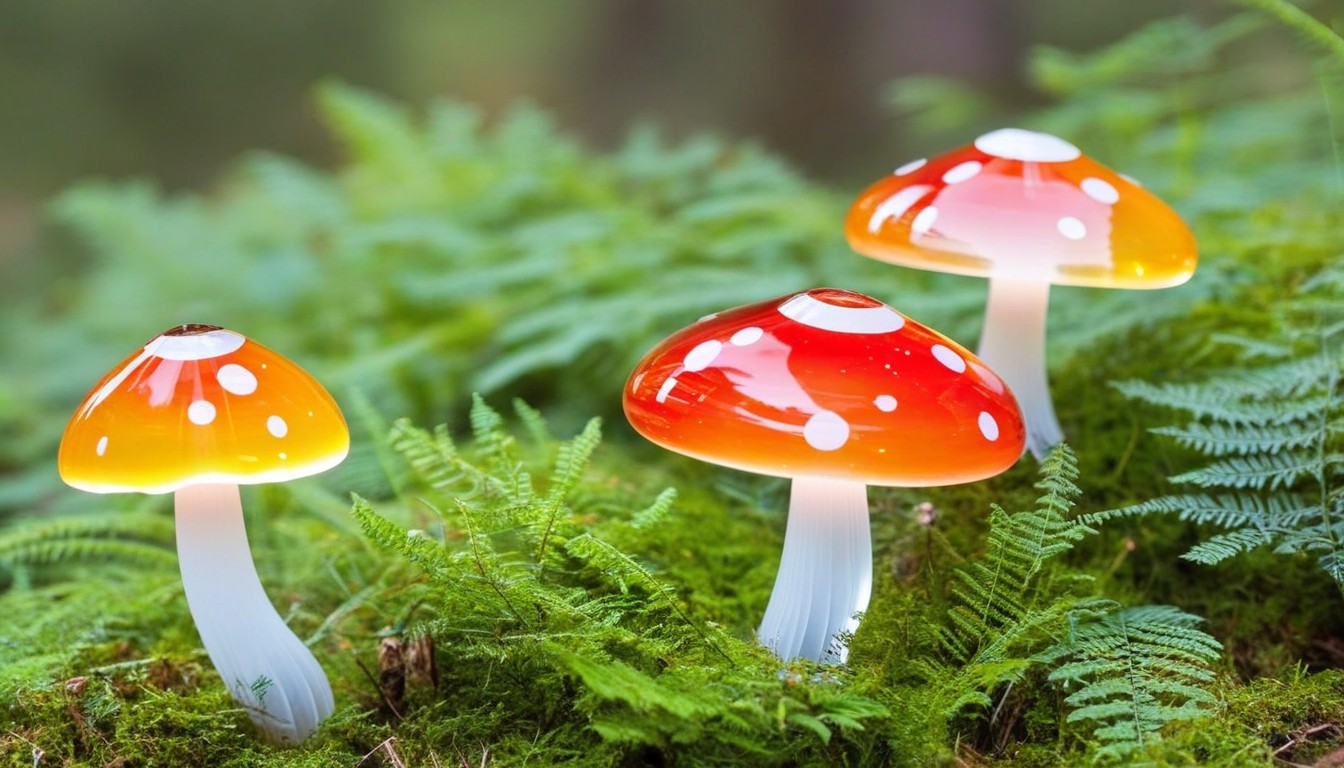
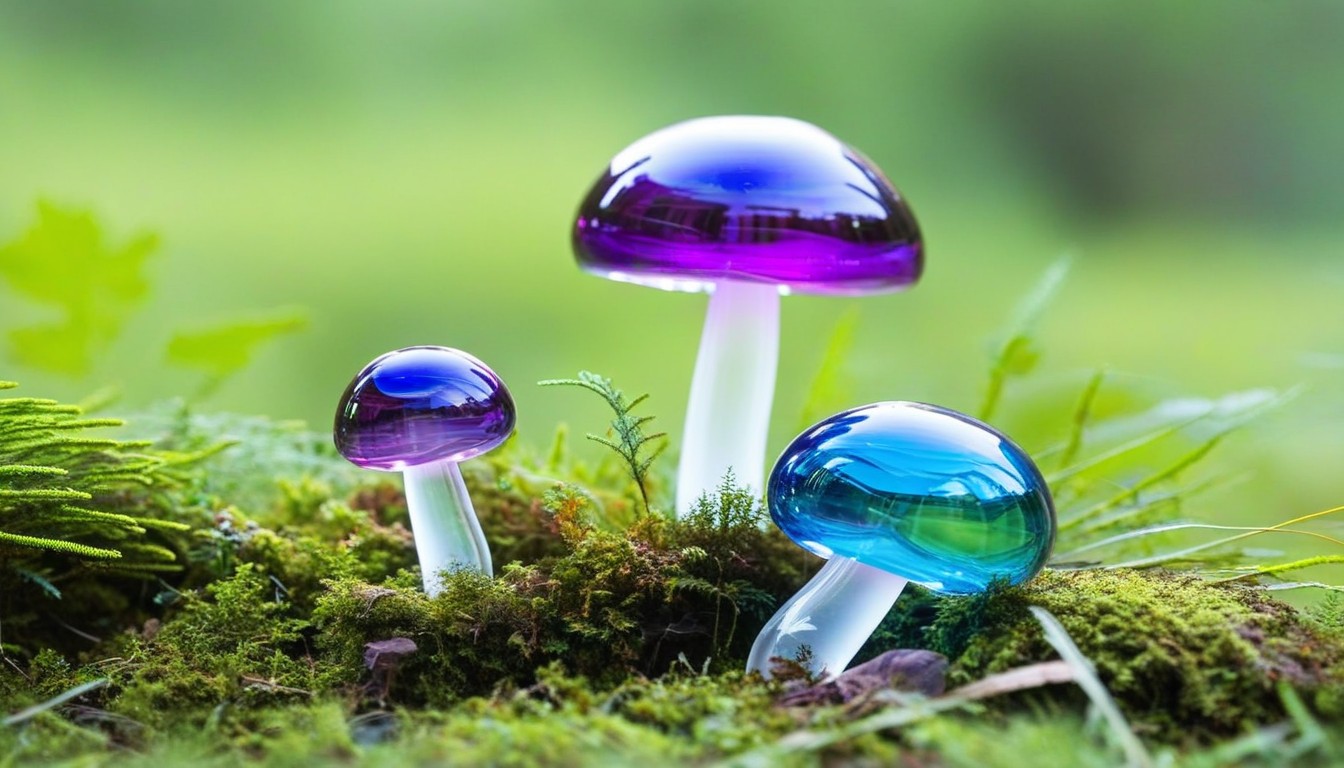
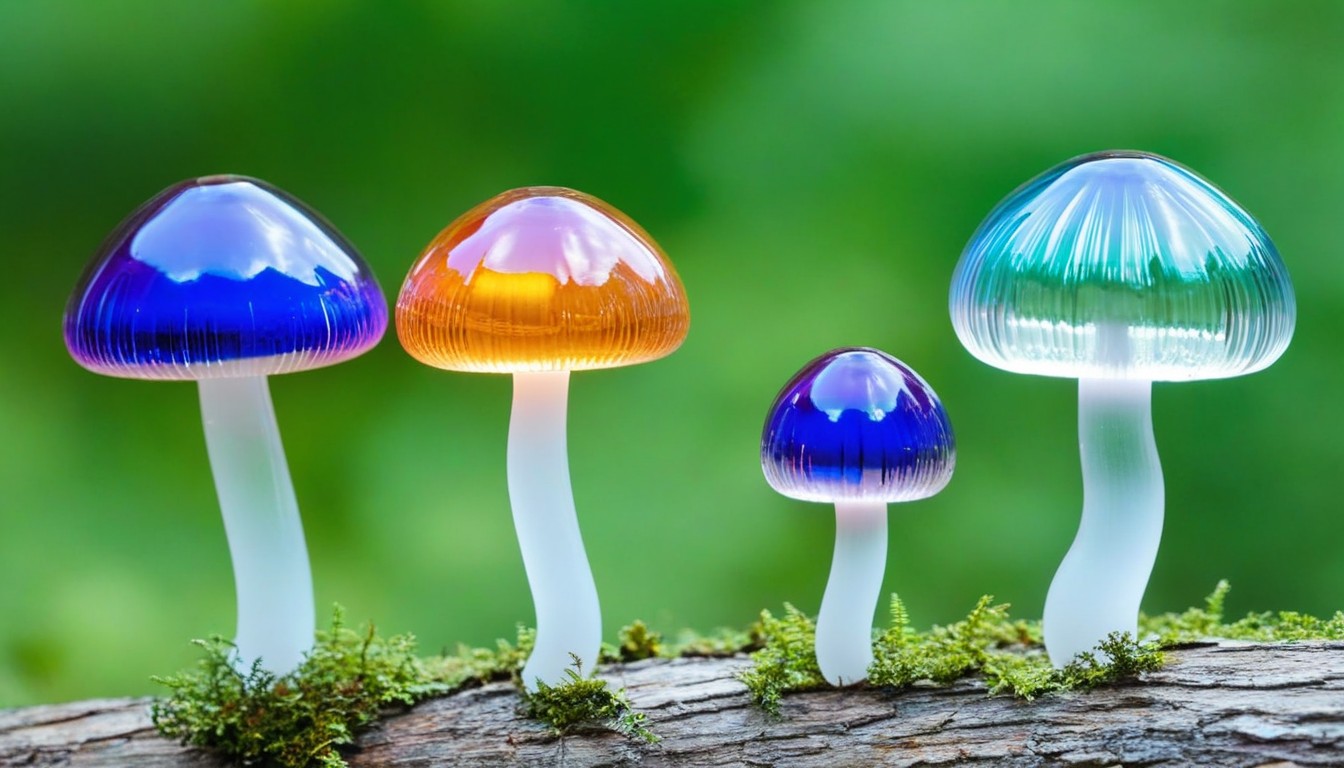
A garden is a place where you can relax and enjoy the beauty of nature. To add a touch of enchantment to your outdoor space, we bring you a DIY project that will transform your garden into a magical wonderland. Learn how to create stunning and whimsical DIY Glass Mushrooms to spruce up your garden decor. The process of creating these charming garden decorations is easy and enjoyable.
Key Takeaways:
- Learn how to create enchanting DIY Glass Mushrooms for your garden.
- Add a touch of whimsy and enchantment to your garden decor.
- Discover the best practices for assembling and painting these delightful garden decorations.
- With proper sealing and waterproofing, your glass mushrooms can withstand outdoor elements.
- Place your glass mushrooms strategically in your garden to create a captivating visual display.
Gather Your Materials
Creating your own DIY Glass Mushrooms is easy with the right materials and craft supplies. Before you start your project, make sure you have the following items:
|
Materials |
Craft Supplies |
|---|---|
|
Glass bowls or plates |
Glass cutter |
|
Glass votives or vases |
Gloves |
|
Glass beads or gems |
Safety glasses |
|
Glass paint or markers |
Paintbrushes |
|
Epoxy glue or silicone adhesive |
Q-tips or cotton swabs |
|
Sandpaper |
Protective spray sealant |
|
Clear silicone caulk |
Make sure you have all of these items before beginning your project to create enchanting DIY Glass Mushrooms for your garden. Happy crafting!
Choose Your Glass
When it comes to creating DIY Glass Mushrooms for your garden, choosing the right type of glass is crucial to achieve your desired look and feel.
Here are some common types of glass that you can consider:
|
Glass Type |
Description |
|---|---|
|
Stained Glass |
A colorful option that adds a vibrant touch to your garden. |
|
Mirrored Glass |
Reflective and shimmery, perfect for adding a touch of glamor. |
|
Clear Glass |
A classic option that can be painted or decorated to your liking. |
|
Frosted Glass |
A great option for creating a delicate and elegant look. |
Consider the lighting in your garden as well as the overall theme and colors used in your outdoor space when choosing your glass.
With the right glass selection, your DIY Glass Mushrooms will be sure to add a magical touch to your garden decor.
Prepare Your Workspace
Before starting your DIY Glass Mushroom project, it’s essential to create a clean and organized workspace. Here are some valuable tips to prepare your creative space:
- Clean your workspace: Clearing your workspace of dust, dirt, and debris ensures you have a hygienic and dust-free area to work in.
- Organize your tools and materials: Arrange all the necessary tools and materials in an ergonomic and functional layout for easy access.
- Wear protective gear: Working with glass can be dangerous, so wear safety gloves, goggles, and protective clothing to minimize the risk of injury.
- Create ample lighting: Ensure you have enough lighting to see and work on details properly.
By following these workspace preparation tips, you can create an ideal environment that helps you complete your DIY Glass Mushroom project with ease.
Cutting and Shaping Glass
Before you begin cutting and shaping the glass for your DIY Glass Mushrooms, it is important to have the right tools and techniques. Safety should always be your top priority. Make sure to wear safety glasses and gloves to protect yourself from injury. Here are the steps to follow:
- Measure and mark: Use a ruler or measuring tape to mark the dimensions of the glass you need for each part of the mushroom. Use a glass marker to draw the lines clearly and accurately.
- Score the glass: Use a glass cutter to score the glass along the marked lines. Apply firm, even pressure while cutting to ensure the score is deep enough to snap the glass.
- Break the glass: Gently bend the glass along the scored line and apply pressure to the underside of the glass to snap it apart.
- Smooth the edges: Use a glass grinder or sandpaper to smooth the edges of the glass pieces. This will help ensure a precise fit when assembling the mushroom.
When shaping the glass, use caution and patience to create the desired shape. Remember to use gentle pressure and take it slow to prevent cracking or breaking the glass.
Assembling the Glass Mushrooms

Now that you have all the necessary materials and have selected your glass, it’s time to assemble your DIY Glass Mushrooms. Follow our step-by-step guide below to create these enchanting garden ornaments:
- Start by preparing your workspace, making sure it’s clean and safe to work on.
- Begin cutting and shaping the glass according to the patterns you’ve selected, using our guide for reference.
- Organize the cut glass pieces by size and shape to make the assembly process smoother.
- Begin building the mushroom stem first, gluing each glass piece together to form a sturdy base.
- Next, move onto the mushroom cap, following the same gluing process to create the perfect dome shape.
- Once the stem and cap are complete, attach them together, ensuring a secure connection.
- After the glue has dried, it’s time to paint and decorate your glass mushrooms to your liking.
- Finally, seal and waterproof your glass mushrooms to protect them from the outdoor elements.
- Place your stunning DIY Glass Mushrooms in your garden and enjoy the magical touch they bring to your outdoor space!
Assembling DIY Glass Mushrooms requires patience and attention to detail, so take your time and enjoy the crafting process. The end result will be worth it!
Painting and Decorating
Now that your DIY Glass Mushrooms are assembled, it’s time to make them truly unique by painting and decorating them. Start by selecting your desired colors and designs. You can use acrylic paint, glass paint, or spray paint to achieve the look you want.
For a whimsical touch, consider painting polka dots or stripes on your mushrooms. You can also use stencils to create intricate patterns. To add sparkle, apply glitter to the stem or cap of your mushrooms.
If you prefer a more natural look, try tinting your glass with food coloring or adding texture with sandpaper or adhesive dots. You can also embellish your mushrooms with beads, jewels, or other small decorations.
Tips for Painting Glass Mushrooms:
- Use multiple coats of paint for the best coverage
- Allow each layer to dry completely before adding another
- Use a clear coat to seal your design when finished
- Avoid painting over the edges of your glass to prevent flaking
Get creative and experiment with different techniques to make your DIY Glass Mushrooms truly stand out in your garden.
Sealing and Waterproofing
Once you have finished creating your DIY Glass Mushrooms, it’s important to take necessary steps to ensure they are protected from outdoor elements, such as rain and sun. The best way to do so is by properly sealing and waterproofing each piece.
Start by selecting a high-quality sealing glass, which is specially designed to bond to glass surfaces. Apply a generous amount of the sealing glass around the edges of your mushroom, making sure to cover any gaps or openings. Smooth out the silicone with your finger or a tool to ensure a tight seal.
Next, let the sealing glass dry completely, following the manufacturer’s instructions regarding curing time.
After the sealing glass has fully cured, it’s time to waterproof your glass mushroom. For this step, you can use a waterproofing spray or coating. Spray a light, even layer of the product onto the glass surface of your mushroom, taking care to apply it to all areas of the glass. Allow the waterproofing spray or coating to dry completely before placing your glass mushroom outside.
It’s important to note that while properly sealing and waterproofing your glass mushrooms can help protect them from the elements, they may still require regular maintenance to keep them looking their best. Avoid using abrasive cleaners or cloths, as these can scratch or damage the glass surface. Instead, gently wipe the surface clean with a soft cloth or sponge.
Placing the Glass Mushrooms in Your Garden
Now comes the fun part! Placing your DIY Glass Mushrooms strategically in your garden can make all the difference in creating a captivating visual display. Consider placing them near colorful flowers, beside a pathway, or in a cozy corner. Don’t be afraid to experiment and try different arrangements until you find the perfect spot.
When placing your glass mushrooms, keep in mind the size and color of the surrounding elements. You want them to complement the existing garden decor rather than clash with it. Utilize different heights and groupings to add depth and dimension to your display.
Don’t forget that glass can break, so be careful when moving and placing your DIY Glass Mushrooms.
Maintaining and Repairing Your Glass Mushrooms
Now that your DIY Glass Mushrooms are a beautiful addition to your garden, it’s essential to take care of them to keep them in top condition. Follow these helpful tips to ensure your glass mushrooms shine brightly for years to come.
Maintenance Tips
To keep your glass mushrooms looking their best, it’s essential to clean them regularly. Use a mild soap and water to gently wipe away any dirt or debris that may accumulate. Avoid using harsh chemicals or abrasive materials that could scratch or damage the glass.
Also, be mindful of the weather conditions. If you live in an area with harsh winters, it’s best to store your glass mushrooms indoors during this time. This will protect them from severe cold weather, freezing rain, and strong winds which can damage the glass and cause cracks.
Repairing Your Glass Mushrooms
If your glass mushrooms become damaged due to weather conditions or other factors, do not fret! You can still repair them with a little effort and patience. First, assess the damage. If there’s a small crack or chip, use clear epoxy or glue to fix it. For more severe damage, it may be best to reach out to a professional glass repair service.
|
Damage Type |
Repair Method |
|---|---|
|
Small crack or chip |
Use clear epoxy or glue to fix it. |
|
Severe damage |
Reach out to a professional glass repair service. |
By following these simple maintenance and repair tips, you can keep your DIY Glass Mushrooms looking as beautiful as the day you made them. With a little care and attention, your glass mushrooms can be a stunning and enduring addition to your garden decor.
Conclusion
We hope this guide has inspired you to create DIY Glass Mushrooms for your garden. These charming decorations can add a touch of whimsy and enchantment to any outdoor space. Remember to gather all the necessary materials, prepare your workspace, and follow our step-by-step guide to ensure your success in crafting these delightful garden ornaments.
Don’t forget to choose the perfect glass type for your mushrooms, paint and decorate them to make them truly unique, and seal them properly to withstand outdoor elements. Once they’re in your garden, enjoy the beauty and charm they bring to your life. And if any repairs are needed, we’ve provided helpful tips to ensure your glass mushrooms always look their best.
Happy crafting!
FAQ
How long does it take to create DIY Glass Mushrooms?
The time it takes to create DIY Glass Mushrooms depends on your skill level and the complexity of the design. On average, it can take anywhere from a few hours to a full day.
Where can I find the materials and craft supplies needed for DIY Glass Mushrooms?
You can find the materials and craft supplies needed for DIY Glass Mushrooms at your local craft stores or online. Check out websites such as Amazon, Michaels, or Hobby Lobby for a wide selection of glass and craft supplies.
Can I use any type of glass for DIY Glass Mushrooms?
While you can use various types of glass for DIY Glass Mushrooms, it’s important to choose glass that is sturdy and can withstand outdoor elements. Frosted or colored glass works well for creating a whimsical effect.
What safety precautions should I take when cutting and shaping glass?
When cutting and shaping glass for DIY Glass Mushrooms, it’s crucial to wear safety goggles and gloves to protect yourself from potential injuries. Work in a well-ventilated area and use appropriate tools designed for glass cutting.
How do I seal and waterproof my DIY Glass Mushrooms?
To seal and waterproof your DIY Glass Mushrooms, use a clear outdoor sealant or varnish that is specifically designed for glass. Apply multiple coats and ensure all surfaces are adequately covered to protect the glass from moisture.
Can I repaint or redecorate my DIY Glass Mushrooms?
Yes, you can repaint or redecorate your DIY Glass Mushrooms to change their appearance or freshen up the colors. Use glass paints or outdoor acrylic paints for best results and let the paint fully dry before sealing.
How should I maintain my DIY Glass Mushrooms?
To maintain your DIY Glass Mushrooms, regularly clean them with a mild soapy solution and a soft cloth. Avoid using harsh chemicals or abrasive materials that could scratch or damage the glass.
What if my DIY Glass Mushrooms get damaged?
If your DIY Glass Mushrooms get damaged, you can repair them by replacing broken pieces or reattaching loose parts using a glass adhesive or silicone glue. Follow the manufacturer’s instructions for best results.
Can I display my DIY Glass Mushrooms indoors?
While DIY Glass Mushrooms are primarily designed for outdoor use, you can certainly display them indoors if you prefer. Just ensure they are placed in a well-lit area and away from direct sunlight to avoid any potential heat damage.