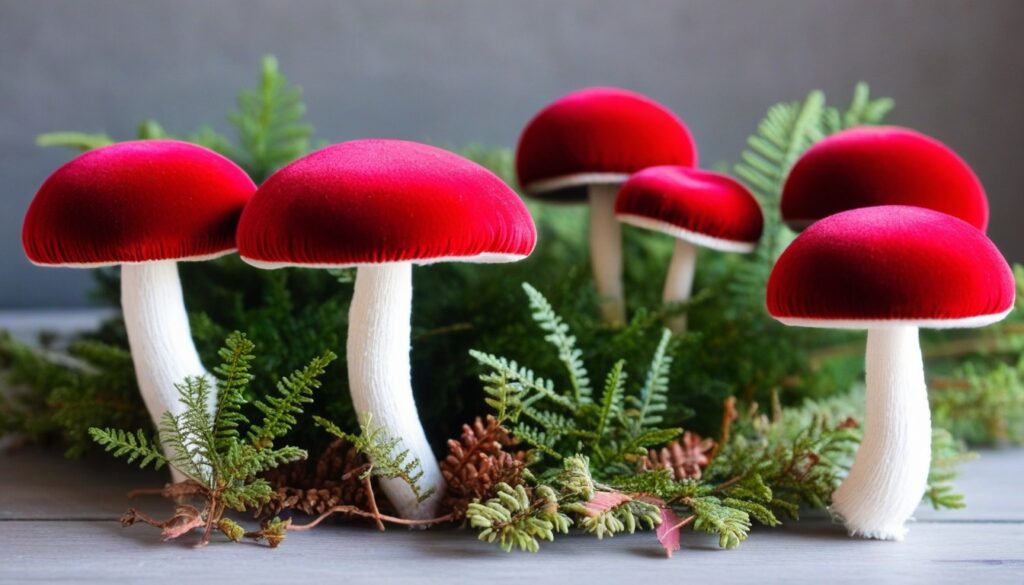
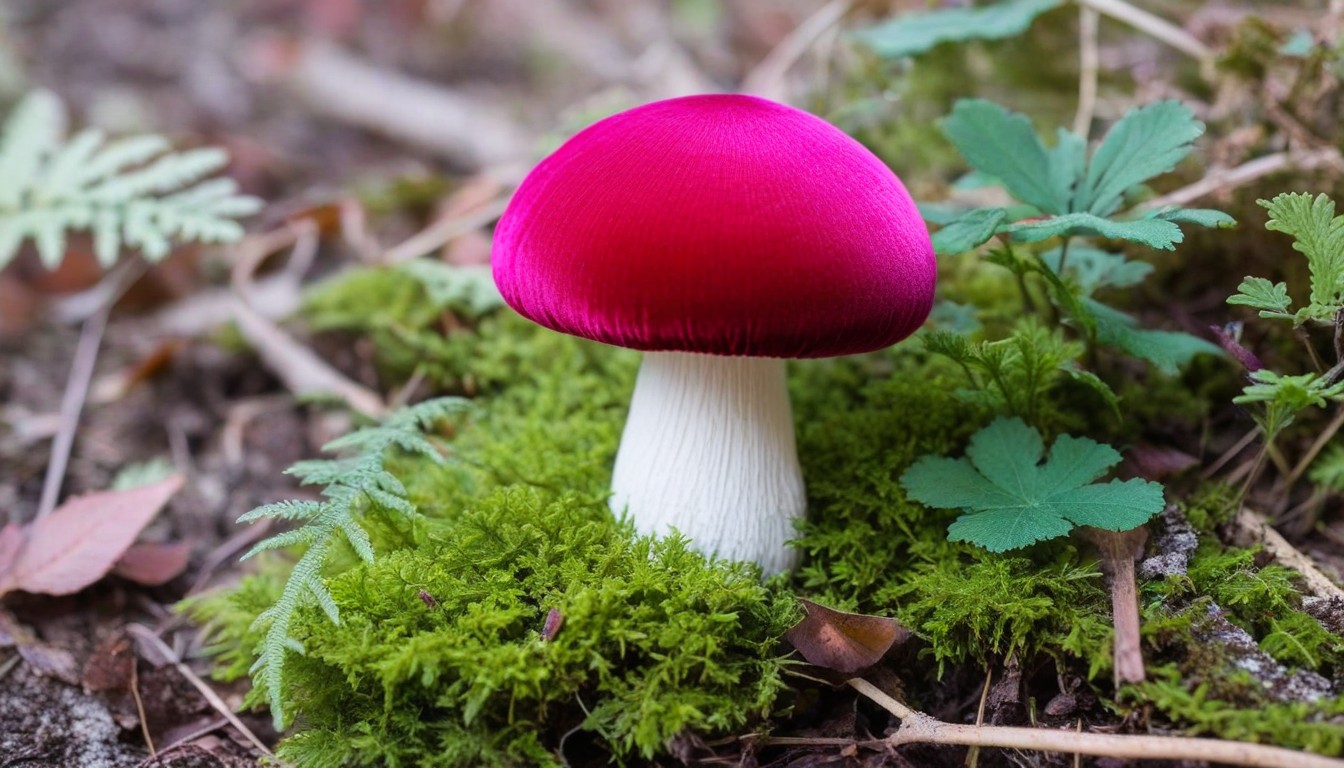
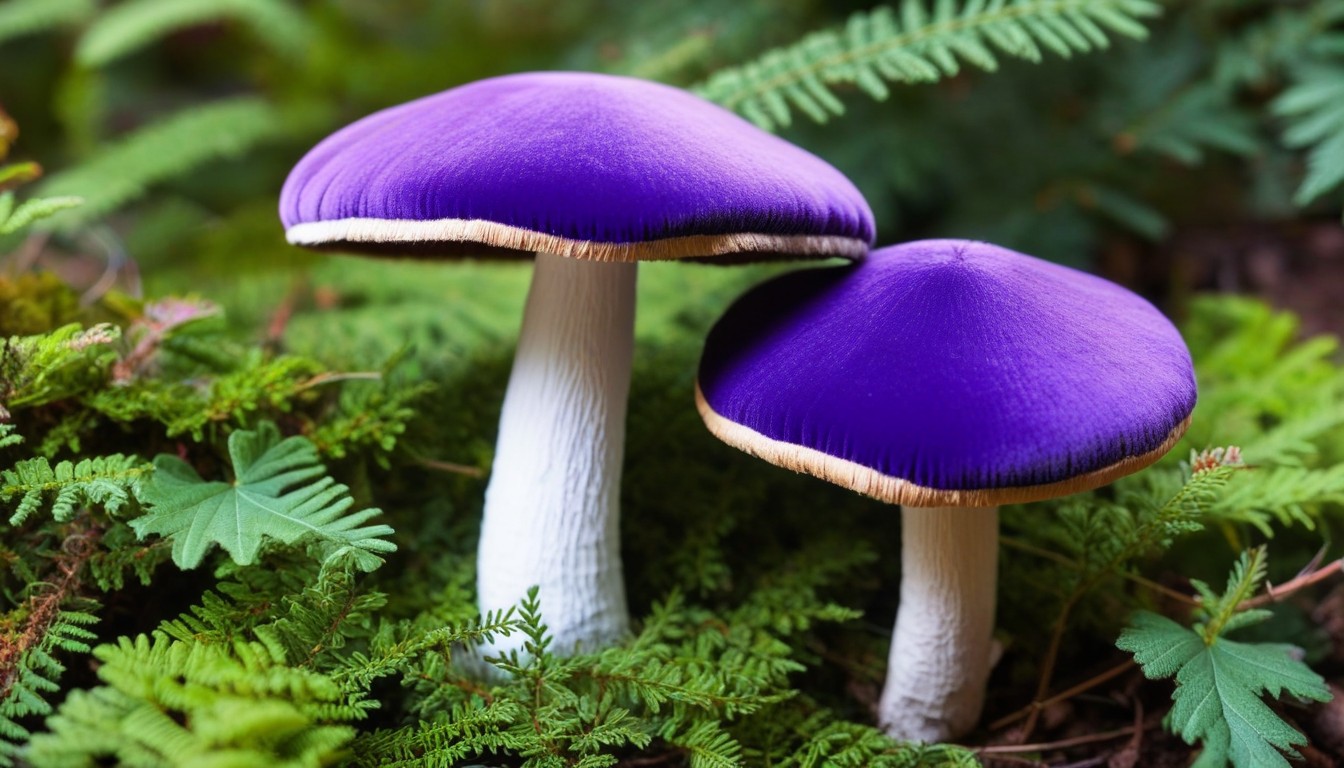
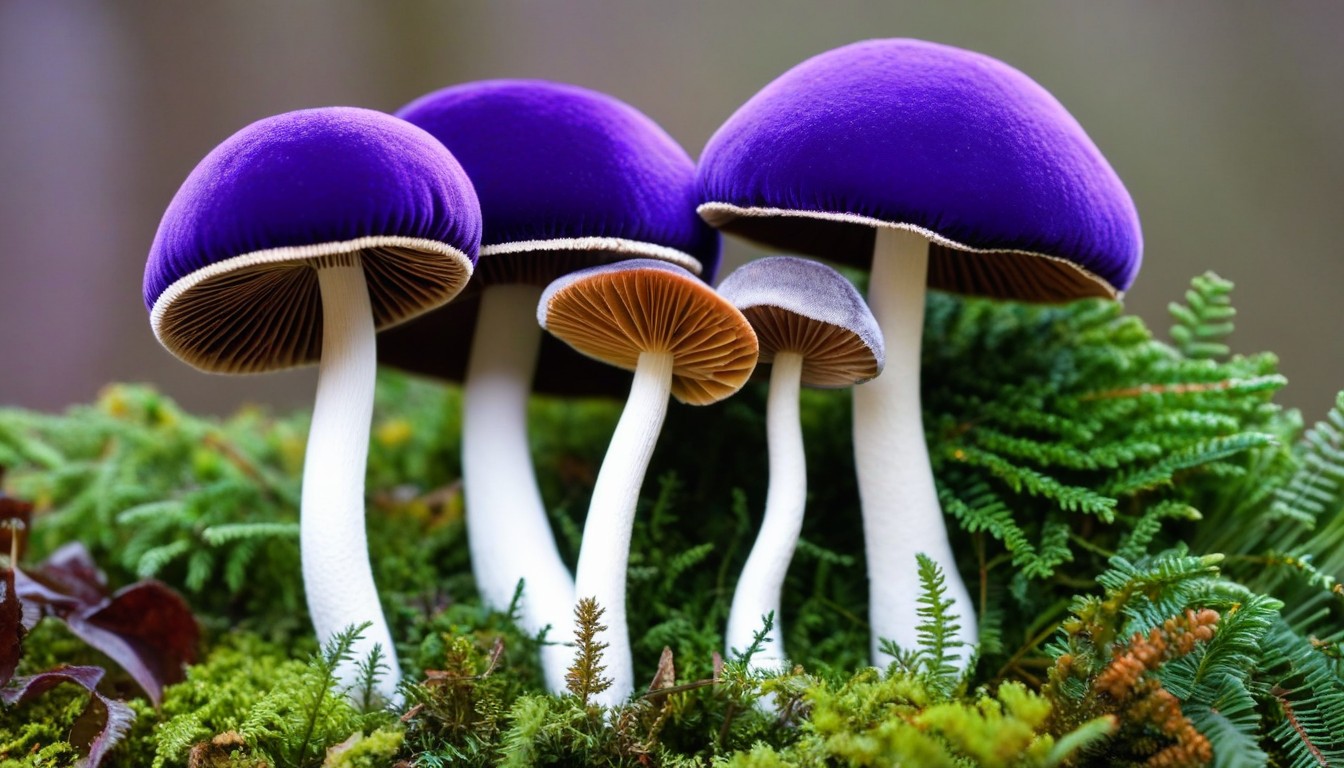
Looking for a unique and enchanting way to add a touch of whimsy and softness to your home? Look no further than our DIY Velvet Mushrooms Guide. With just a few simple materials and a little creativity, you can create handmade velvet mushrooms that are sure to captivate anyone who sees them.
Key Takeaways:
- Learn how to create enchanting decor using velvet fabric.
- Discover how to choose the right velvet fabric for your mushroom decor.
- Explore different techniques for stuffing and shaping your velvet mushrooms.
- Add unique details and embellishments to enhance the charm and whimsy of your creations.
- Get ideas for incorporating velvet mushroom crafts into your home decor or special occasions.
Materials Needed for DIY Velvet Mushrooms
Before embarking on your DIY velvet mushroom journey, ensure you have gathered all the materials required.
Materials | Quantity |
|---|---|
Variety of velvet fabrics | – |
Scissors | – |
Sewing machine / Needle and thread | – |
Stuffing material (poly-fil, cotton, beans, rice, etc.) | – |
Stem wire or wood dowels | – |
Hot glue gun | – |
Paint and brushes | – |
Embellishments (beads, sequins, etc.) | – |
Remember, the number of materials required will depend on the desired number and size of velvet mushrooms. Be sure to gather the necessary tools and materials before starting the crafting process.
Choosing the Right Velvet Fabric
Choosing the perfect velvet fabric for your mushroom decor is crucial to achieving that enchanting look you desire. Different types of velvet fabrics vary in texture, color, and durability, so it’s essential to consider these factors before making a purchase.
One of the most common types of velvet is the silk velvet, made from 100% silk pile and woven on a silk backing. Other types of velvet are made from synthetic fibers or blends, which are more affordable and practical options for crafting purposes.
Factors to Consider when Choosing Velvet Fabric
Texture: Velvet fabrics differ in texture from dense and plush to smooth and silky. For creating velvet mushrooms, it’s best to select a velvet fabric that is soft, with a plush texture, which feels and looks like real mushrooms.
Color: Choose a color that will complement the rest of your decor or add a pop of color. When selecting colors, consider a color palette that would match your interior or special occasions – soft pastels for elegant weddings, for example, or bright hues for fun and playful events.
Durability: Since velvet is a delicate fabric, it’s important to choose a durable velvet fabric for your mushroom decor. To ensure that the fabric lasts the test of time, select fabrics that are made for heavy use, for example, upholstery-grade velvet fabric as it is sturdy and abrasion-resistant.
Types of Velvet Fabrics
Type of Velvet | Description | Texture | Color Range | Durability |
|---|---|---|---|---|
Silk Velvet | 100% Silk pile | Ultra-soft | Rich jewel tones and earthy hues | Delicate and prone to wear |
Cotton Velvet | 100% Cotton Velvet | Soft and plush | Natural tones and pastels | Durable and easy to maintain |
Polyester Velvet | Polyester blended with other fibers | Silky and smooth | Wide range of hues and patterns | Durable and affordable option for crafting |
Rayon Velvet | Cellulose from wood pulp, sometimes combined with other fibers | Soft and lustrous | Rich jewel tones, earthy hues, and bright pastels | Durable and versatile option for crafting |
Choose the right velvet fabric to make your mushroom decor mesmerizing and long-lasting. Remember to consider texture, color, and durability when selecting the fabric to ensure that your velvet mushrooms stand out and add an appealing touch of whimsy to your home.
Creating Patterns and Templates
To create whimsical velvet mushrooms, it’s crucial to have consistency in their size and shape. That’s where patterns and templates come in. These easy-to-follow steps will guide you through designing and cutting your templates so you can craft with ease and precision.
Step 1: Sketch Your Pattern
Begin by sketching your mushroom pattern on paper. Consider the desired size of your mushrooms and the number you plan to make.
Step 2: Create Your Template
Using your sketch as a guide, create a template by drawing your pattern on cardboard or other sturdy materials. Cut out the pattern and trace it onto the velvet fabric.
Step 3: Cut the Fabric
Cut out the velvet fabric according to the pattern you’ve traced, using sharp scissors or a rotary cutter. Ensure to cut precisely following the shape. It’s essential to use the right measuring tools to guarantee accurate cutting.
Expert Tip: Cut multiple layers of fabric at once to save time and stimulate consistency.
Step 4: Assemble the Mushroom
Once you’ve cut out the pieces, follow instructions from Section 5 to sew them together.
Materials You Need: | Tools You Need: |
|---|---|
|
|
With these patterns and templates, you can create uniform velvet mushrooms every time – they’ll look like they were made by a pro!
Cutting and Sewing Velvet Mushrooms
Now that you have all the materials ready, it’s time to bring your velvet mushrooms to life. Proper cutting and sewing techniques are critical for achieving a consistent and professional finish to your mushrooms. Follow our step-by-step guide to create a seamless final product.
Cutting the Fabric
Start by laying out your velvet fabric on a flat surface and using your template to cut out the mushroom pieces. Depending on the size and shape of your mushrooms, you may need to cut multiple pieces of each shape. Remember that it’s always better to have extra fabric than to run out mid-project.
Use sharp fabric scissors or a rotary cutter to ensure clean edges and minimize fraying.
Sewing the Pieces Together
Once you have all your mushroom pieces cut out, it’s time to sew them together. Pin the top and bottom pieces of each mushroom together, with the right sides facing inward.
Using a sewing machine or needle and thread, sew around the edges of the mushroom pieces, leaving a small opening for turning the piece inside-out and stuffing later. Be sure to sew slowly and carefully, especially around curves and corners, to ensure that the fabric pieces align properly.
Attaching the Stems
Once you have sewn your mushroom pieces together and turned them inside out, it’s time to attach the stems. Cut a small piece of wire and bend it in half to create a loop. Insert the loop into the unsewn part of the mushroom and twist to secure it in place.
Using a needle and thread, sew the remaining opening shut, making sure to secure the wire loop in place. Your velvet mushroom is now complete!
Filling and Shaping the Velvet Mushrooms
Now that you’ve created the shape of your velvet mushrooms, it’s time to add filling materials to achieve a plush and realistic look. Here are some options to consider:
Filling Material | Characteristics |
|---|---|
Polyester fiberfill | Lightweight and fluffy, easy to shape, and hypoallergenic. |
Rice and beans | Natural and inexpensive option, but can attract bugs and mice if not used soon. |
Cotton balls | Soft and easy to shape, but not as durable or long-lasting as other options. |
Memory foam | Durable and able to hold its shape well, but more expensive than other options. |
Once you’ve chosen your filling material, it’s time to start shaping your mushrooms. Use your fingers to distribute the filling evenly throughout the fabric and mold it to your desired shape. Pay attention to the stem of the mushroom to give it the right amount of stability and support.
Remember, shaping your velvet mushrooms is a fun and creative process, so don’t be afraid to experiment until you get the perfect shape and look you’re after!
Adding Details and Embellishments
Make your velvet mushroom decor truly one-of-a-kind by adding special details and embellishments. Here are some fun and creative ways to add that extra touch of whimsy:
- Embroidery: Add tiny stitches with embroidery floss to create unique designs and patterns on your mushroom caps and stems. Choose colors that complement or contrast with your velvet fabric for added interest.
- Beads: Sew on small beads or sequins to create a beautiful, sparkling effect on your velvet mushrooms. This works especially well on mushroom stems, creating a look reminiscent of dew drops.
- Ribbons: Tie small ribbons around the stems of your velvet mushrooms for a charming finishing touch. You could also create a small bow and attach it to the top of the mushroom cap for added flair.
- Paint: Use small amounts of paint to add details like spots or stripes to your mushroom caps.
- Fabric scraps: Cut small pieces of fabric scraps and glue or sew them onto your mushroom caps and stems for a patchwork effect.
With these added touches of creativity, your velvet mushrooms will truly stand out and become a conversation starter in any room of your home!
Painting and Coloring Techniques

When it comes to velvet mushrooms, painting and coloring techniques can add depth and character to your handmade creations. Experimenting with different shades and hues will allow you to create a stunning display.
When painting velvet mushrooms, it’s essential to select appropriate paint. Acrylic paints are perfect for painting on velvet fabric as the colors are vibrant, and the paint dries without leaving any prominent texture on the velvet. There are several ways to paint the mushrooms:
- Sponging: Using a sponge is a great way to add texture and depth to your mushrooms. Dip a sponge into the paint color of your choice, tap off any excess, and use the sponge to apply paint to the surface of your mushroom.
- Stenciling: Another technique is to use stencils. First, cut out the shape you’d like to paint from sturdy cardboard; it could be a leaf, a circle, or any other shape. Then place the stencil over your mushroom and lightly dab the paint over the stencil cutout. Remove stencils carefully and let your creation dry.
- Freehand painting: This technique is self-explanatory, and you can use your creativity to paint whatever your heart desires. You can layer colors to create depth or use a small brush to add intricate detail.
When it comes to coloring techniques, you can use fabric dye to entirely transform the look of your velvet mushrooms. Before dyeing your mushrooms, make sure to read the instructions on the fabric dye package and choose the right dye for your fabric. Tie-dye and ombré are two popular methods you can try.
To tie-dye, first, tie a rubber band tightly around the base of the mushroom stem. Dip the mushroom in your dye solution for 10-15 minutes, then rinse the dye and snip the rubber band away. This process will create a beautiful, marbled effect.
The ombré technique involves dipping the mushroom in dye one end at a time until you achieve the desired depth of color. This technique creates a subtle, gradient effect, making the mushroom look naturally shaded.
Displaying and Styling Velvet Mushrooms
After creating your velvet mushrooms, it’s time to show them off! Whether you’ve made a few or a dozen, these enchanting decor pieces can add a touch of whimsy and softness to any room in your home.
Here are some creative ways to display and style your DIY velvet mushrooms:
- Arrange velvet mushrooms of varying sizes in a cluster on a bookshelf or fireplace mantle.
- Place a few velvet mushrooms in a decorative bowl or basket on a coffee table or side table.
- Attach a small loop of string or ribbon to the top of each mushroom and hang them from a branch or twig mounted to the wall.
- Create a woodland-themed centerpiece by arranging velvet mushrooms, pinecones, and other natural elements on a large tray or platter.
- Pair velvet mushrooms with other whimsical items like fairy lights, gnomes, and succulents for a cozy and eclectic vibe.
With their soft and plush texture, velvet mushrooms can also provide a lovely backdrop for photography or special occasion displays. Have fun experimenting with different ways to showcase your handmade velvet mushrooms!
Caring for Velvet Mushroom Decor
After creating your handmade velvet mushroom decor pieces, it’s essential to know how to care for them to ensure their longevity. Below are some tips on how to clean and preserve your velvet mushroom decor:
- Spot cleaning: If your velvet mushroom decor gets stained, it’s crucial to use a mild cleaning detergent and blot the stain instead of rubbing it. Always test the cleaning solution on a small, inconspicuous spot first to avoid damaging the velvet fabric.
- Dusting: Velvet fabric can attract dust easily, so it’s essential to dust your velvet mushroom decor pieces regularly. Use a soft-bristled brush or a lint roller to remove the dust and avoid pressing too hard on the fabric to prevent flattening the pile.
- Storage: When storing your velvet mushroom decor, keep them in a cool, dry place and avoid stacking them to prevent crushing or flattening the pile. You can also wrap them in acid-free tissue paper to protect the velvet fabric from discoloration or fading.
- Avoid sunlight: Direct sunlight can cause velvet fabric to fade or discolor over time. Position your velvet mushroom decor away from direct sunlight to prevent this from happening.
- Professional cleaning: For more challenging stains or general cleaning, seek professional cleaning services that specialize in working with velvet fabric. They will know how to clean and preserve the material without causing any damage.
Other Tips for Maintaining Velvet Mushroom Decor
Aside from cleaning and storage, here are some other tips for maintaining your velvet mushroom decor:
- Avoid contact with water or any liquids as this can damage the velvet fabric.
- Be gentle when handling your velvet mushroom decor to avoid crushing the pile or pulling the fibers.
- If you notice any loose fibers or threads, do not pull or cut them. Instead, tuck them back into the fabric using a pin or needle.
By following these tips, you can preserve the beauty and charm of your handmade velvet mushroom decor pieces for years to come.
Inspiration and Ideas for Velvet Mushroom Crafts
If you’re looking for more ideas to spark your creativity, we’ve got you covered. Here are some unique ways that you can incorporate velvet mushrooms into your home decor or special occasions:
1. Whimsical Centerpieces
Create a whimsical centerpiece for your dining room table or special occasion by arranging different sizes and colors of velvet mushrooms in a vase or on a tray. Add other natural elements like twigs, moss, or flowers to complete the look.
2. Festive Ornaments
Make the holiday season extra special by crafting velvet mushroom ornaments. Simply add a loop of ribbon or twine to the stem and hang them on your Christmas tree, wreath, or garland.
3. Enchanting Terrariums
Build an enchanting terrarium by incorporating velvet mushrooms into the landscape. Use moss, rocks, and other natural elements to create your own mini fairy world.
4. Adorable Children’s Decor
Transform your child’s room into an enchanted forest by adding velvet mushroom decor. Create a canopy of mushrooms over the bed or add a few to a bookshelf or dresser.
5. DIY Fairy Gardens
Add a whimsical touch to your outdoor space by creating a DIY fairy garden. Use velvet mushrooms as the centerpiece of your mini garden. Pair them with fairy figurines, miniature houses, and tiny pebbles to create a magical landscape.
6. Vintage-Inspired Decor
Channel your inner vintage decorator by incorporating velvet mushrooms into your home’s shabby chic decor. Mix and match different colors and styles of mushrooms with antique frames, old books, and other vintage-inspired elements.
With so many creative possibilities, the only limit is your imagination. Let these ideas inspire you to create your own unique velvet mushroom crafts!
Conclusion
Velvet mushroom crafts are a fun and simple way to add a touch of softness and whimsy to your home decor. Whether you’re a crafting novice or an experienced DIY enthusiast, these enchanting decor pieces are sure to captivate your guests and bring a smile to your face.
By following our guide, you will have all the knowledge and materials necessary to create your own unique velvet mushroom designs. Experiment with different colors, shapes, and embellishments to make your creations truly one-of-a-kind. And don’t forget to display them in a special place in your home to enjoy them every day!
Caring for your velvet mushroom decor is easy with a few simple steps. Regular cleaning and proper storage will ensure that your creations stay in pristine condition for years to come.
Hopefully, this guide has inspired you to embark on your own velvet mushroom crafting journey. Get creative and have fun!
FAQ
Will the velvet mushrooms require any special care?
Yes, velvet mushrooms should be handled with care to maintain their shape and appearance. Avoid placing them in direct sunlight or high humidity areas. If they get dusty, gently brush them or use a low-speed vacuum cleaner with a soft brush attachment to remove any dirt.
Can I customize the size of the velvet mushrooms?
Absolutely! The beauty of DIY velvet mushrooms is that you have full control over their size. You can easily adjust the templates to make smaller or larger mushrooms, depending on your preference and the space you have available for display.
What types of filling materials can I use for the velvet mushrooms?
There are several options for filling your velvet mushrooms, including polyester fiberfill, cotton batting, or even rice or lentils for a more weighted base. Choose the filling material that best suits your desired shape and level of plushness.
Can I paint the velvet mushrooms after they are sewn?
It is generally recommended to paint or color the velvet fabric before sewing the pieces together. This will ensure a seamless finish and prevent any paint from seeping into the seams. However, if you prefer to paint them after sewing, make sure to use fabric paint or a suitable coloring technique that won’t stiffen the fabric.
Can I use other fabrics instead of velvet for these mushrooms?
While velvet is the recommended fabric for creating these mushrooms, you can certainly experiment with other soft and pliable fabrics. Keep in mind that the texture and drape of the fabric will affect the overall look of the mushrooms, so choose fabrics that can mimic the softness and depth of velvet.