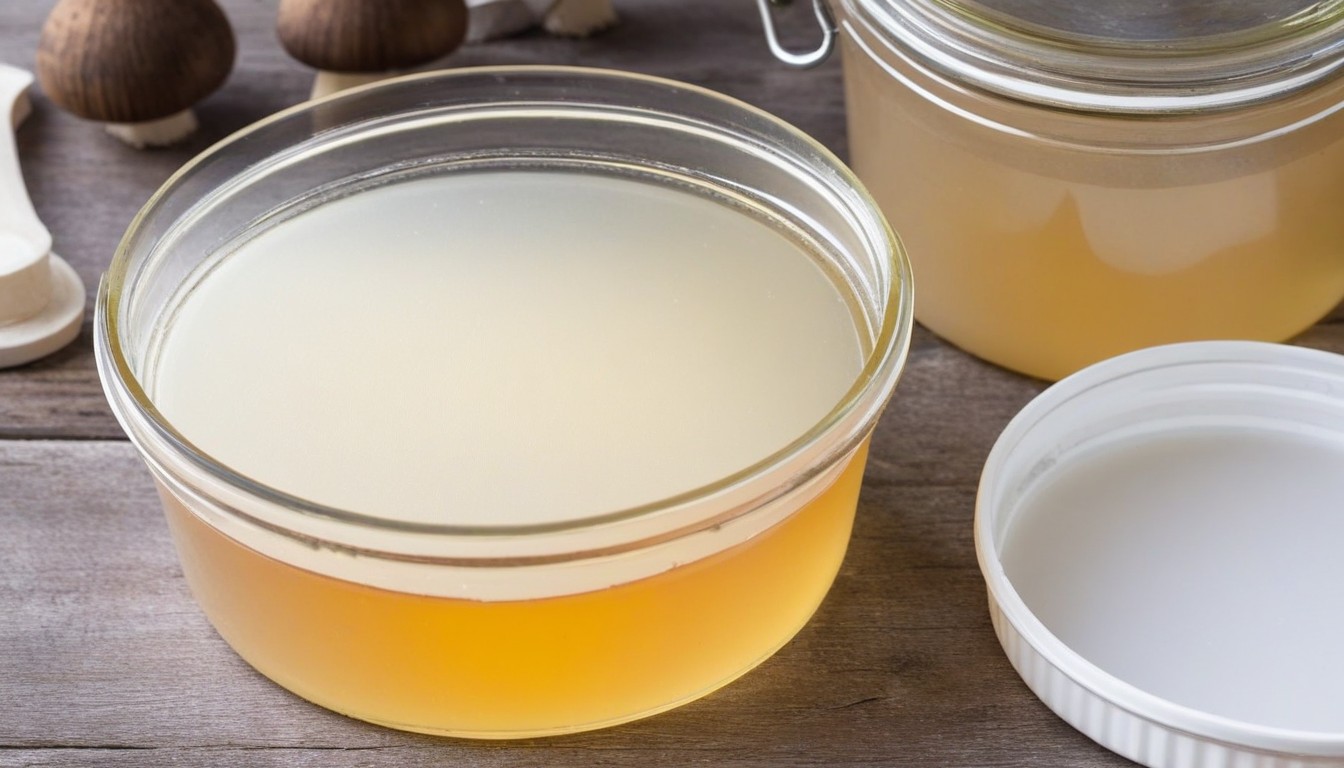
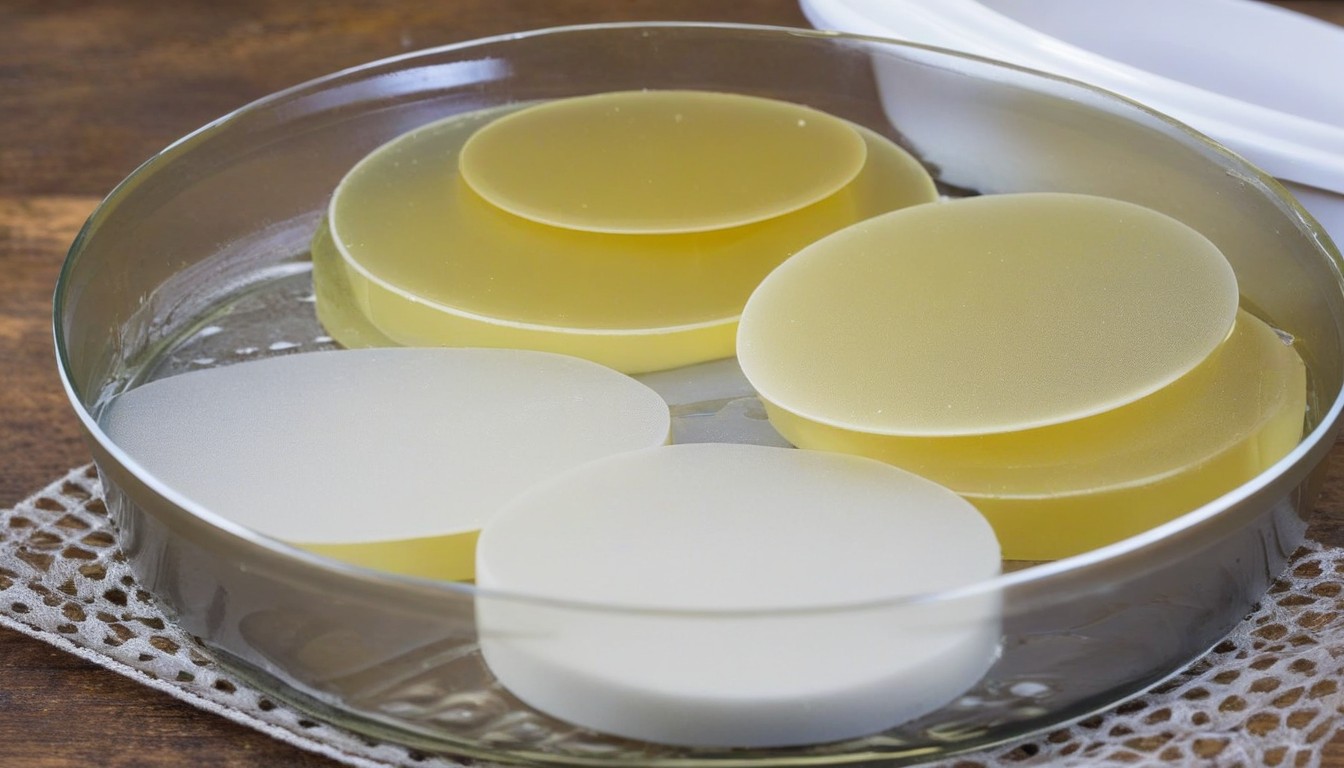
If you’re a fan of mushrooms, you may have considered cultivating them yourself. One essential component of mushroom cultivation is agar, a jelly-like substance that provides a nutrient-rich medium for mushroom growth. Making agar for mushrooms at home may seem like a daunting task, but it’s actually a straightforward and rewarding process that can yield impressive results.
In this guide, we’ll walk you through the process of making agar for mushrooms step by step. You’ll learn about the properties and benefits of agar, as well as the necessary equipment and ingredients needed to create a successful agar medium. We’ll also cover incubating and storing agar plates, transferring mushroom cultures to agar plates, and maintaining agar plates for long-term cultivation.
Whether you’re a seasoned mushroom cultivator or a newbie, this easy guide to making agar for mushrooms at home is the perfect resource for taking your mushroom game to the next level.
Key Takeaways:
- Making agar for mushrooms at home is a straightforward process that can yield impressive results.
- Agar is a jelly-like substance that provides a nutrient-rich medium for mushroom growth.
- To make agar for mushrooms at home, you’ll need specific equipment and ingredients.
- Incubating and storing agar plates, transferring mushroom cultures to agar plates, and maintaining agar plates are all crucial elements of successful mushroom cultivation.
- This guide provides step-by-step instructions for making agar for mushrooms at home and achieving optimal results in mushroom cultivation.
Understanding Agar and Its Role in Mushroom Cultivation

In the world of mushroom cultivation, agar plays a crucial role in providing the perfect medium for growing healthy mushrooms. Agar is a jelly-like substance derived from red algae and is commonly used in laboratories to cultivate microorganisms, including fungi.
When it comes to mushroom cultivation, agar acts as a natural sterile environment for mushroom spores to germinate and grow into healthy mycelium. The mycelium can then be transferred to a substrate, such as sawdust or straw, where it can continue to grow and eventually produce fruiting bodies – the mushrooms themselves.
The benefits of using agar in mushroom cultivation are numerous. For one, agar enables you to easily monitor the growth of mycelium and ensures that only healthy cultures are transferred to the substrate. Additionally, agar can be customized with different nutrients and supplements to enhance the growth and vitality of the mycelium.
Overall, agar is an essential tool in the world of mushroom cultivation and is used by growers of all levels to achieve successful results.
Gathering the Necessary Ingredients and Equipment
Before you begin making agar for mushroom cultivation, gather all the necessary ingredients and equipment. It’s essential to have everything you need on hand to ensure a smooth and successful process.
Ingredients:
|
Ingredient |
Amount |
|---|---|
|
Agar powder |
20 grams |
|
Light malt extract powder |
20 grams |
|
Nutritional yeast |
2 grams |
|
Dextrose |
2 grams |
|
Distilled water |
500 ml |
Note: You can find these ingredients at your local health food store or order them online.
Equipment:
- Large mixing bowl
- Saucepan
- Weighing scale
- Stirring spoon
- pH meter or test strips
- Autoclave or pressure cooker for sterilization
- Petri dishes for pouring agar into
Note: Ensure your equipment is thoroughly cleaned and sterilized before use. This is to prevent contamination and promote successful mushroom cultivation.
Sterilizing Equipment and Preparing the Workspace

Before beginning the agar-making process, it’s important to create a clean and sterile workspace. Any bacteria or contaminants can affect the growth of your mushroom cultures on the agar plates.
Sterilizing Equipment
First, gather all the equipment needed for the agar preparation. This includes a scale, mixing bowl, measuring cups, spatula, petri dishes, and a pressure cooker or autoclave. Make sure all equipment is clean and free of any residue.
Next, sterilize the equipment to eliminate any bacteria or contaminants. Place the equipment in the pressure cooker or autoclave and follow the manufacturer’s instructions on sterilization time and pressure. If you don’t have access to a pressure cooker or autoclave, you can also sterilize equipment using boiling water or a bleach solution.
Preparing the Workspace
After sterilizing the equipment, it’s time to prepare the workspace. Choose a clean and sterile area to work in, such as a laminar flow hood or a clean kitchen counter. Clean the workspace using a bleach solution or alcohol to kill any remaining bacteria or contaminants.
Set up your equipment in the workspace and cover it with plastic wrap to prevent any airborne contaminants from settling on the equipment. You can also use a laminar flow hood to provide a sterile working environment.
By sterilizing your equipment and preparing a clean workspace, you set the stage for a successful agar-making process and mushroom cultivation.
Step-by-Step Guide to Making Agar

Follow our easy step-by-step guide to creating the perfect agar medium for mushroom cultivation.
- Weigh and Measure Ingredients: First, weigh out 10 grams of agar powder and 10 grams of malt extract powder or potato flakes. Measure out 500 milliliters of water and pour it into a saucepan.
- Mix Ingredients: Slowly add the agar powder and malt extract or potato flakes to the water while stirring. Once the powders have completely dissolved, turn on the heat and bring the mixture to a boil, stirring occasionally.
- Boil and Simmer: Allow the mixture to boil for 1 to 2 minutes while stirring. Then, reduce the heat and let the mixture simmer for an additional 10 to 15 minutes, continuing to stir occasionally to prevent clumping or burning.
- Prepare Petri Dishes: While the agar mixture is simmering, sterilize your petri dishes and let them cool down. You can do this by placing them in a pressure cooker or autoclave for 15 to 20 minutes. Alternatively, you can sterilize them in an oven at 150°C for 2 to 3 hours.
- Pour Agar Mixture: Once the agar mixture is finished simmering, let it cool down to around 50 to 55°C. Pour the agar into the prepared petri dishes, filling them about ¼ to ½ full.
- Sterilize Petri Dishes: Let the agar-filled petri dishes cool down to room temperature. Then, cover them with the lids or plastic wrap. Sterilize the dishes in an autoclave or pressure cooker for 15 to 20 minutes, or in an oven at 150°C for 2 to 3 hours.
Congratulations, you have now successfully made agar for your mushrooms! It’s important to note that agar can quickly become contaminated, so make sure to work in a clean and sterile environment.
Incubating and Storing Agar Plates
After pouring your agar mixture into petri dishes, it’s time to incubate and store them in optimal conditions for mycelium growth. Here’s what you need to know:
- Incubation temperature: The ideal temperature for incubating agar plates is between 70-75°F. You can use a heating mat or incubator to maintain a consistent temperature.
- Incubation time: The incubation time varies depending on the type of mushroom you’re growing. Generally, it can take anywhere from a few days to several weeks to see growth.
- Storing: Once mycelium growth is visible, store the agar plates in a cool, dark place to prevent contamination and preserve the integrity of the cultures.
It’s essential to keep a close eye on your agar plates during incubation and storage. Look for any signs of contamination, such as mold or discoloration, and remove any contaminated plates to prevent further contamination.
“Proper incubation and storage are crucial for successful mushroom cultivation on agar plates.”
Transferring Mushroom Cultures to Agar Plates
After preparing your agar plates and letting them cool to room temperature, it’s time to transfer your mushroom cultures to the plates. This process ensures that you have clean, isolated cultures to work with, which will help to prevent contamination and give you the best chance of success.
You will need the following items to transfer mushroom cultures to agar plates:
- Clean gloves
- 70% alcohol solution or sterilizing agent
- Sharp scalpel or flame-sterilized knife or loop
- Mushroom culture (spores, tissue, etc.)
Here are the steps to transfer a mushroom culture to an agar plate:
- Wash your hands thoroughly and put on clean gloves.
- Sterilize your scalpel or knife/loop by heating it with a flame or using a sterilizing agent.
- Open the petri dish and hold it upside down over your workspace.
- Using your sterilized scalpel or knife/loop, cut a small piece of mushroom tissue or scrape spores from a spore print. Be sure to make a clean cut to avoid contaminating the culture.
- Starting at the center of the agar plate, streak the tissue or spores out in a zigzag pattern. You can also use a sterile cotton swab or inoculation loop to transfer the culture.
- Close the petri dish and seal it with parafilm tape. Label the dish with the name or code of the culture and the date it was inoculated.
- Repeat the process for each culture you want to transfer, using a new sterilized scalpel or knife/loop for each transfer.
- Place the petri dishes in a warm, dark place where they will not be disturbed. Check on them periodically to make sure that the cultures are growing and that there is no contamination.
Remember to work carefully and methodically to avoid contamination during the transfer process. With practice and patience, you’ll soon be able to create a wide variety of mushroom cultures on agar plates and begin exploring the fascinating world of mushroom cultivation!
Maintaining Agar Plates for Long-Term Cultivation
Now that you have successfully incubated and grown your mushroom cultures on agar plates, it’s important to maintain them properly for long-term cultivation. Follow these tips to ensure the vitality of your mushroom cultures:
- Store in a cool, dry place: Agar plates should be kept in a cool and dry place to prevent the growth of bacteria or other contaminants. A temperature between 35-45°F is ideal for storage.
- Avoid direct sunlight: Direct sunlight can damage and dry out agar plates, leading to the death of the mycelium. Keep your agar plates away from direct sunlight to avoid this issue.
- Handle with care: Agar plates are delicate and can be easily damaged. Always handle them with clean hands and avoid dropping or jostling them.
- Keep track of dates: It’s important to keep track of the date when you first inoculated your agar plates with mushroom cultures. This will help you to determine the age of the cultures and when it’s time to transfer them to fresh agar plates for continued growth.
By following these simple tips, you can maintain the health and vitality of your mushroom cultures on agar plates for long-term cultivation. Regularly transferring your mushroom cultures to fresh agar plates is essential for continued growth and success in mushroom cultivation.
Troubleshooting Common Issues in Agar Preparation

While making agar for mushroom cultivation at home can be an easy and rewarding process, it’s not uncommon to encounter certain issues along the way. Here are some common problems that may arise during agar preparation and how to troubleshoot them.
Problem: Contamination
Contamination is a common issue in agar preparation and can occur at any stage of the process. Common causes include not properly sterilizing equipment, using non-sterile ingredients, or not working in a clean environment.
Solution: To prevent contamination, make sure to properly sterilize all equipment and work in a clean area. Use high-quality, sterile ingredients and avoid touching non-sterile surfaces while handling agar plates. If contamination occurs, discard the affected plates and start again with sterile equipment and ingredients.
Problem: Agar doesn’t solidify
If your agar doesn’t solidify properly, it may be due to incorrect ingredient ratios or not heating the mixture enough.
Solution: Check your ingredient ratios and make sure to properly mix and heat the agar mixture. If necessary, reheat the mixture and pour it back into the plates to allow it to solidify.
Problem: Air bubbles in agar
Air bubbles can form in the agar during the pouring process, which can affect the growth of your mushroom cultures.
Solution: To prevent air bubbles, pour the agar mixture slowly and gently. You can also tap the plates on a flat surface to release any trapped air bubbles. If air bubbles still occur, try pouring the agar mixture at a slightly lower temperature.
Problem: Slow or no growth
If your mushroom cultures are not growing as expected, it may be due to several factors, including incorrect temperature or humidity levels, poor quality spores, or inadequate nutrient levels in the agar.
Solution: Make sure to maintain optimal temperature and humidity levels for your mushroom species. Use high-quality spores from a reputable source. If necessary, adjust the nutrient levels in the agar by adding supplements or adjusting ingredient ratios.
By identifying and troubleshooting common issues in agar preparation, you can ensure successful mushroom cultivation and enjoy a bountiful harvest of your favorite fungi.
Conclusion
Thank you for following our easy guide to making agar for mushrooms at home. By now, you should have a good understanding of the role of agar in mushroom cultivation and be able to prepare your own agar medium for your favorite mushrooms.
Remember to gather all the necessary equipment and ingredients and properly sterilize your workspace to prevent contamination. Follow our step-by-step guide to making agar and incubating your agar plates. Transfer your mushroom cultures to agar plates for optimal growth and long-term cultivation.
Tips for Successful Mushroom Cultivation
Here are some additional tips to help you in your mushroom cultivation journey:
- Keep a clean workspace to minimize contamination.
- Label your agar plates and keep notes on the different strains of mushrooms and their growth patterns.
- Store your agar plates in a cool, dark place to prevent dehydration and contamination.
- Use a pressure cooker or autoclave for sterilization whenever possible.
- Experiment with different strains and agar recipes to find what works best for you.
With these tips and your new knowledge of agar preparation, you’re ready to explore the rich possibilities of mushroom cultivation. Have fun and happy growing!
FAQ
What is agar?
Agar is a gelatinous substance derived from seaweed that acts as a solid medium for cultivating mushrooms.
Why is agar important in mushroom cultivation?
Agar provides a nutritious and sterile environment for mushroom spores to germinate and mycelium to grow, making it essential for successful mushroom cultivation.
What ingredients and equipment do I need to make agar?
To make agar, you will need agar powder, water, malt extract, dextrose, a pressure cooker or autoclave for sterilization, agar plates or petri dishes, and a clean workspace.
How do I sterilize my equipment and prepare a clean workspace?
Equipment can be sterilized using heat or chemical methods. The workspace should be thoroughly cleaned and disinfected to minimize the risk of contamination.
Can you provide a step-by-step guide to making agar for mushrooms?
Certainly! We have a detailed step-by-step guide that covers everything from weighing and mixing the ingredients to sterilization and pouring the agar into petri dishes.
How should agar plates be incubated and stored?
Agar plates should be incubated in a controlled environment with consistent temperature and humidity. They should also be stored in a cool and dark place to prevent contamination.
What is the process of transferring mushroom cultures to agar plates?
Transferring mushroom cultures to agar plates involves carefully inoculating the plates with a small piece of the mushroom tissue or spores, using sterile techniques to prevent contamination.
How do I maintain agar plates for long-term cultivation?
Regular maintenance of agar plates involves proper storage, periodic observation, and transfer of healthy mycelium to fresh agar plates to ensure ongoing cultivation success.
What should I do if I encounter issues during agar preparation?
Our troubleshooting section addresses common issues such as contamination, inconsistencies in agar composition, and poor growth. We provide tips and solutions to overcome these challenges.

