
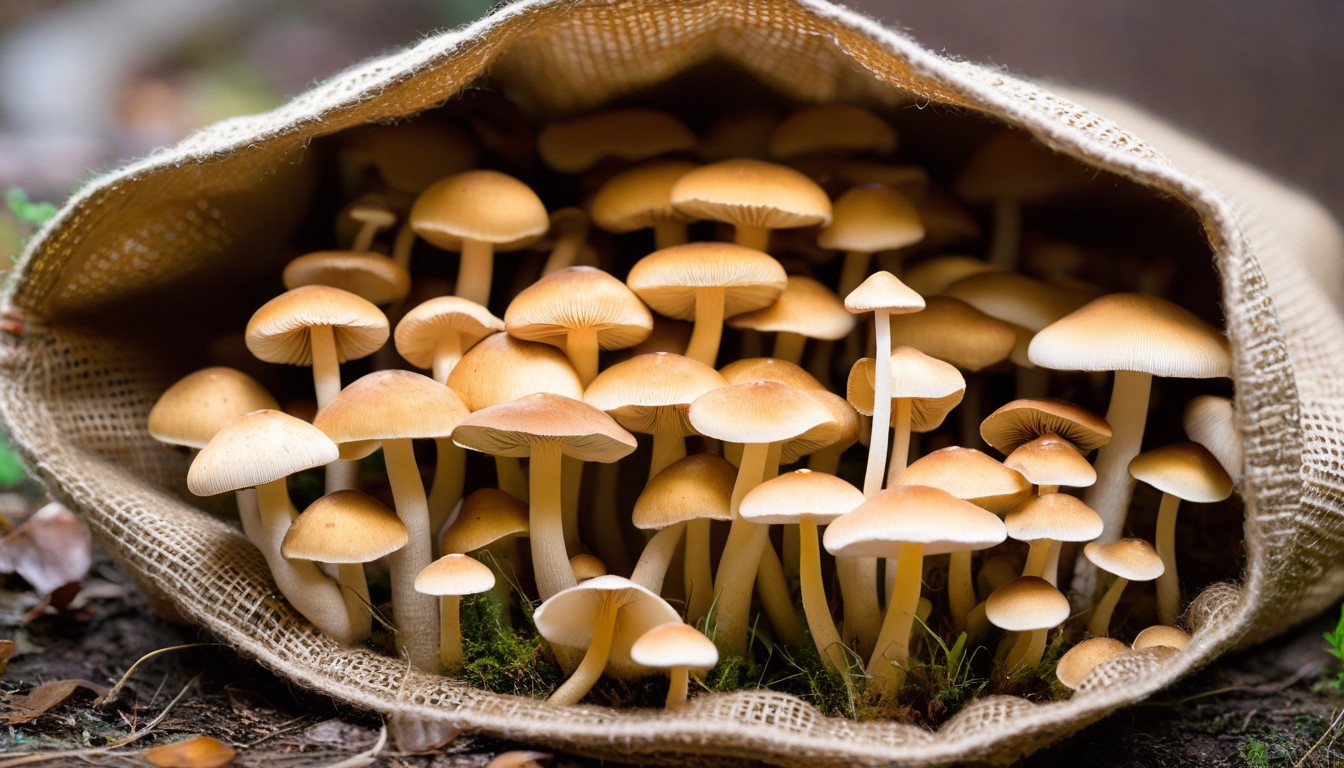
Are you interested in growing your own mushrooms at home but unsure about the timeline and steps involved? Look no further! In this comprehensive guide, we will explore the process of growing mushrooms in a bag, from selecting the right mushroom species and bag to preparing the substrate and providing optimal growing conditions.
Whether you are a beginner or have some experience in mushroom cultivation, this article will provide you with the necessary information to successfully grow mushrooms at home. Let’s dive in!
Key Takeaways:
- Growing mushrooms can be done successfully in a bag.
- It is important to select the right mushroom species and bag for optimal growth.
- The substrate and growing conditions are crucial for the development of your mushrooms.
- Patience is key in the mushroom growing timeline, and it is essential to monitor and maintain the bag regularly.
- Harvesting your mushrooms requires careful attention and proper techniques.
Understanding Mushroom Cultivation
Before we dive into the timeline, let’s take a step back and understand the basics of mushroom cultivation. The mushroom growing process consists of several essential steps that require careful consideration and attention to detail.
The first step is selecting the right mushroom species. Different mushroom species have different growth requirements, so choosing the right one is critical to the success of your mushroom cultivation. Popular species for bag cultivation include oyster, shiitake, and lion’s mane mushrooms.
After selecting your mushroom species, it’s time to choose the ideal growing bag. The most common types of bags used for mushroom cultivation are filter patch bags and mushroom substrate bags. Each type has its advantages and disadvantages, so it’s important to choose the right one for your needs.
Once you have your bag, it’s time to prepare the substrate. The substrate is the material on which the mushrooms grow, such as straw or sawdust. There are several substrate options to choose from, and each requires a different preparation method.
Once your substrate is ready, it’s time to inoculate the bag with mushroom spores or mycelium. This process involves introducing the spores into the substrate and allowing them to colonize it fully.
After inoculation, providing the right growing conditions is crucial to the success of your mushroom cultivation. The optimal temperature, humidity, and lighting conditions will vary depending on the species of mushroom you are growing.
Monitoring and maintenance are essential parts of the mushroom growing process. Regularly checking your bag for growth, ensuring it’s free of contamination, and making necessary adjustments to the growing conditions will help ensure a successful harvest.
Finally, it’s time to reap the rewards of your efforts and harvest your mushrooms. Knowing the signs of mushroom readiness for harvest and proper picking techniques are vital to ensure a bountiful and successful harvest.
The mushroom growing process can be a rewarding and fulfilling experience. By understanding the basics of mushroom cultivation and following the proper steps, you can grow your own delicious mushrooms right at home.
Selecting the Right Mushroom Species
To successfully grow mushrooms in a bag, selecting the right mushroom species is crucial. Different mushroom species have different growth requirements and timelines. Here are some key factors to consider when choosing the right mushrooms for growing in a bag:
- Climate: Different mushroom species thrive in different climates. For example, the oyster mushroom can grow at a wide range of temperatures, while shiitake mushrooms prefer cooler temperatures.
- Availability: Some mushroom species may not be readily available in your area. It’s important to choose a species that you can acquire easily in your region.
- Personal preference: Taste, texture, and color are all factors to consider when choosing the right mushroom species. Some popular mushroom species for cultivation include oyster mushrooms, shiitake mushrooms, and lion’s mane mushrooms.
Once you have chosen the right mushroom species, it’s important to research their specific growth requirements, including substrate, temperature, humidity, and lighting needs. This will ensure that your mushroom bag has the optimal conditions for successful growth and a bountiful harvest.
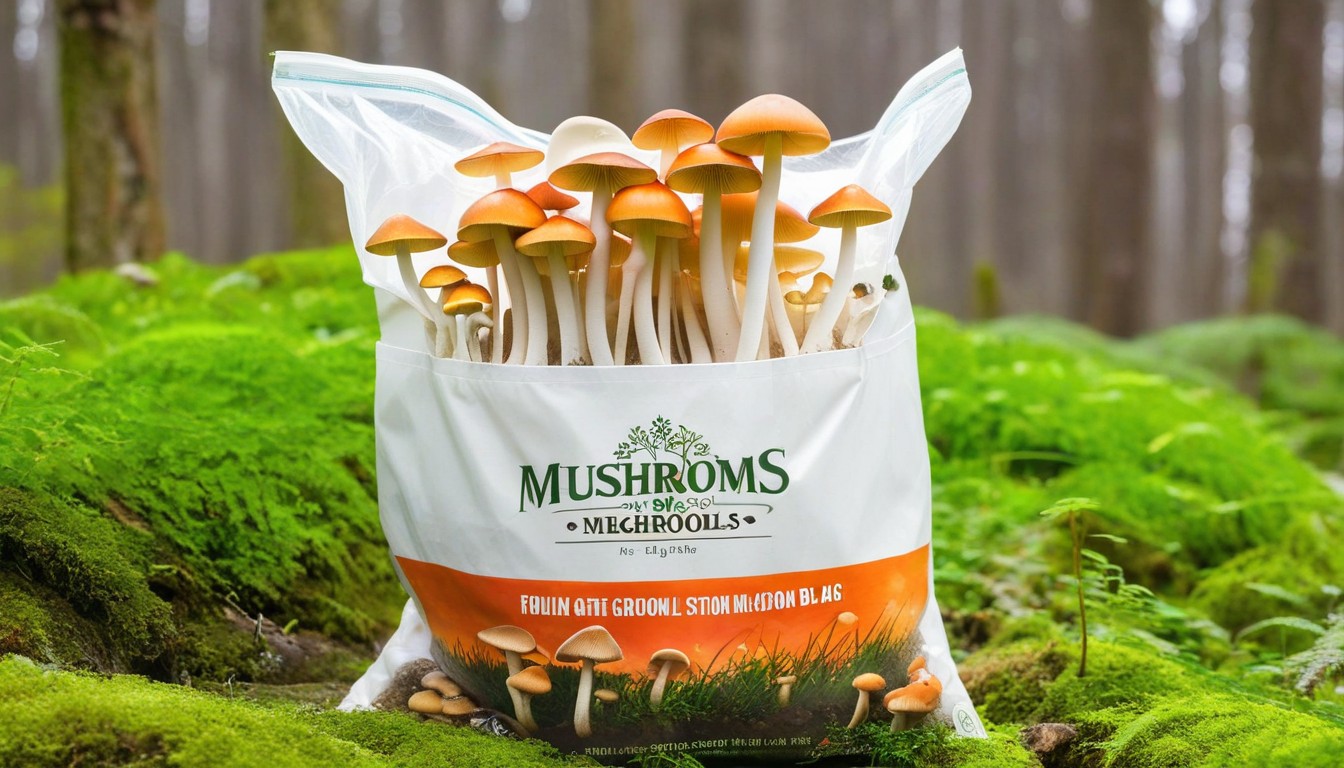
Choosing the Ideal Growing Bag
When it comes to choosing a bag for mushroom cultivation, there are several options available, including filter patch bags and mushroom substrate bags. Each type of bag has its own unique benefits, and your choice will ultimately depend on the type of mushrooms you plan to grow and your personal preferences.
Filter Patch Bags
Filter patch bags are a popular choice for mushroom cultivation because they allow for proper air exchange while still maintaining a sterile environment. These bags are made with a micro-porous filter patch that allows carbon dioxide to escape and oxygen to enter the bag, which is essential for healthy mushroom growth. Filter patch bags are typically made from polypropylene, which is a durable plastic that can withstand high temperatures without melting or deforming.
Mushroom Substrate Bags
Mushroom substrate bags are another option for growing mushrooms. These bags are made from a breathable material like polypropylene, and they are designed specifically for mushroom cultivation. Mushroom substrate bags are typically larger than filter patch bags, allowing for more room for the substrate to colonize and for larger mushroom flushes. These bags are also reusable, which can be more cost-effective in the long run if you plan on growing mushrooms regularly.
|
Bag Type |
Benefits |
|---|---|
|
Filter Patch Bags |
|
|
Mushroom Substrate Bags |
|
Ultimately, the choice between filter patch bags and mushroom substrate bags comes down to personal preference. If you are new to mushroom cultivation, it may be best to start with filter patch bags as they are easier to handle and maintain. However, if you plan on growing mushrooms regularly, mushroom substrate bags may be a better investment in the long run.
Preparing the Substrate
Once you have selected the right mushroom species and growing bag, it’s time to move on to preparing the substrate. The substrate is the material on which the mushrooms will grow, and it plays a crucial role in their development. Different mushroom species have different substrate requirements, so it’s essential to choose the right one based on the species you have selected.
There are several substrate options available, such as sawdust, straw, and compost. Sawdust and straw substrates are commonly used for home mushroom cultivation, while compost substrates are more commonly used for commercial cultivation.
|
Substrate |
Advantages |
Disadvantages |
|---|---|---|
|
Sawdust |
– High yield |
– Requires additional nutrients – Longer colonization time – Sterilization process can be challenging and require specific equipment |
|
Straw |
– Easy to obtain |
– Lower yield – Requires additional nutrients – Requires careful temperature control during colonization |
|
Compost |
– High yield |
– Requires specific substrate formula – Requires careful temperature control during colonization – Requires pasteurization process |
Once you have selected your substrate, you will need to prepare it for inoculation. The preparation process involves sterilizing the substrate to eliminate any unwanted microorganisms that could compete with the mushroom mycelium. Substrates like sawdust and straw can be sterilized by boiling or steaming, while compost substrates are usually pasteurized.
After sterilization or pasteurization, the substrate should be allowed to cool to room temperature before inoculation. When inoculating your substrate, it’s essential to maintain proper hygiene to prevent contamination. Ensure that your hands and tools are sterile, and work in a clean and sterile environment to avoid introducing unwanted microorganisms into the substrate.
Tip: If you’re using a mushroom substrate bag, follow the manufacturer’s instructions for preparing the substrate and inoculating the bag. Some bags come with pre-sterilized or pre-pasteurized substrate, which can save you time and effort.
Inoculating the Bag
Now that you have prepared your substrate, it’s time to inoculate the bag with mushroom spores or mycelium. Inoculation is the process of introducing the spores to the substrate to initiate colonization. The mycelium, which will eventually develop into mushrooms, feeds on the substrate and begins to grow inside the bag.
Pro Tip: Before beginning the process of inoculation, ensure that all your equipment is sterilized to prevent contamination from unwanted bacteria or fungi, which can jeopardize your mushroom yield.
You can inoculate the bag in two ways:
|
Method |
Description |
|---|---|
|
Spore Syringe |
This method involves injecting the spores into the substrate using a sterilized syringe. Alternatively, you can use liquid culture syringes, which contain pre-germinated mushroom spores and can speed up the colonization process. |
|
Agar Culture |
You can also use a small piece of agar with mycelium to inoculate the substrate. In this method, you will have to cut a small piece of agar culture and place it inside the bag. This method works best if you have experience in mushroom cultivation and access to agar cultures. |
No matter which method you choose, ensure that you are working in a clean and sterile environment to prevent contamination. Once you have inoculated the bag, seal it off with a filter patch or micro-porous tape. The patch or tape will allow for gas exchange while keeping contaminants out.
Providing the Right Growing Conditions
Creating the perfect environment for mushroom growth is essential for a bountiful harvest. Two of the most critical factors that you need to consider are temperature and humidity.
“Mushrooms need a warm and humid environment to thrive. Too much or too little of either can impact mushroom growth and health.”
The ideal temperature for growing mushrooms in a bag is between 65-75°F. Anything below or above this range can affect the growth rate and yield. Therefore, make sure to keep the bag in a warm and dry location, free from direct sunlight or drafts.
Humidity is another crucial factor to consider. The growing bag needs to be kept moist but not too wet. The humidity level should be around 90%. You can achieve this by spraying water on the bag’s surface and misting it regularly. Additionally, if you live in a dry climate, you can create a humid environment by covering the bag with a plastic sheet or placing it in a plastic container with a lid. However, make sure to provide enough air circulation to avoid mold growth.
|
Temperature |
Humidity |
|---|---|
|
65-75°F |
90% |
Monitoring the temperature and humidity levels regularly is crucial, as any fluctuations can affect the growth and development of your mushrooms. Remember to maintain the right growing conditions, and you will soon be rewarded with a bountiful harvest.
Monitoring and Maintenance
Once your mushroom bag is inoculated, it’s essential to monitor its growth regularly. This involves keeping an eye on the temperature, humidity, and lighting conditions of your growing environment.
Firstly, ensure that the temperature is within the optimal range for your selected mushroom species. Different species have varying temperature requirements, so it’s crucial to research and maintain the appropriate temperature for your mushrooms to thrive.
Next, keep an eye on the humidity levels of your growing environment. Mushrooms require high humidity to develop properly, so it’s important to maintain the ideal humidity range for your species. You can use a digital hygrometer to measure the humidity and adjust it as necessary.
Lastly, make sure your mushroom bag is getting sufficient light. Most species require indirect light to develop, and exposure to too much direct sunlight can be harmful. You can use a grow light to provide adequate lighting for your mushrooms, especially if you’re growing them indoors.
Maintaining Your Mushroom Bag
In addition to monitoring the growing conditions, you must also maintain your mushroom bag to ensure optimal growth. This involves several tasks, such as:
- Keeping the bag moist: The substrate in your bag must be kept moist, but not too wet. Avoid overwatering, as this can lead to mold growth. Use a spray bottle or misting system to keep the bag adequately moist.
- Checking for contamination: Keep an eye out for any signs of contamination, such as mold or strange smells. If you notice any issues, it’s essential to address them immediately to prevent the spread of contamination.
- Removing excess CO2: Your mushroom bag requires proper ventilation to remove excess carbon dioxide. You can achieve this by opening the bag or using a ventilation system.
- Harvesting mushrooms: Once your mushrooms are ready for harvest, it’s crucial to pick them promptly. Leaving them in the bag for too long can lead to over-ripening and decreased quality.
By monitoring and maintaining your mushroom bag regularly, you can ensure optimal growing conditions and a successful harvest.
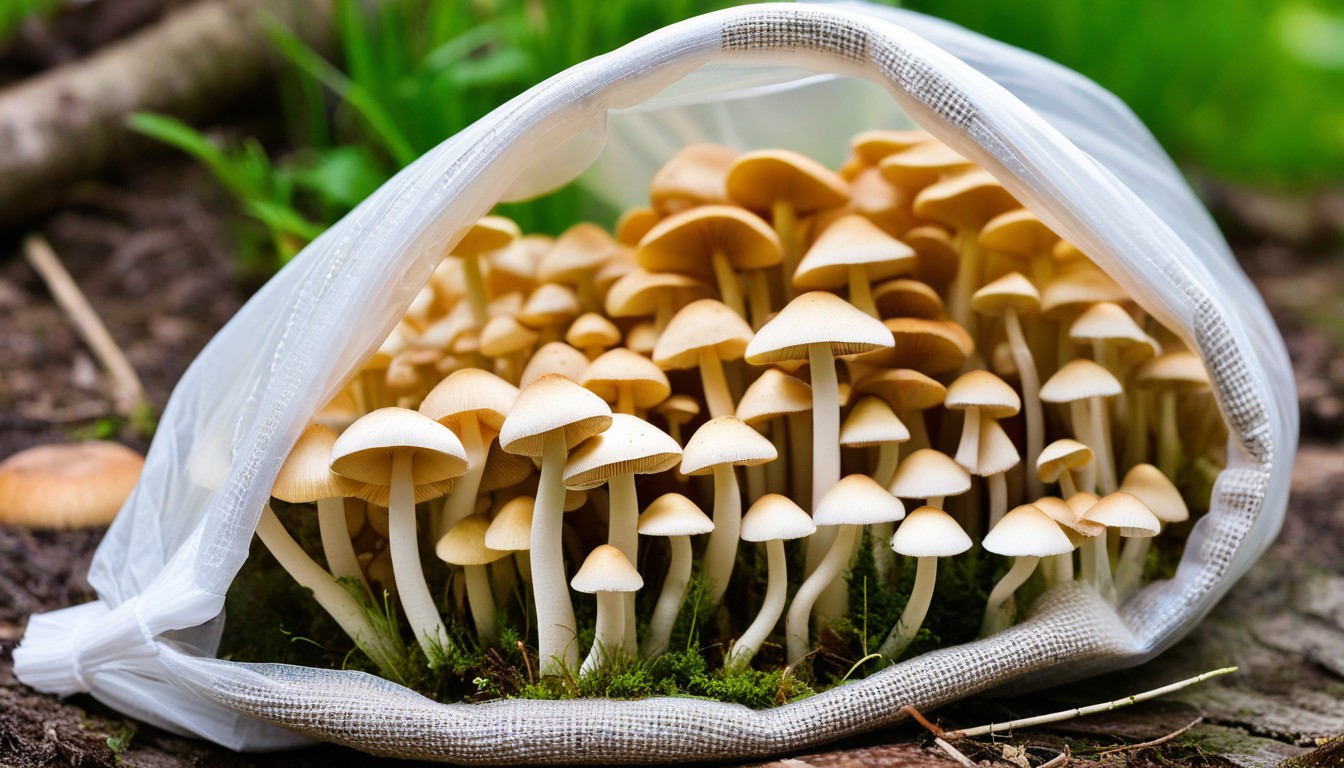
The Waiting Game: Mushroom Growing Timeline
Patience is key when it comes to growing mushrooms in a bag. The entire process can take anywhere from 4-16 weeks depending on the type of mushroom species you choose to grow. Let’s take a closer look at the different growth stages of mushrooms and how long it takes for them to develop.
Stage 1: Inoculation
The first stage in mushroom cultivation begins with inoculating the bag with mushroom spores or mycelium. This stage lasts between 1-2 weeks, during which the spores colonize the substrate.
Stage 2: Colonization
The colonizing stage lasts between 2-6 weeks, depending on the mushroom species and growth conditions. During this stage, the mycelium spreads throughout the substrate, consuming it as food. You’ll start to see white fuzz on the surface of the substrate.
Stage 3: Pinning
After colonization, small pinhead-like growths will begin to form on the surface of the substrate. This stage is called pinning, and usually lasts between 1-2 weeks. The pins will continue to grow and form into mature mushrooms.
Stage 4: Fruiting
The fruiting stage can last anywhere from 1-4 weeks, depending on the species and growth conditions. This is when the mature mushrooms start to grow and develop, and will continue to do so until they reach their full size and are ready for harvest.
Keep in mind that the timeline provided above is a general estimate and can vary based on several factors such as temperature and humidity levels. You may also see variations in the timeline based on the specific species of mushroom you are growing.
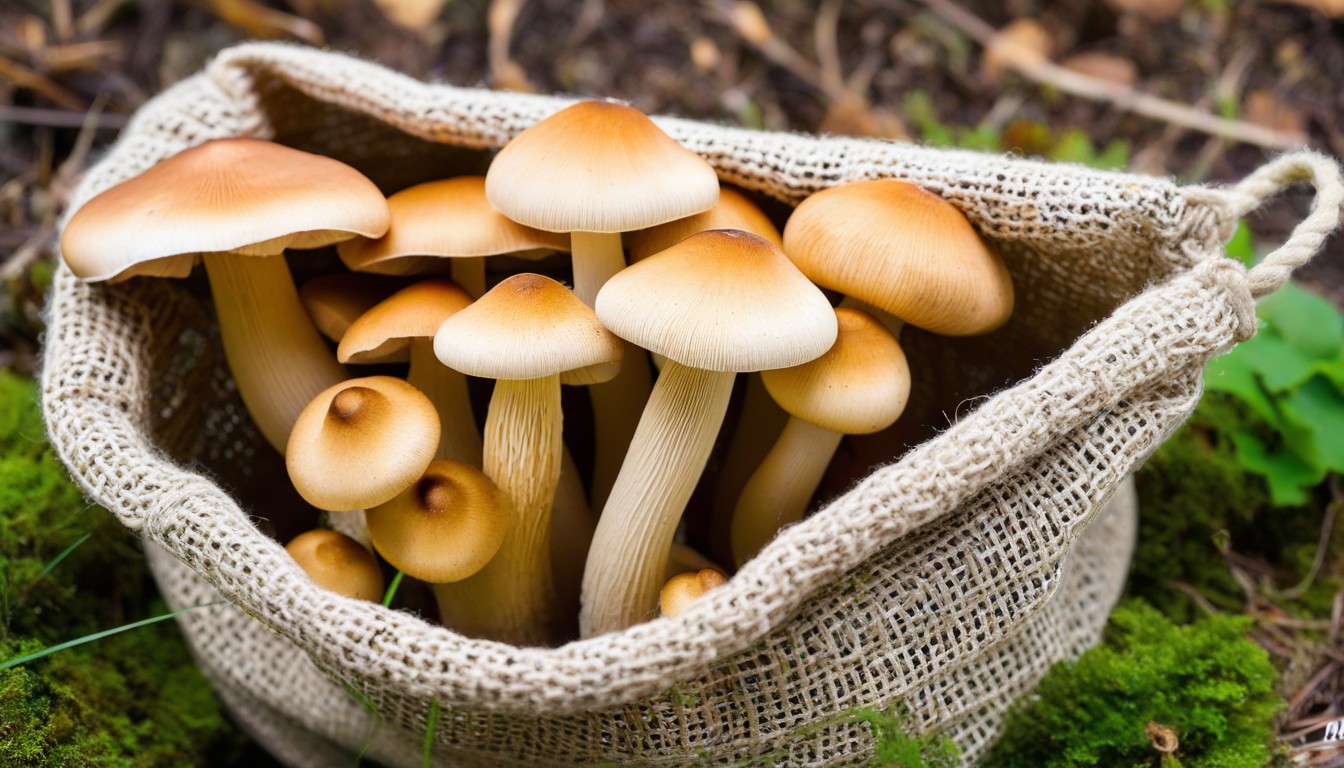
Harvesting Your Mushrooms
After waiting patiently for your mushrooms to grow and develop, it’s time to harvest them! The harvest stage is when you get to enjoy the fruits of your labor.
But how do you know when your mushrooms are ready to be harvested? Here are some signs:
- The caps of the mushrooms have fully opened and are no longer curled up.
- The veil underneath the cap has broken, exposing the gills.
- The mushrooms have reached their desired size. This varies depending on the species, so be sure to do your research beforehand.
It’s important to harvest your mushrooms as soon as they’re ready, as waiting too long can cause them to become overripe and affect their flavor and texture.
When harvesting your mushrooms, use a sharp knife or scissors to cut them off at the base of the stem. Be sure to avoid damaging the surrounding mycelium as much as possible.
If there are any smaller mushrooms that haven’t fully developed yet, leave them in the bag to continue growing. However, if any of the mushrooms have started to rot or show signs of mold or contamination, remove them from the bag immediately to prevent the spread of spores.
Once you’ve harvested your mushrooms, they’re ready to be cleaned and prepared for cooking. Enjoy the delicious flavors and textures of your homegrown mushrooms!
Tip: If you’re not planning on using all of your harvested mushrooms right away, store them in a paper bag in the refrigerator. This will help keep them fresh and dry without causing them to become slimy.
Troubleshooting Common Issues
Despite your best efforts, you may encounter some common issues during the mushroom growing process. Here are some commonly faced mushroom cultivation problems and the solutions to help you overcome them:
Poor colonization:
If the white mycelium growth is not visible in your bag after one week, it may indicate poor colonization. Check the temperature and humidity levels, which should be around 75-80°F and 90-95% respectively. Also, ensure that the substrate moisture content is between 65-70%.
Mold:
If you notice green, black, or white growth on your substrate or mushrooms, it could be a mold infection. Remove the affected area immediately and increase ventilation. You can also use an anti-fungal spray to control mold growth.
Stunted growth:
If your mushrooms aren’t growing to their full potential, it may be due to insufficient light, moisture, or poor ventilation. Ensure that your bag is getting enough light, and your humidity levels are consistent. Increase the airflow in the room, and don’t let the substrate completely dry out.
Poor harvest:
If your mushrooms are small in size or not growing at the right pace, it might be due to factors like incorrect temperature, insufficient light, or poor substrate quality. Ensure that the temperature and humidity levels are optimal according to the species you are growing. Check the substrate moisture and nutrient content, and amend if required.
“Remember, mushroom cultivation is a learning process, and you will get better with each attempt. With these troubleshooting tips, you can overcome any issues and reap a bountiful harvest of fresh and delicious mushrooms!”
Conclusion
Now that you have learned the step-by-step process of growing mushrooms in a bag, you are ready to embark on your own mushroom cultivation journey. Remember to choose the right mushroom species, prepare the substrate carefully, and monitor the growing conditions regularly. Don’t forget to be patient as mushroom growth takes time, and enjoy the process.
Mushroom cultivation can be rewarding
Growing mushrooms in a bag is not only a fun hobby, but it can also be a rewarding experience. There is nothing like enjoying the fruits of your labor by harvesting fresh, delicious mushrooms straight from your own mushroom bag. Plus, you can feel good knowing that you are growing your own food sustainably and reducing your carbon footprint.
Start your mushroom cultivation today
With this guide, you now have all the information you need to start cultivating mushrooms in a bag. Whether you are a beginner or an experienced grower, following the steps and timeline outlined in this article will help you achieve a successful harvest every time.
So what are you waiting for? Start your mushroom cultivation today and join the growing community of home mushroom growers!
FAQ
How long does it take to grow mushrooms in a bag?
The timeline for growing mushrooms in a bag can vary depending on the mushroom species and environmental conditions. On average, it takes about 4-6 weeks for mushrooms to fully develop and be ready for harvest.
What is mushroom cultivation?
Mushroom cultivation refers to the process of growing mushrooms for consumption or commercial purposes. It involves creating the ideal conditions for mushroom growth, providing the necessary substrate, and ensuring proper colonization and fruiting.
How do I select the right mushroom species for growing in a bag?
When selecting a mushroom species for growing in a bag, consider factors such as climate, availability, and personal preference. Some common mushroom species suitable for bag cultivation include oyster mushrooms, shiitake mushrooms, and white button mushrooms.
What type of growing bag should I choose?
There are different types of growing bags available, such as filter patch bags and mushroom substrate bags. The choice depends on your specific needs and preferences. Filter patch bags allow for better airflow and colonization, while mushroom substrate bags are specifically designed for mushroom cultivation.
How do I prepare the substrate for my mushroom bag?
The substrate is the material in which mushrooms grow. To prepare the substrate for your mushroom bag, you’ll need to mix together ingredients like straw, sawdust, and supplements. The specific preparation process may vary depending on the mushroom species you are growing.
What does inoculating the bag mean?
Inoculating the bag refers to introducing mushroom spores or mycelium into the substrate-filled bag. This step is crucial for colonization and eventual mushroom growth. You can inoculate the bag by injecting spore syringes or placing colonized grain spawn inside.
What are the optimal conditions for mushroom growth?
Mushrooms thrive in specific environmental conditions. The ideal temperature for most mushrooms is around 65-75°F (18-24°C), with humidity levels between 80-90%. Proper lighting is not necessary for mushroom growth, as they prefer indirect or minimal light.
How do I monitor the growth of my mushrooms?
Monitoring the growth of your mushrooms involves observing the development of mycelium, looking for signs of contamination, and checking the moisture levels inside the bag. Regularly inspect the bag and make adjustments to the growing conditions as needed.
How long does it take for mushrooms to grow in a bag?
The time it takes for mushrooms to grow in a bag can vary, but on average, you can expect mushrooms to start fruiting within 2-3 weeks after inoculation. The exact timeline will depend on the mushroom species, temperature, and other environmental factors.
How do I harvest my mushrooms?
When your mushrooms are mature and ready for harvest, you can simply twist or cut them at the base of the stem. Be gentle to avoid damaging the surrounding mycelium. Harvesting should be done incrementally as mushrooms reach their ideal size and maturity.
What are some common issues in mushroom cultivation and how can I troubleshoot them?
Common issues in mushroom cultivation include contamination, mold growth, and poor fruiting. To troubleshoot these problems, ensure proper sterilization of materials, maintain a clean growing environment, and adjust growing conditions if needed. Consider consulting resources or experienced growers for specific troubleshooting guidance.