Welcome to our comprehensive guide on how to make sawdust substrate for growing mushrooms. Whether you’re new to mushroom cultivation or a seasoned grower, this step-by-step guide will help you optimize your mushroom growing success from the comfort of your home or farm. In this guide, you’ll learn about the composition of sawdust substrate, how to choose the right sawdust, and the step-by-step process of preparing, mixing, and inoculating the substrate to ensure optimal conditions for your mushrooms to grow and thrive.
Key Takeaways:
- Learn how to make sawdust substrate for growing mushrooms.
- Discover the composition and benefits of sawdust substrate.
- Find out how to choose the right sawdust for your mushroom variety.
- Learn how to properly mix and inoculate the sawdust substrate with nutrient supplements and mushroom spawn.
- Understand the ideal growing conditions for mushrooms and how to properly maintain and care for your sawdust substrate.
Understanding Sawdust Substrate
Before we dive into the process of making sawdust substrate, it’s important to understand its composition and the benefits it offers for mushroom cultivation.
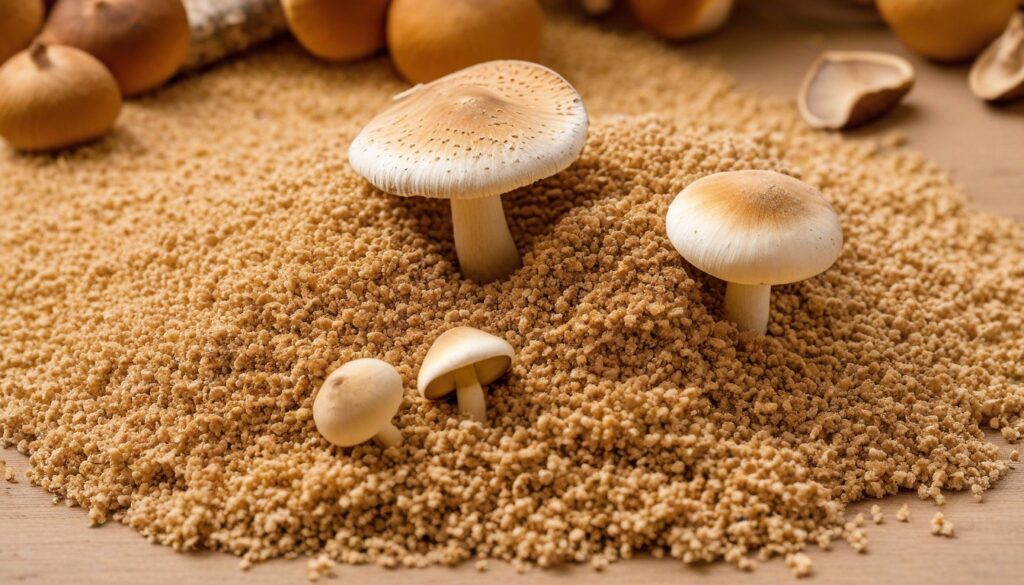
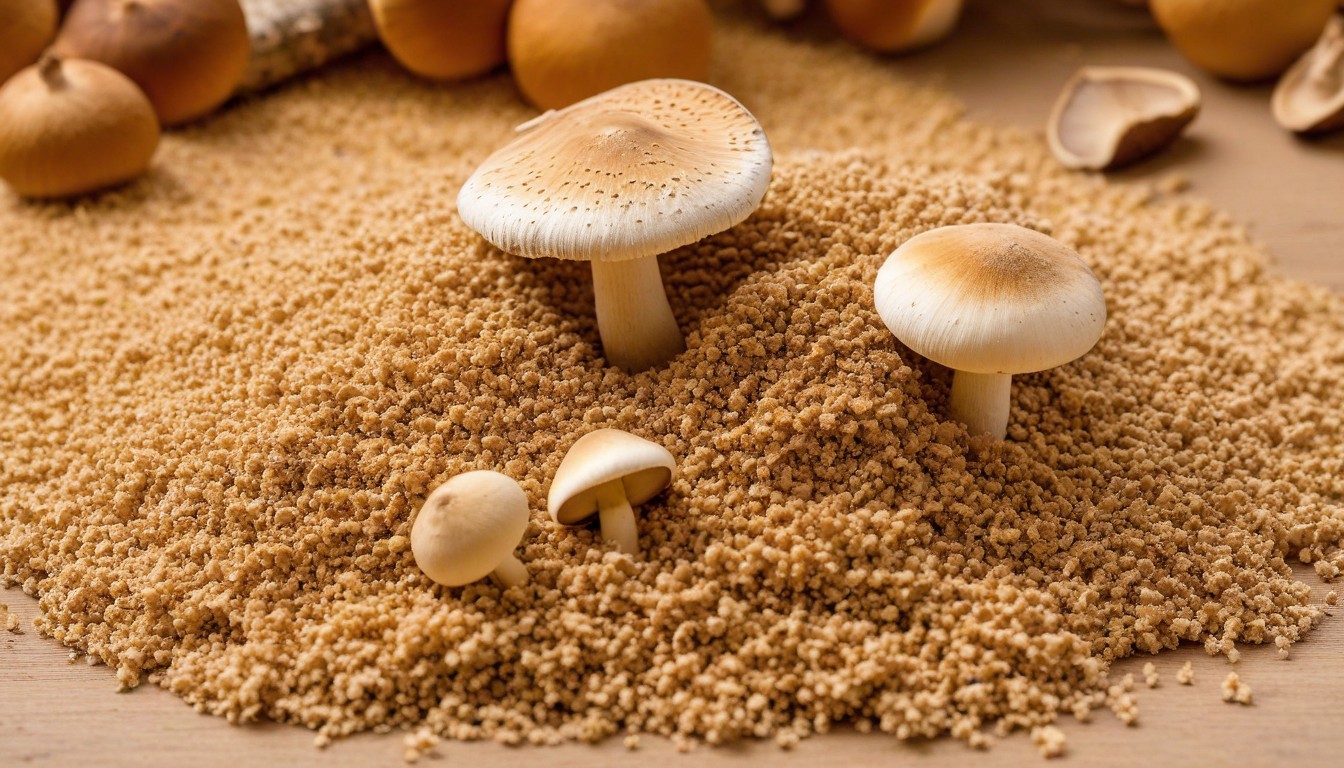
The Composition of Sawdust Substrate
|
Component |
Function |
|---|---|
|
Sawdust |
Provides structure for the substrate |
|
Wheat bran | |
|
Gypsum |
Regulates pH levels and provides necessary minerals |
|
Water |
Creates moisture for mushroom growth |
As you can see, sawdust substrate is primarily made up of sawdust, wheat bran, gypsum, and water. The sawdust provides the necessary structure for the substrate, while the wheat bran and gypsum enhance nutrient availability and regulate pH levels. Water is also added to create the necessary moisture for mushroom growth.
The Benefits of Sawdust Substrate
Sawdust substrate has several benefits for mushroom cultivation:
- It is easy and inexpensive to make at home.
- It is a versatile substrate that can be used for cultivating a variety of mushroom species.
- It can provide high yields if prepared and maintained correctly.
- It has a long shelf life and can be stored for future use.
By understanding the composition and benefits of sawdust substrate, you can optimize your mushroom growing success and achieve impressive yields from your home or farm.
Choosing the Right Sawdust
Choosing the right wood type is essential when making sawdust substrate for growing mushrooms. Different wood types can affect the composition and nutritional value of the substrate, which can have a significant impact on your mushroom growth and yield. Here are some factors to consider when choosing your wood type:
- Hardwood vs. Softwood: Hardwood sawdust is generally preferred over softwood sawdust because it contains fewer resins and oils that can inhibit mushroom growth. Popular hardwoods include oak, maple, and beech. Softwood options like pine, spruce, and fir can still be used, but they require extra preparation and supplementation to remove harmful compounds.
- Freshness: Fresh sawdust is the best option for mushroom cultivation because it contains higher levels of nutrients and moisture. Avoid using sawdust that has been sitting for too long or has started to dry out.
- Source: Make sure the sawdust you use is from a safe and reliable source. Avoid using sawdust from treated lumber or other potentially contaminated sources.
Once you’ve chosen your wood type, it’s important to prepare and sterilize the sawdust properly. Check out the next section for detailed instructions on how to do this.
Preparing and Sterilizing Sawdust for Mushroom Cultivation
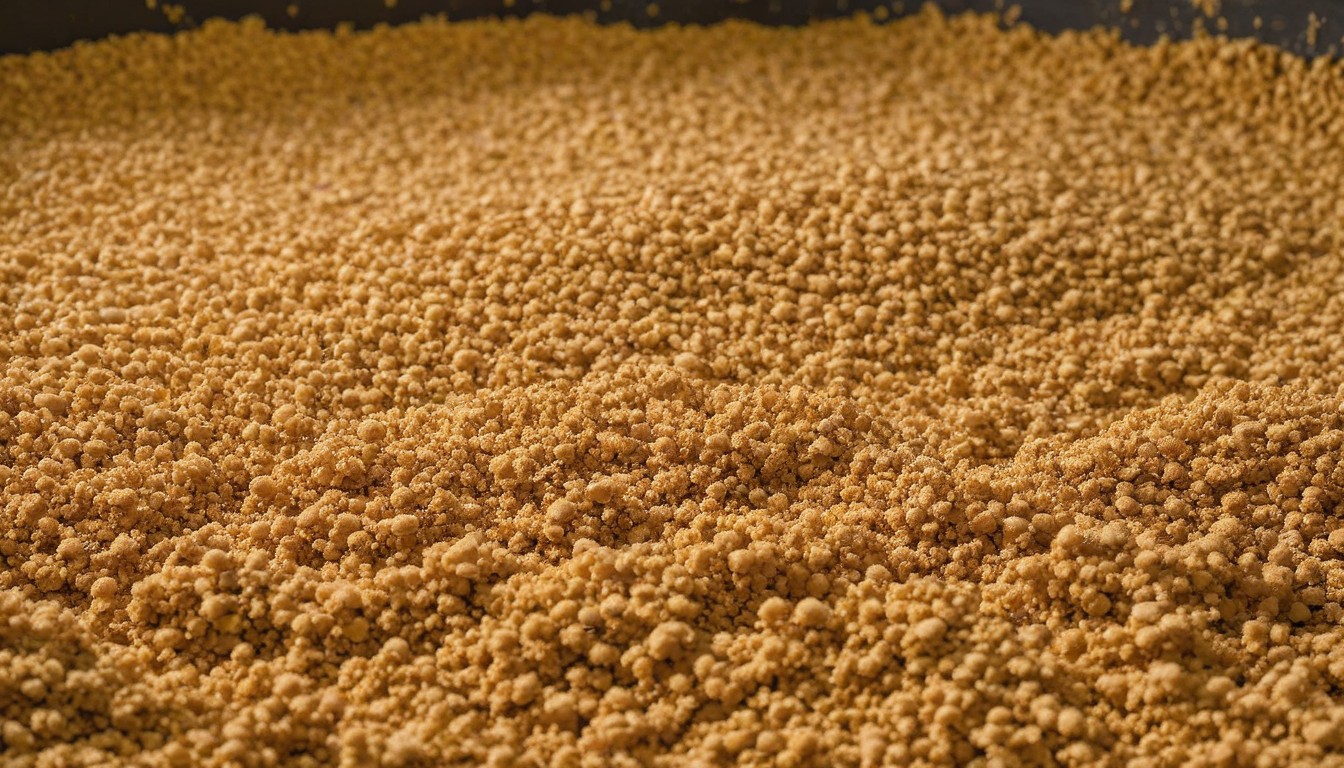
If you want to successfully grow mushrooms on sawdust substrate, proper preparation and sterilization of the sawdust is essential. This helps to eliminate unwanted contaminants and creates a favorable environment for the mushrooms to thrive.
Here’s a step-by-step guide on how to prepare and sterilize sawdust for mushroom cultivation:
- Choose the right sawdust: Sawdust from hardwood trees like oak or maple is ideal for mushroom cultivation as it contains fewer contaminants than softwood sawdust. Make sure to avoid sawdust from treated wood as it contains harmful chemicals that can harm the mushrooms.
- Dry the sawdust: Spread the sawdust out in a thin layer and let it air dry for a few days before use. This will help to reduce the moisture content and make it easier to sterilize.
- Prepare the sawdust: Place the sawdust into a large pot and add enough water to cover it by at least 2 inches. Bring the sawdust to a boil and let it simmer for 5-10 minutes. Drain the sawdust into a strainer and allow it to cool for at least an hour.
- Sterilize the sawdust: Once the sawdust has cooled, it’s time to sterilize it to eliminate any remaining contaminants. Pack the sawdust tightly into jars or bags, leaving about an inch of space at the top. Place the jars or bags into a pressure cooker and sterilize them at 15 PSI for 60-90 minutes. Alternatively, you can sterilize the sawdust in an oven by baking it at 250°F for 2-3 hours.
- Cool and store the sawdust: Once the sawdust has been sterilized, allow it to cool completely before use. Store the sawdust in a clean, airtight container until you’re ready to use it.
Following these steps will ensure that your sawdust substrate is free of contaminants and optimized for mushroom growth. Happy cultivating!
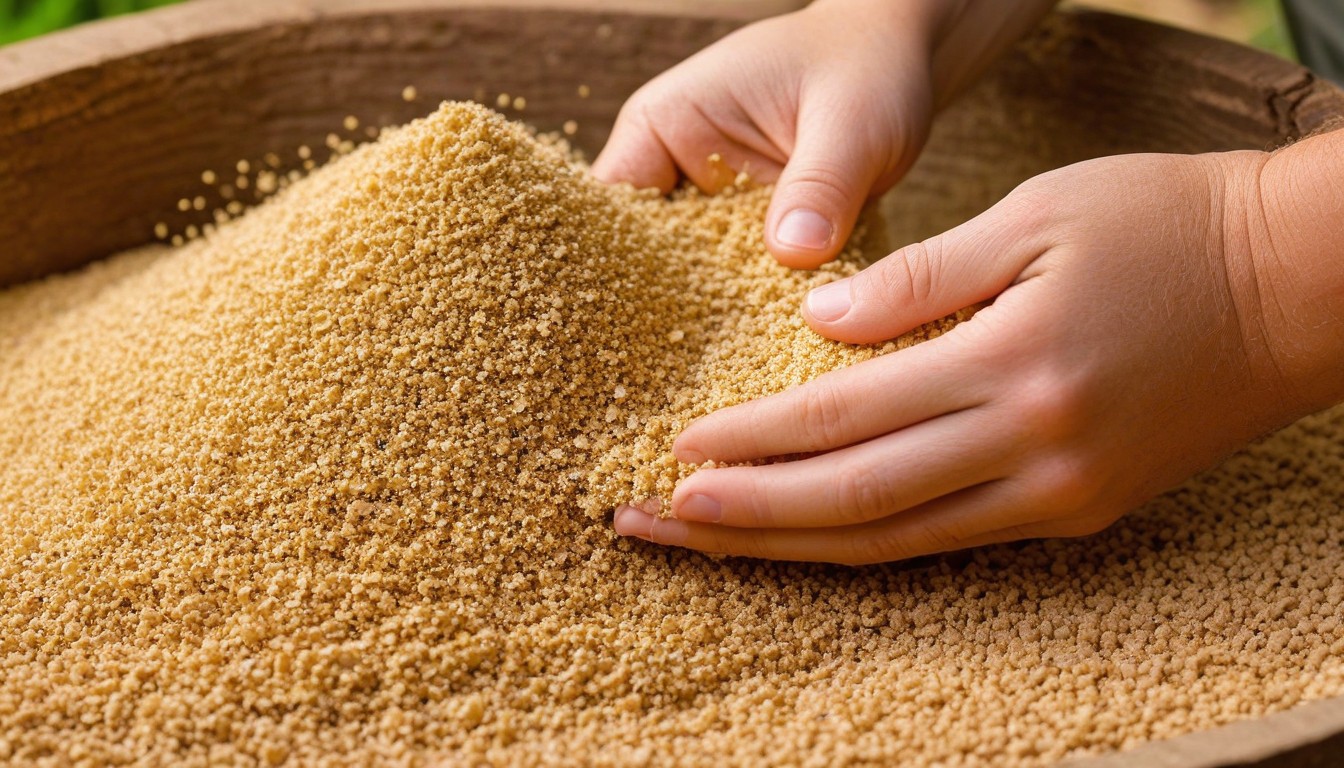
Mixing Sawdust with Nutrient Supplements
While sawdust substrate provides an excellent foundation for mushroom growth, adding nutrient supplements can make all the difference in your yields. These supplements help provide the necessary elements for healthy mushroom growth.
There are various nutrient supplements available, and the choice depends on the specific mushroom variety you plan to grow. Common supplements include bran, soybean meal, and cottonseed meal.
|
Nutrient Supplement |
Percentage by Weight |
|---|---|
|
Bran |
5-10% |
|
Soybean Meal |
5-10% |
|
Cottonseed Meal |
5-10% |
To mix the sawdust substrate with the nutrient supplements, use a large container to ensure even distribution. Begin by adding the sawdust to the container, then add the nutrient supplements gradually, mixing thoroughly after each addition.
The goal is to achieve a uniform mixture where each sawdust particle is coated with the supplement. It’s important not to overdo it with the supplements; too much can lead to contamination, resulting in poor yields.
Once you’ve achieved an even mixture, proceed to the next step of filling containers with the sawdust substrate and nutrient supplement blend.
Section 6: Filling Containers with Sawdust Substrate

With your sawdust substrate properly prepared, it’s now time to transfer it into containers for mushroom cultivation. The type of container you choose can impact the growth and yield of your mushrooms.
Plastic bags, mason jars, or polypropylene bags are popular options for growing mushrooms on sawdust substrate.
When filling your container, ensure that the sawdust substrate is packed in tight, but not so much that it’s overly dense. A good rule of thumb is to fill the container just below the rim, leaving some space for the mushroom spawn to be added on top.
Be sure to label your containers with the date and mushroom variety to keep track of your cultivation progress.
Pro Tip: Before filling your containers, line them with a layer of vermiculite to help maintain moisture levels and prevent contamination.
Inoculating the Sawdust Substrate
Once your sawdust substrate is prepared and sterilized, it’s time to inoculate it with mushroom spawn. This step is critical for successful mushroom cultivation.
First, prepare your mushroom spawn by mixing it with an equal amount of water in a clean container. Break up any clumps with your fingers to ensure even distribution throughout the sawdust substrate.
Next, transfer the sawdust substrate to a clean, sterilized container with a lid. Sprinkle the spawn mixture on top of the sawdust substrate, using a tablespoon to evenly distribute the mixture.
Once the spawn mixture is evenly distributed, use a sterilized spatula or spoon to mix it thoroughly into the sawdust substrate. Be sure to mix the spawn in thoroughly, but gently, to avoid damaging the delicate mycelium.
After inoculation, cover the container with a lid and store it in a warm, dark place, with temperatures that range between 65-75°F (18-24°C). Over the next few days, the mycelium will begin to colonize the sawdust substrate, and you’ll start to see the formation of white patches throughout the substrate.
Pro Tip: For optimal growth, use a ratio of 1:5 sawdust substrate to spawn mixture.
Providing the Right Growing Conditions
Proper growing conditions are crucial for the success of your mushroom cultivation. In this section, we will discuss the ideal temperature, humidity, and lighting requirements for mushrooms grown on sawdust substrate.
Temperature
Maintaining a consistent temperature is essential for healthy mushroom growth. The ideal temperature for most mushrooms grown on sawdust substrate is between 65-75°F (18-24°C). The temperature should be kept within this range throughout the entire growing process.
Humidity
High humidity levels are important for the growth of mushrooms. The ideal humidity for sawdust substrate is between 85-95%. You can maintain humidity levels by regularly misting your growing containers with water or by using a humidifier.
Lighting
Light is not essential for mushroom growth, but it can be helpful in promoting healthy fruiting. If you choose to use lighting, make sure it’s set to an appropriate intensity and duration. LED lights are a great option as they emit low levels of heat and can be easily adjusted.
Remember, mushrooms grown on sawdust substrate are sensitive to environmental changes. It’s important to monitor and maintain the ideal growing conditions to ensure a successful harvest.
Maintaining and Caring for Sawdust Substrate
Proper maintenance and care of sawdust substrate are important steps in ensuring healthy mushroom growth. Here are some tips to help you maintain and care for your sawdust substrate:
Preventing Contamination
Contamination can quickly ruin a good batch of mushrooms, so it’s important to take preventative measures. Here are some steps you can take to prevent contamination:
- Keep your growing area clean and free of clutter.
- Use a disinfectant to clean surfaces and equipment before and after use.
- Wear gloves and a mask when handling the substrate and mushrooms.
- Avoid opening the containers unnecessarily.
- Use quality spawn from a reputable supplier.
Monitoring Moisture Levels
Proper moisture levels are essential for mushroom growth. Here are some tips for monitoring moisture:
- Use a hygrometer to measure humidity levels.
- Mist the substrate with water using a spray bottle to keep it moist.
- Avoid overwatering, as it can lead to bacterial contamination.
- If the substrate appears dry, add a small amount of water to the bottom of the container, taking care not to saturate the substrate.
Troubleshooting Common Issues
Even with the best care, issues can arise during mushroom cultivation. Here are some common issues and how to troubleshoot them:
|
Issue |
Troubleshooting |
|---|---|
|
Mold growth |
Remove contaminated substrate and adjust moisture levels. Use a disinfectant to clean affected areas. |
|
Slow growth |
Check moisture levels and temperature. Ensure the substrate is well-packed. |
|
Small fruiting bodies |
Increase humidity levels and mist the substrate regularly. |
With these tips, you can maintain and care for your sawdust substrate and harvest healthy, delicious mushrooms. Happy growing!
Harvesting and Storing Your Mushrooms
Congratulations, you’ve successfully grown your own mushrooms! Now it’s time to harvest and store them properly to ensure they stay fresh and delicious for as long as possible.
Harvesting Your Mushrooms
When your mushrooms are ready to be harvested, they will have reached their mature size and the caps will have flattened out. To harvest them, gently twist the stem while pulling upwards until it comes loose from the substrate. Be sure to avoid pulling the mushroom out by the cap, as this can damage both the mushroom and the substrate.
It’s important to harvest your mushrooms as soon as they reach maturity to prevent them from becoming overripe and dropping spores, which can make a mess and reduce the overall yield of your crop.
Storing Your Mushrooms
Once you’ve harvested your mushrooms, it’s important to store them correctly to ensure they stay fresh for as long as possible. Here are some tips for storing your mushrooms:
- Store your mushrooms in a paper bag or airtight container to prevent them from drying out.
- Avoid storing your mushrooms in a plastic bag, as this can cause them to become slimy.
- Store your mushrooms in the refrigerator, ideally in the crisper drawer.
- Avoid washing your mushrooms until you’re ready to use them, as excess moisture can cause them to spoil more quickly.
When stored properly, your mushrooms should stay fresh for up to a week or more, depending on the variety.
Tips for Maximizing Shelf Life
If you want to extend the shelf life of your mushrooms even further, here are some additional tips:
- Try dehydrating your mushrooms, which can extend their shelf life up to several months.
- Experiment with pickling or canning your mushrooms to preserve them for longer periods of time.
- Freeze your mushrooms for longer-term storage, either whole or sliced. Note that frozen mushrooms may become slightly softer after thawing, so they’re best used in cooked dishes rather than raw.
With these tips, you can enjoy the fruits of your mushroom growing labor for weeks, months, or even years to come!
Conclusion
There you have it – your guide to making sawdust substrate for mushrooms! We hope you found this comprehensive guide helpful and informative. By following the step-by-step process, you can now optimize your mushroom growing success and enjoy a plentiful harvest of delicious mushrooms from the comfort of your own home or farm.
Remember to choose the right sawdust, prepare and sterilize it properly, and mix it with nutrient supplements for enhanced growth. Fill your containers with the substrate, inoculate it with mushroom spawn, and provide the right growing conditions for your mushrooms to thrive.
With proper maintenance, care, and attention, you can enjoy healthy mushroom growth and prevent contamination. And when it’s time to harvest your mushrooms, follow our tips on harvesting, storage, and maximizing shelf life.
Now that you’re equipped with the knowledge and confidence to embark on your mushroom cultivation journey, we wish you happy growing!
FAQ
How long does it take for mushrooms to grow on sawdust substrate?
The time it takes for mushrooms to grow on sawdust substrate can vary depending on the mushroom variety and growing conditions. On average, it can take anywhere from 2 to 4 weeks for mushrooms to fully develop and be ready for harvesting.
Can I reuse sawdust substrate for multiple mushroom crops?
Yes, you can reuse sawdust substrate for multiple mushroom crops. After harvesting the mushrooms, you can remove the spent substrate and sterilize it again for future use. However, it’s important to note that each successive crop may yield slightly lower mushroom production.
What should I do if my sawdust substrate becomes contaminated?
If your sawdust substrate becomes contaminated with mold or other unwanted organisms, it’s best to discard the contaminated substrate and start fresh. Contamination can negatively impact mushroom growth and yield, so it’s important to maintain a clean and sterile growing environment.
Can I grow different mushroom varieties on the same sawdust substrate?
Yes, you can grow different mushroom varieties on the same sawdust substrate. However, it’s important to ensure that the growing conditions, such as temperature and humidity, are suitable for all the mushroom varieties you are cultivating. Some mushroom varieties may have specific requirements, so it’s important to research their individual needs.
How do I know when it’s time to harvest my mushrooms?
Mushrooms are ready to be harvested when the caps have fully opened and the gills underneath are visible. This is usually when the mushrooms have reached their maximum size. It’s important to harvest them promptly to prevent over-maturity, which can result in decreased quality and texture.
How should I store harvested mushrooms?
Harvested mushrooms should be stored in a cool, dark, and humid environment to maintain their freshness. You can place them in a paper bag or a container lined with a damp paper towel to help retain moisture. Avoid storing them in plastic bags, as this can trap moisture and lead to spoilage.