
Welcome to our comprehensive DIY guide on how to make adorable felt mushrooms! Whether you’re a beginner or an experienced crafter, this project is sure to bring a touch of whimsy to your home décor. In this step-by-step guide, we will walk you through the entire process, from gathering materials to creating your own unique variations. Get ready to unleash your creativity and dive into the world of felt crafting!
Key Takeaways
- Create your own adorable felt mushrooms with this comprehensive DIY guide
- Gather all necessary materials before beginning
- Choose the right felt colors for your mushrooms
- Learn precision cutting and stitching techniques for a polished finish
- Add charming embellishments for an extra touch of whimsy
Gather Your Materials
Before you get started on your felt mushroom crafting project, it’s essential to have all the necessary materials at hand. Here’s a comprehensive list of supplies you’ll need:
|
Felt |
Various colors of felt to create the caps and stems of your mushrooms. Choose colors that complement each other and fit your desired aesthetic. |
|---|---|
|
Scissors |
A sharp pair of scissors to cut out the felt pieces accurately. |
|
Stuffing |
Polyester fiberfill stuffing to give your mushrooms a plush and three-dimensional shape. |
|
Needle and thread |
A needle and thread to sew the felt pieces together. Choose a thread color that blends with the felt colors. |
|
Embroidery floss and beads |
Optional materials to embellish your mushrooms with embroidery stitches and beads for extra detailing. |
|
Glue |
A glue gun or craft glue to attach any additional elements. |
|
Templates |
Print out or hand-draw templates for the mushroom caps and stems for precise cutting. |
With these materials, you’re one step closer to creating your very own felt mushrooms. Don’t forget to set up your crafting space with a comfortable chair, good lighting, and a stable work surface. And most importantly, have fun!
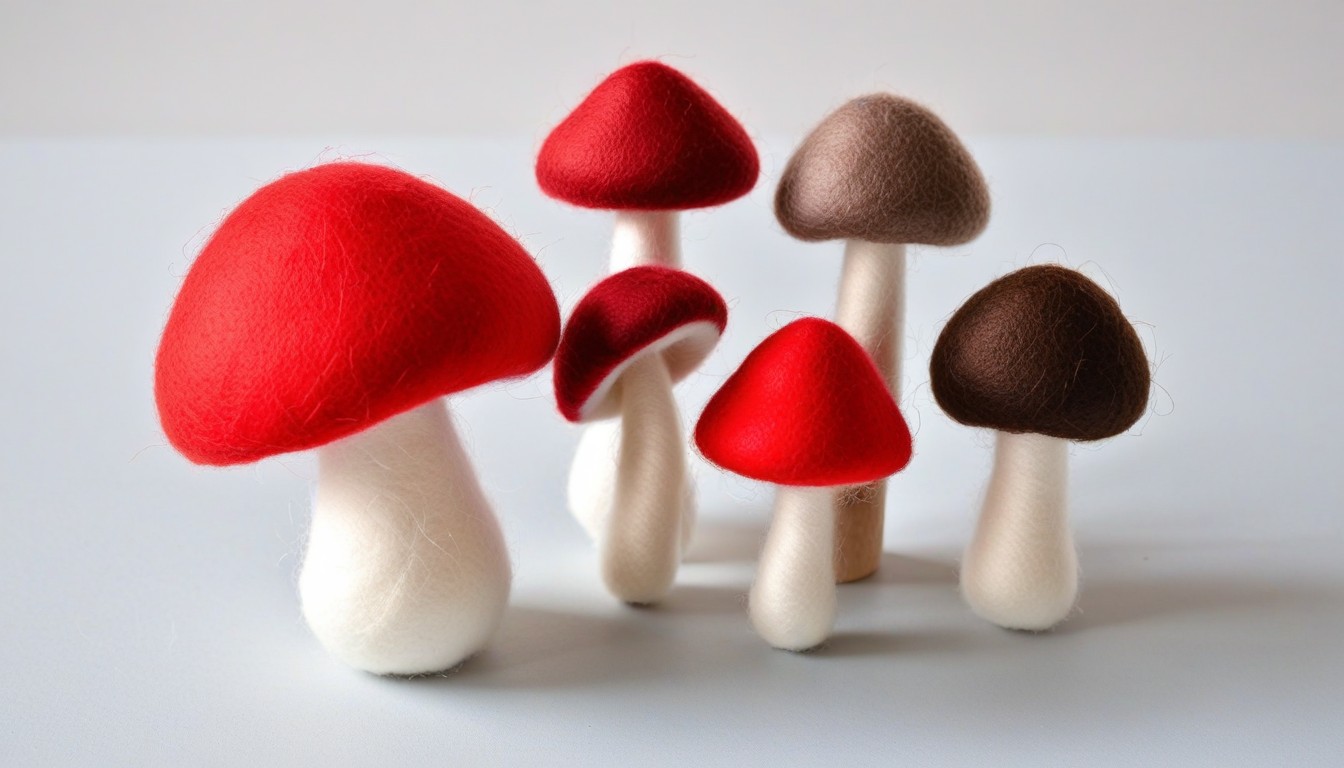
Choose Your Felt Colors
One of the most exciting parts of making felt mushrooms is selecting the perfect felt colors. Felt colors for mushroom crafts can vary depending on the type of mushrooms you want to create and the overall look you want to achieve. Here are some tips on how to select the right colors for your felt mushroom projects:
Consider the Real Thing
If you’re looking to create felt mushrooms that resemble real species, studying pictures of mushrooms can help guide your color choices. Observe the colors of the caps and the stems and try to replicate them as closely as possible using your felt.
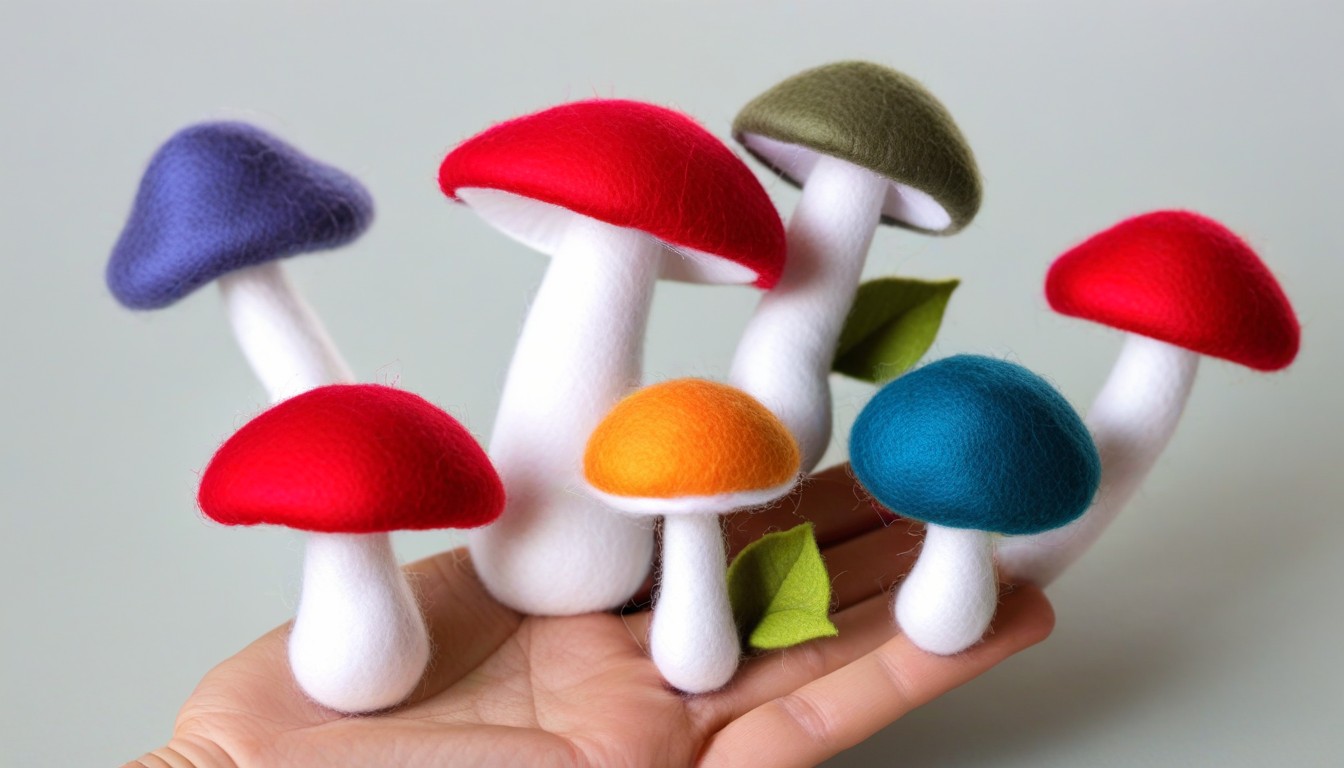
Think About Complementary Colors
While replicating real mushroom colors is one option, don’t be afraid to experiment with different hues and shades. Try pairing complementary colors together, such as green and red or blue and orange, to bring a vibrant pop of color into your felt mushroom creations.
Play with Light and Dark Tones
Another way to add depth and dimension to your felt mushrooms is by playing with light and dark tones of the same color. For example, you could use a light tan for the mushroom cap and a darker brown for the stem. This will create a realistic contrast that adds visual interest to your design.
Use Color Theory
If you’re feeling unsure about color combinations, using color theory can help inform your choices. Research color wheel concepts, such as complementary or analogous colors, to help guide your selection.
Create Your Own Palette
Finally, don’t be afraid to create your own unique color palette. Selecting colors for felt mushrooms can be a fun and creative process that allows you to channel your personal style. Consider your favorite colors or hues that match your home decor to infuse a bit of your own personality into your felt mushroom projects.
Cutting the Felt
Precision cutting is crucial when creating felt mushrooms. You’ll want to ensure your pieces are symmetrical and neat for a polished finished product.
First things first, gather your materials. You’ll need scissors, a pen or marker, and felt mushroom templates (if desired).
Use your pen or marker to trace the templates onto your felt pieces. This will serve as a guide for cutting. If you don’t have templates, use a ruler to measure and draw on the felt freehand.
Next, use your scissors to carefully cut out the traced shapes. It’s important to keep a steady hand and follow your outlines precisely.
If you’re adding any additional details, such as gills or dots, now is the time to cut them out as well.
|
Tip |
Use small, sharp scissors for precision cutting. |
|---|---|
|
Tip |
To avoid jagged edges, cut slowly and in short bursts rather than in one long motion. |
Once you’ve finished cutting, lay out your felt pieces and make any necessary adjustments. Your pieces should match up and fit together well before moving on to the next step.
With your felt now cut to perfection, you’re well on your way to creating a beautiful set of felt mushrooms.
Sewing the Mushroom Caps
Now that you’ve cut your felt pieces, it’s time to sew the mushroom caps. This step requires attention to detail, but don’t worry – it’s easier than it looks!
Tip: If you’re new to sewing, it’s a good idea to practice a few basic stitches on scrap felt to get comfortable before beginning on your mushroom caps.
To sew the caps, first, take one of your mushroom cap pieces and fold it in half with the colored side facing inwards. Use a whip stitch to sew along the curved edge, leaving the straight edge open. Repeat this with the other cap piece.
|
Stitching Techniques |
Attaching Mushroom Stems |
|---|---|
|
Once you’ve sewn the mushroom caps, it’s time to attach them to the stems. Take one of your stems and insert it into the opening of the cap. Use a whip stitch to sew the cap onto the stem, making sure the cap is centered and secure. |
Tip: To ensure your mushroom caps are the same size, try using a template or trace around the first cap you sewed.
Repeat this process with the other stem and cap piece. Your felt mushroom is now starting to take shape!
Stuffing and Shaping the Mushrooms
Now that you have assembled the mushroom caps and stems, it’s time to bring them to life by adding stuffing and shaping them to resemble realistic mushrooms.
Stuffing felt mushrooms: Take a small amount of stuffing and place it inside the mushroom cap. Push the stuffing down with your fingers or a small tool to ensure it fills out the cap completely. Be careful not to overstuff, as this can distort the shape of the cap.
Shaping stuffed mushrooms: Use your fingers to shape the cap into a dome shape, creating a natural-looking curve. Pinch and shape the sides to create folds that resemble the gills of a mushroom.
Creating mushroom gills: To create intricate mushroom gills on the underside of the cap, use a pair of scissors or a sharp tool to make small cuts around the edge of the cap. Be sure to space the cuts evenly and at a slight angle to achieve a realistic effect.
|
Tip: |
You can experiment with different shapes and sizes of mushrooms by varying the amount of stuffing and shaping techniques you use. For example, you can create flatter mushrooms by using less stuffing or taller mushrooms by shaping the stem upward. |
|---|
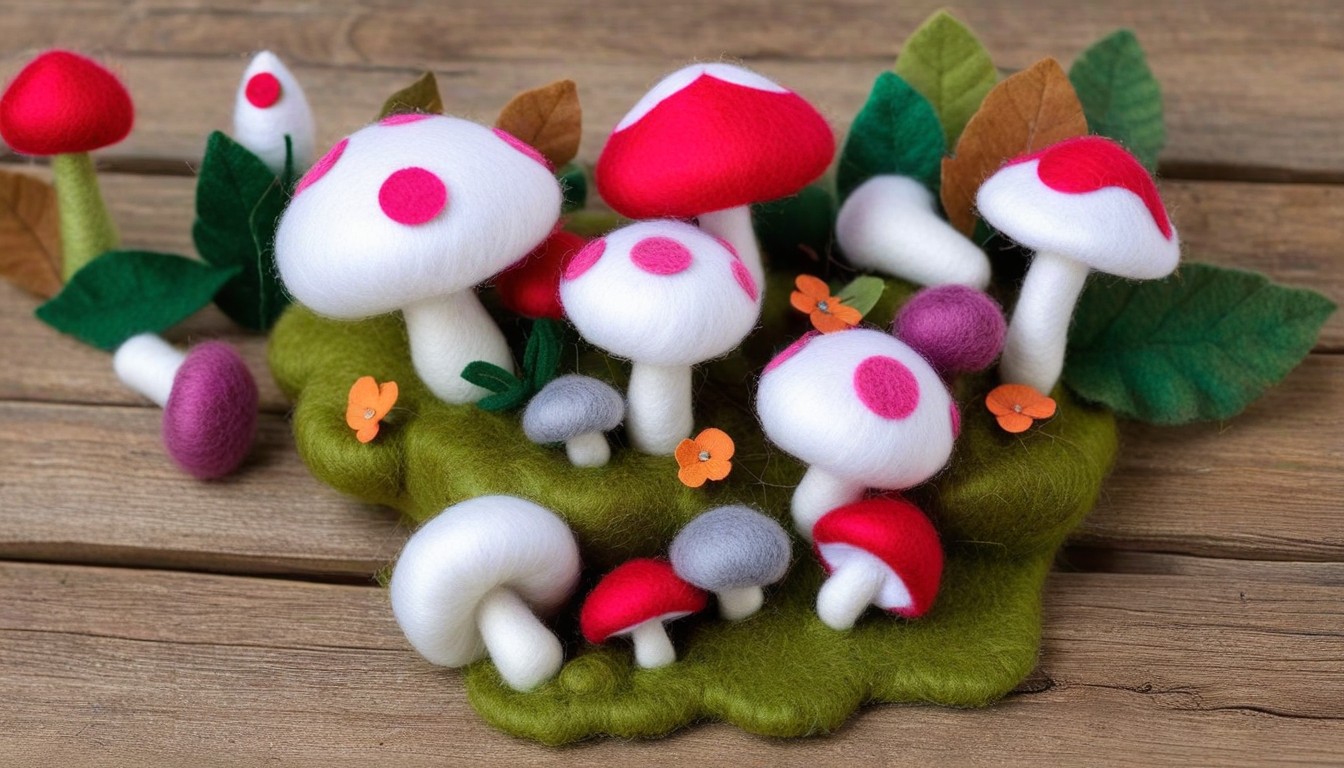
Adding Embellishments

Make your felt mushrooms stand out with creative and unique embellishments that add personality and style. Here are some ideas to get you started:
Embroidery
Add intricate designs to the mushroom caps and stems with embroidery thread. Create small details such as spots or stripes to make your mushrooms standout. Alternatively, you can stitch words or phrases to create personalized messages.
Beads and Buttons
Incorporate beads or buttons into your mushroom design to add texture and dimension. Use contrasting colors or unique shapes to complement the overall look of the mushroom.
Fabric Paint
Use fabric paint to add unique details such as dots, stripes or other patterns to the mushroom caps and stems. This is a fun way to create custom designs.
Miniature Props
Add miniature props such as tiny books, teacups, or even a tiny fairy to create a whimsical scene with your felt mushrooms. This is a great way to incorporate your mushrooms into a fairy garden or other decorative display.
Table:
|
Embellishment Idea |
Description |
|---|---|
|
Embroidery |
Add intricate designs to your mushroom with colorful embroidery thread |
|
Beads and Buttons |
Add texture and dimension to your mushroom with contrasting beads and buttons |
|
Fabric Paint |
Create unique patterns and designs with fabric paint on your mushroom |
|
Miniature Props |
Add tiny objects or figures to your mushroom display for a whimsical touch |
Remember, the possibilities are endless when it comes to embellishing your felt mushrooms. Have fun and be creative!
Creating a Mushroom Display
Now that you’ve crafted your adorable felt mushrooms, it’s time to showcase them in a beautiful display that will wow your guests. There are countless ways to display your felt mushrooms, and you’re only limited by your imagination. Below are some mushroom display ideas that you can draw inspiration from:
- Woodland-inspired centerpiece: Arrange your felt mushrooms on a slice of wood, surrounded by moss and twigs, to create a rustic centerpiece that will add a touch of nature to your home décor.
- Fairy garden: Incorporate your felt mushrooms into a fairy garden by arranging them among miniature houses, bridges, and other playful decorations.
- Wall art: Create a unique piece of wall art by arranging your felt mushrooms in a shadow box or small frames. This is a great option if you want to showcase your mushrooms without taking up too much space.
- Tabletop display: Arrange your felt mushrooms on a table or shelf, grouped together or scattered throughout, to create a charming display that will brighten up any room in your home.
When displaying your felt mushrooms, remember to consider the color scheme and overall style of your home. This will help you create a cohesive look that complements your existing décor. Don’t be afraid to experiment and try new things – after all, that’s what crafting is all about!
Felt Mushroom Variations: Unleashing Your Creativity
Now that you’re familiar with the basic process of making felt mushrooms, it’s time to explore some variations and customizations to make your creations truly unique. Here are some ideas to get you started:
Alternative Shapes
While the traditional mushroom shape is timeless, why not experiment with different shapes and sizes? For example, you could make mushroom-inspired décor like felt toadstools, or add twists like a mushroom house or a fairy tale mushroom carriage.
Textures
Using different textures for the mushroom caps and stems can add an extra layer of interest to your felt mushrooms. Consider using wool roving, embroidery techniques, or even adding tiny pom-poms to create a furry effect.
Customized Color Palette
While we’ve provided guidance on selecting colors for your felt mushrooms, don’t be afraid to break the rules and create a color palette that’s unique to your personal style and preferences. Bold and bright colors can create a fun and playful vibe, while muted shades can evoke a cozy and rustic feel.
Themed Sets
Creating themed sets of felt mushrooms can be a fun challenge and a great way to exercise your creativity. For example, you could craft a set of Christmas-themed mushrooms, or a series of whimsical mushroom characters to use as decor in a child’s bedroom.
Adding Extra Details
Like with any crafting project, it’s often the small details that make the biggest impact. Consider adding extra embellishments like bows, flowers, or even miniature animals to make your felt mushrooms extra special.
Felt Mushroom Crafting Tips, Common Problems, and Troubleshooting Advice
Congratulations on embarking on your felt mushroom crafting journey! While this project is sure to be a fun and creative experience, there may be some challenges that arise along the way. In this section, we’ll go over some tips, common problems, and troubleshooting advice to ensure your felt mushroom crafting is a success.
Felt Mushroom Crafting Tips
- Take your time: Crafting with felt mushrooms requires precision and attention to detail. Don’t rush the process – take your time and enjoy the craft.
- Use sharp scissors: Dull scissors can make cutting felt more difficult and lead to uneven edges. Make sure your scissors are sharp for clean cuts.
- Experiment with colors: Don’t be afraid to try different color combinations and variations to make your felt mushrooms unique and eye-catching.
- Get creative with embellishments: Adding small details like beads, embroidery, or felt appliques can take your felt mushrooms to the next level.
Common Problems with Felt Mushrooms
While crafting felt mushrooms is a relatively straightforward project, there are some common problems you may encounter.
|
Problem |
Cause |
Solution |
|---|---|---|
|
Felt pieces don’t align properly |
Incorrect cutting or misaligned stitching |
Take extra care when cutting and stitching to ensure pieces match up correctly |
|
Mushroom caps won’t stay attached to stems |
Insufficient stitching |
Sew the caps more securely to the stems, using extra stitches if necessary |
|
Mushroom caps are misshapen or lopsided |
Improper stuffing or shaping |
Make sure you’re properly stuffing the caps and shaping them into a smooth, round form |
Troubleshooting Advice
When problems arise, it’s important not to get discouraged. Here are some troubleshooting tips to help you overcome common challenges:
“If your mushroom caps won’t stay attached, try adding glue to the stitching for extra hold. If you’re having trouble with misshapen caps, consider using a circular template or mold to help guide your shaping.”
With these tips and troubleshooting advice in mind, you’re well on your way to creating beautiful and whimsical felt mushrooms. Happy crafting!
Conclusion
We hope this DIY guide has inspired you to create your own adorable felt mushrooms. Remember, the key to successful felt crafting is patience and attention to detail. Don’t be afraid to experiment with different colors, shapes, and embellishments to make your mushrooms truly unique.
If you encounter any difficulties during the crafting process, refer back to our tips and troubleshooting section for guidance.
Once you’ve completed your felt mushrooms, don’t forget to display them proudly in your home. Whether you choose to incorporate them into a larger decor theme or create a standalone display, they are sure to bring a touch of whimsy and charm to any room.
Thank you for joining us on this felt crafting journey. We hope you have enjoyed learning how to make felt mushrooms and are inspired to continue exploring the world of felt crafting.
FAQ
What materials do I need to make felt mushrooms?
To make felt mushrooms, you will need various colors of felt, stuffing, scissors, and other essential supplies.
How do I choose the right colors for my felt mushrooms?
Selecting the right colors for your felt mushrooms is important to bring them to life. We’ll provide guidance on coordinating colors and creating visually appealing combinations.
What is the key to cutting felt for mushrooms?
Precise cutting is crucial for creating neat and symmetrical felt mushrooms. We’ll guide you through the process of cutting felt pieces for the mushroom caps, stems, and additional details using templates and achieving clean edges.
How do I sew the mushroom caps?
Sewing the mushroom caps requires attention to detail and basic stitching techniques. We’ll show you how to sew the felt pieces together to form the caps and securely attach them to the stems.
How do I stuff and shape the mushrooms?
Stuffing and shaping the felt mushrooms gives them a three-dimensional look. Learn the proper techniques to stuff the caps, shape them into realistic mushroom forms, and create intricate gills or other details for an authentic touch.
How can I embellish my felt mushrooms?
Elevate your felt mushrooms by adding charming embellishments. We’ll provide creative ideas on how to decorate the mushroom caps with embroidery, beads, or other small embellishments to enhance the whimsical appeal.
What are some display ideas for my felt mushrooms?
Once you’ve crafted your felt mushrooms, we’ll inspire you with practical tips on how to arrange them, whether in a woodland-inspired centerpiece or as part of a fairy garden. Let your imagination run wild!
How can I create unique variations of felt mushrooms?
This section explores ways to customize and create unique designs beyond traditional mushroom forms. Discover how to add different textures and experiment with alternative shapes to craft one-of-a-kind felt mushrooms.
Do you have any tips for felt mushroom crafting?
In this section, we’ll offer helpful tips to ensure a smooth crafting experience, including tackling tricky stitches and troubleshooting common problems that may arise.
What is the conclusion of this DIY guide?
Congratulations on completing your felt mushroom crafting journey! We hope this guide has sparked your creativity and brought whimsy to your home. Feel free to explore other felt crafting projects and continue unleashing your artistic skills. Happy crafting!