Transform your culinary journey with an oyster mushrooms kit, nurturing self-sustenance and paving the way for nutrient-rich, homegrown delights.
Choosing the Right Oyster Mushroom Kit
Deciding on the best oyster mushroom kit involves considering your individual needs. Factors such as space, time, and desired yield play crucial roles in identifying the ideal kit to fulfill your mushroom cultivation aspirations.
Your choice of kit significantly impacts the success of your mushroom growth. A well-selected kit paves the way for robust mushroom development, ensuring a bountiful harvest that brings satisfaction to your homegrown edible delights.
Types of Oyster Mushroom Kits
In the world of fungi cultivation, variety is key. There are numerous types of oyster mushroom kits available, each providing a unique cultivation experience and yielding different mushroom varieties.
- Blue Oyster Mushroom Kits – Best for cooler climates
- Pink Oyster Mushroom Kits – Ideal for warmer regions
- Golden Oyster Mushroom Kits – Suited for varying temperatures
- Pearl Oyster Mushroom Kits – Good for all-year cultivation
- King Oyster Mushroom Kits – Highly recommended for their unique flavor and texture.
Considerations for Choosing a Kit
When selecting an oyster mushroom kit, there are essential factors to consider to ensure successful growth. A closer look at kit specifications will help you make an informed decision.
- Nature of the Spawn: Check whether the spawn is already inoculated into a substrate or it comes separately to manually inoculate.
- Quality of Substrate: Opt for kits that offer high-quality, nutrient-rich substrates like straw or sawdust to ensure optimal growth.
- Growth Medium: Consider the growth medium provided within the kit. A pre-sterilized medium reduces contamination risks.
- Ease of Use: Kits should be user-friendly, especially for beginners, with clear instructions to guide through the process.
- Customer Support: Choose brands that provide excellent customer service for troubleshooting and guidance.
- Reviews and Ratings: Check previous customer experiences and ratings to gauge product effectiveness and reliability.
Understanding Oyster Mushroom Growth
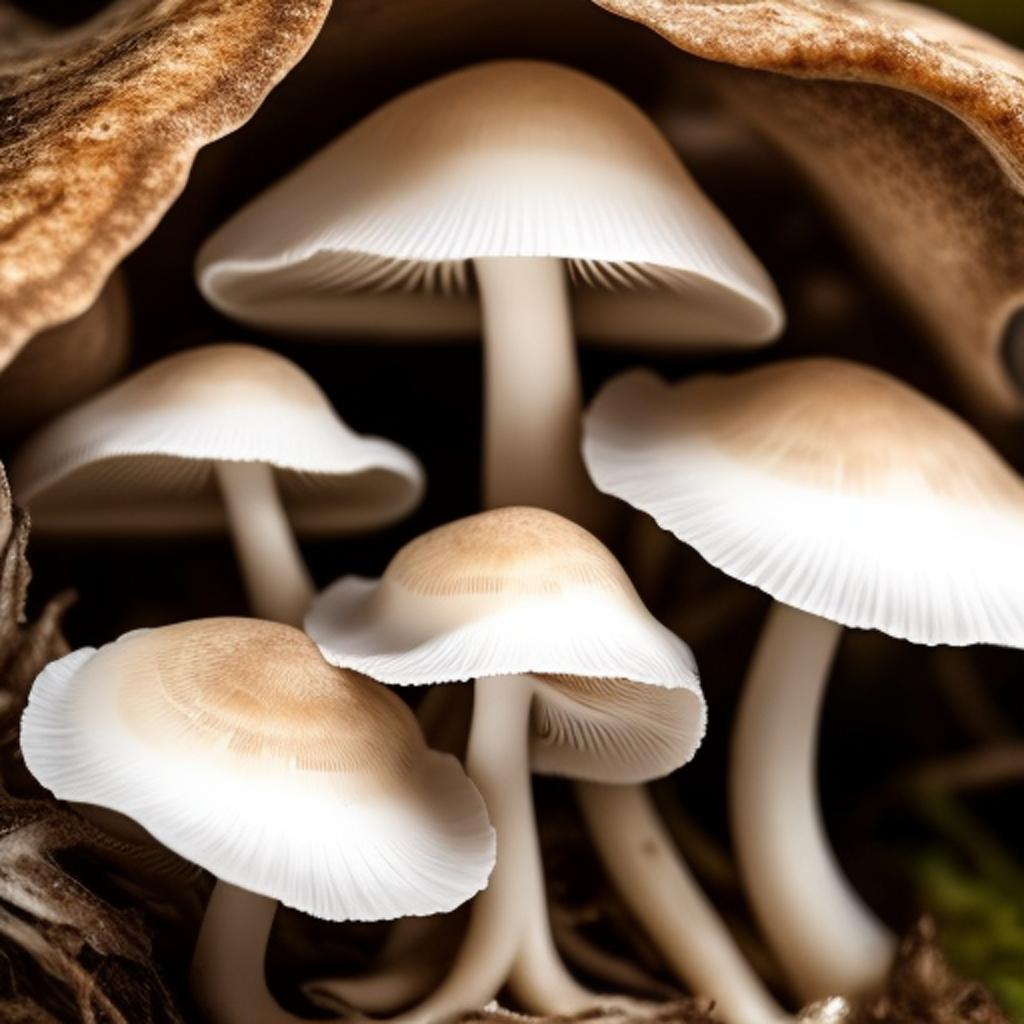
Delving into the mysteries of nature, it’s crucial to apprehend the growth process of Oyster mushrooms. The lifecycle encompasses spore germination, mycelium development, and finally, fruiting body formation – each phase an integral facet of successful cultivation.
The growth cycle of Oyster mushrooms offers a fascinating glimpse into nature’s synchronous processes – from microscopic spore germination to the emergence of edible fruiting bodies.
Harnessing nature’s bounty requires an understanding of the growth stages of Oyster mushrooms. They start life as microscopic spores, develop a mycelium network in a nurturing substrate, and conclude with the flourishing of the edible fruiting bodies.
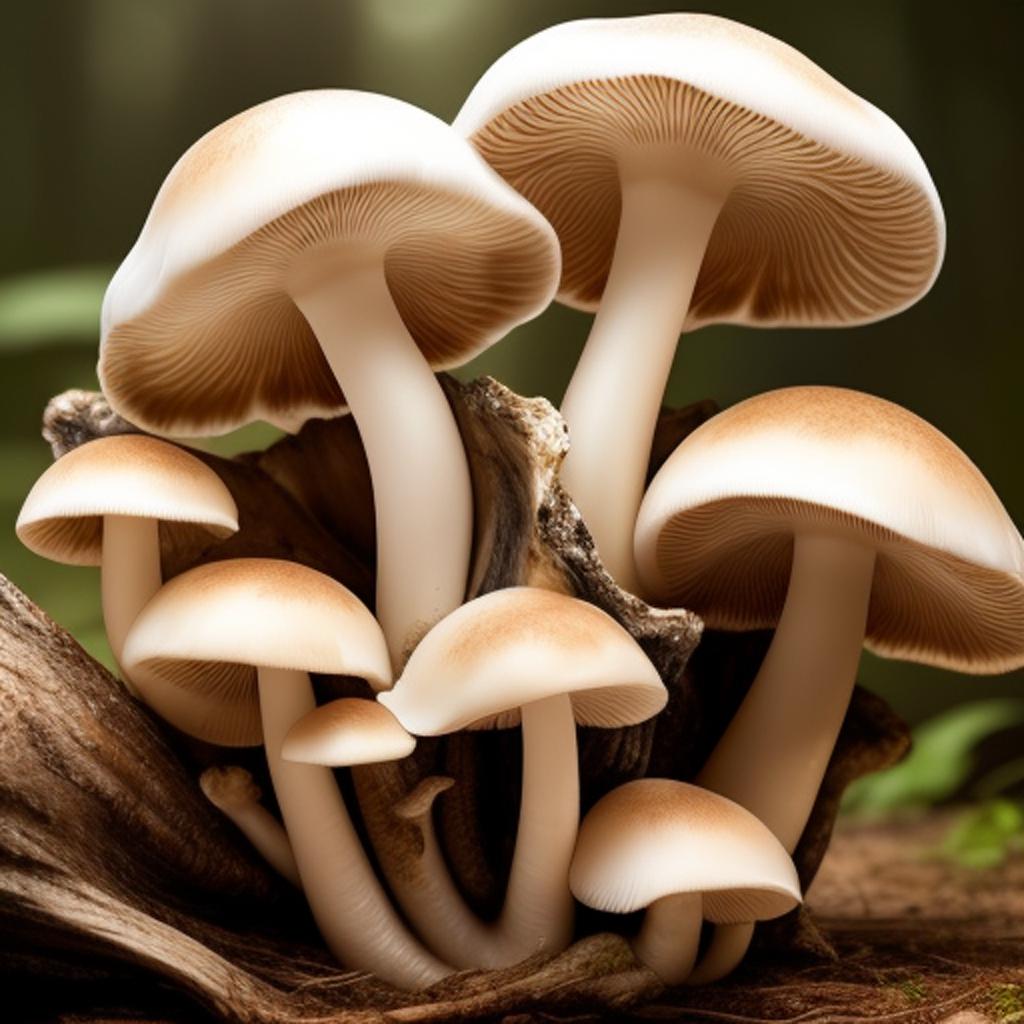
Life Cycle of Oyster Mushrooms
The life cycle of Oyster mushrooms is a splendid natural phenomenon, beginning as a tiny spore, maturing into a developed mycelium, then fruiting, and finally, producing edible fungi. This intricate cycle mimics nature’s ballet, showcasing each step with precision and beauty.
- Spore germination: Oyster mushroom cycle begins with the germination of spores.
- Hyphal knot formation: Post germination, the spores transform into a network of threads called mycelium. This network, upon maturing, forms what is known as hyphal knots.
- Primordia development: The hyphal knots grow and convert into primordia or pinheads, the beginning of the fruiting phase.
- Growth phase: The primordia, given the suitable environment, continue to grow and develop to become mature Oyster mushrooms.
- Maturity: Finally, at fruition, the Oyster mushrooms are ready to be harvested and savored.
Ideal Growing Conditions
Understanding the perfect climate for growing oyster mushrooms is crucial to the success of your cultivation efforts. Oyster mushrooms thrive in very specific conditions.
- A temperature range between 55-75°F (13-24°C) is ideal for their growth.
- They require a high humidity level of around 70-80%.
- These mushrooms prefer a slightly acidic pH of 5-8.
- Proper air circulation is crucial, but they should be protected from drafts.
- Light is important but not crucial, meaning they can tolerate low-light conditions.
Preparing for Growing Oyster Mushrooms
A thorough preparation includes gathering relevant supplies: oyster mushroom spawn, growing substrate, and materials such as a thermometer, hygrometer, and misting bottle. Understanding their roles in cultivation is crucial for a successful homegrown oyster mushroom experience.
Embarking on the journey to grow your own oyster mushrooms, it’s essential to create the right environment. This environment embodies certain conditions: a dark, humid space with temperatures of about 21-24°C (70-75°F), that will encourage optimal mushroom growth.
Gathering Supplies
Before embarking on your journey of home-based oyster mushroom cultivation, it’s paramount to equip yourself with essential supplies. Armed with the right tools, you’ll be well on your way to a successful harvest.
- An oyster mushroom spawn: This is the mycelium of the mushroom, which needs to be grown on a growth medium.
- A growth medium: Oyster mushrooms usually grow well on straw, coffee grounds, or a special growth medium purchased commercially.
- Spray mister: Helps maintain humidity levels, an important factor in successful home mushroom cultivation.
- Temperature and humidity monitor: Aids in maintaining the ideal conditions for the growth of mushrooms.
- A sharp knife: For clean and easy harvest.
- Plastic bags or growing containers: To hold the substrate and mycelium together for growth.
Creating the Right Environment
Establishing a conducive habitat is essential for successful oyster mushroom cultivation. This involves maintaining optimal conditions, such as proper temperature, humidity, light, and air circulation, to promote healthy development.
Designing the ideal environment for home-grown oyster mushrooms can vastly improve yield. A quiet, well-lit place with consistent temperature control, adequate fresh air, and a moist atmosphere is paramount.
Planting Oyster Mushroom Spawn
When planting Oyster mushrooms, a methodical approach is crucial. Start with a clean, sterile environment to prepare your substrate by heating it to kill any existing contaminants. Then, evenly distribute the supplied spawn to ensure each mushroom has adequate space to grow.
Success in Oyster mushroom cultivation often lies in the correct application of the spawn. Once your chosen growth medium is prepared and cooled, add the mushroom spawn and thoroughly mix it, leaving no area untouched. This technique promotes even distribution, and ultimately, a higher yield of mushrooms.
Preparing the Substrate
When starting your oyster mushroom journey, the first task is to prepare your substrate. Composed of organic materials that mushrooms feed on, the substrate should be properly sterilized to eliminate competing organisms.
A crucial determinant of success, the substrate choice depends on what the growing kit recommends. Commonly used substrates are straw, hardwood sawdust, or a combination of both.
Best practices for substrate preparation involve careful hydration. Aim to achieve a moisture content that can be compared to a damp sponge – moist, but not dripping.
Remember to consider the size of your mushroom kit when prepping your substrate. It should be enough to fill the grow bag, providing ample room for the mycelium to expand.
Ensure proper sterilization of substrate, it’s a crucial step. Sterilize using methods like steam pasteurization, hot water bath, or baking in an oven. This helps keep infections at bay and promotes healthy growth.
Inoculating the Substrate
Inoculation marks a critical period, where the mycelium, the root network of your oyster mushroom, is introduced into the substrate. The substrate, a base material like straw or coffee grounds, must be sterilized beforehand to ensure no competing organisms exist.
Following sterilization, spread your mycelium-spawn combination evenly across the substrate. This action seeks to cultivate a dense colonization of mycelium within the substrate, which forms the foundation for fruitful oyster mushroom propagation.
Uniform distribution of the spawn is paramount for effective inoculation. Placing the inoculated substrate in a humid, dark area stimulates the mycelium to consume the substrate gradually, multiplying in biomass and laying the foundation for subsequent mushroom grow.
Successful inoculation acts as a catalyst for thriving oyster mushroom cultivation, encouraging consistent, optimum growth. Unsuccessful or uneven inoculation can lead to subpar yields or slow growth, emphasizing the importance of this critical stage in mushroom farming.
Ineffective inoculation also threatens the overall health of your mushroom crop, making it susceptible to contamination from other organisms. Therefore, meticulous attention during this stage can steer your cultivation journey towards fruition, yielding a bountiful harvest of oyster mushrooms.
Caring for Oyster Mushroom Growing Kits
A successful oyster mushroom harvest relies heavily on optimal care of your mushroom growing kit. Consistent watering, regular temperature checks and maintaining an ideal humidity level within the kit will assure you a bountiful growth of these healthful and savory delights.
Through proper care and maintenance of your oyster mushroom kit – from keeping the right temperature and humidity, to ensuring light and air circulation – you heighten the chances of a stellar harvest, thereby reaping the rewards of your meticulous efforts.
Temperature and Humidity Control
Striking a balance in temperature and humidity is vital. For optimal growth, oyster mushrooms prefer temperatures between 55°F and 75°F, and humidity levels of about 70-80%. Hence, monitoring your kit frequently ensures these conditions are constant.
Your oyster mushrooms’ growth trajectory hinges significantly on temperature and humidity. Any harsh deviation from the ideal conditions might prolong the maturation period or, worse, inhibit growth completely; thus, developing a command over these elements is crucial.
Light and Air Circulation
Oyster mushrooms may not require sunlight for photosynthesis, yet a delicate balance of indirect light is integral to stimulate growth. Light not only controls direction but also affects form and colour. Similarly, air circulation prevents bacterial infestations by reducing stagnant air around the growing mycelium.
Regular airflow is the key to a healthy harvest. It aids in drying the surface of mushrooms reducing potential for contamination. Furthermore, continuous airflow provides a gentle stimulus for growth, encouraging the development of stronger and denser mushroom bodies.
An adequately ventilated space minimizes the chance of mould by preventing the build-up of excess moisture. Consequently, balanced humidity levels are maintained, a a crucial condition for the productive growth of oyster mushrooms. Neglecting ventilation could lead to a poor harvest or no harvest at all.
Creating an optimal growing environment requires adjusting light and airflow conditions as necessary. For instance, you may need to increase the amount of light during the shape formation stages. Or, you might need to enhance airflow during fruiting to keep the mushrooms dry and contamination-free.
Never overlook the importance of proper lighting and air circulation in mushroom cultivation. Through careful regulation of these environmental conditions, home growers can yield high-quality oyster mushrooms, full of nutritional value and rich taste, in the comfort of their own homes.
Harvesting and Enjoying Homegrown Oyster Mushrooms
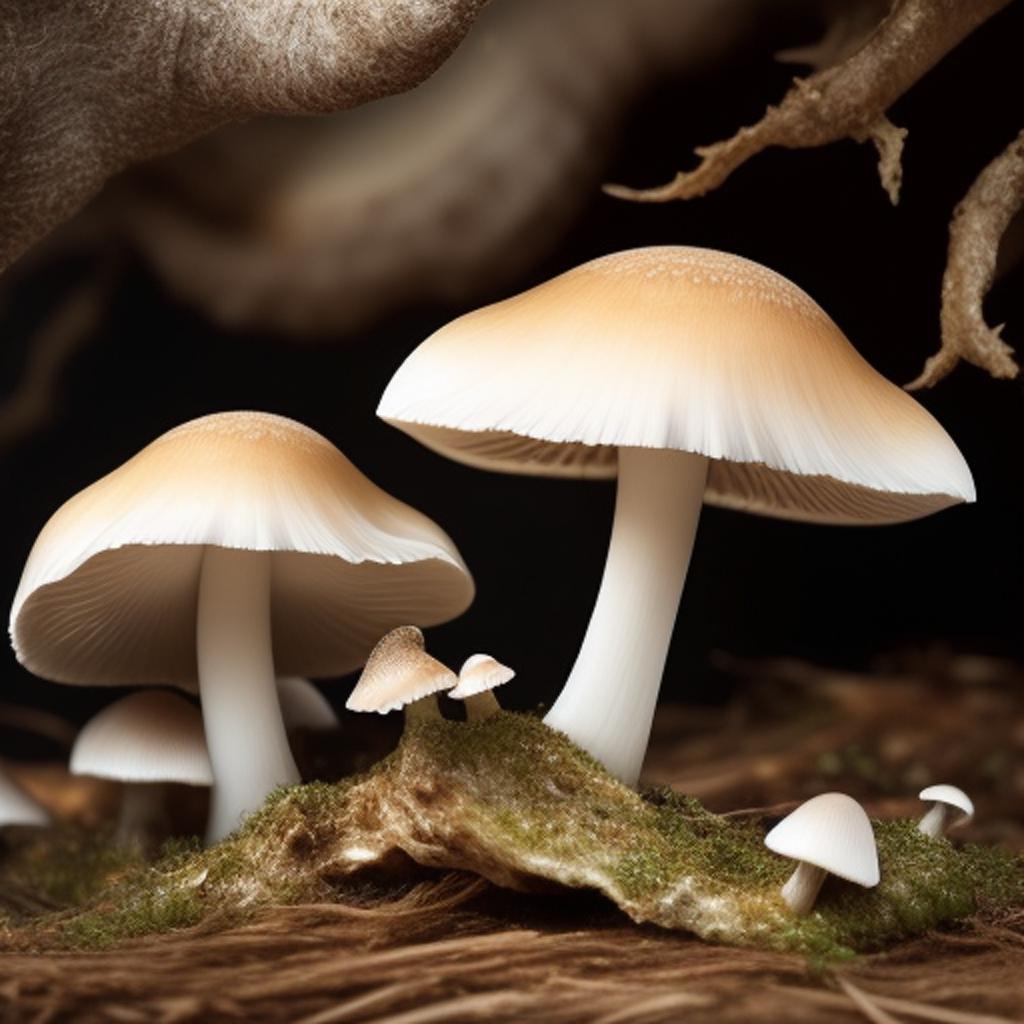
Harvesting Oyster Mushrooms is an art that requires knowledge of the right techniques, where a glance at the cap’s edge signals readiness, and a gentle twist ensures a clean harvest.
Once you’ve mastered harvesting, you can savor your homegrown bounty through a myriad of delicious dishes, infusing your everyday meals with the unique taste and texture of Oyster Mushrooms.
Signs of Readiness for Harvest
When the edges of your oyster mushrooms uncurl slightly and become less wavy, they’re approaching peak ripeness. A firm touch and a distinctive mushroom smell further verify their readiness.
The maturity of oyster mushrooms can also be discerned from their growth pattern; upon forming a cluster of overlapping caps it’s time to bring these edible delights from your growth kit to the kitchen.
Proper Techniques for Harvesting
Precision is vital in the harvesting process of Oyster Mushrooms. With a sharp knife, cut the mushroom at the base, near the growing medium, taking care not to dislodge nearby pins or harm the mycelium. This careful approach ensures a continued mushroom yield.
Respect for the mushroom growth cycle is key. Refrain from harvesting immature ‘pins’, as they can develop into full-grown mushrooms. By exercising restraint, you ensure a more bountiful future yield.
After harvesting, avoid touching the substrate unnecessarily. Excessive handling could introduce contaminants to the growing environment, potentially affecting the quality and quantity of your subsequent Oyster Mushroom yield.
Maintain cleanliness, as it is essential in ensuring the productivity of your Oyster Mushroom Kit. Apart from using a sharp knife, consider sterilizing it before every harvest. This reduces the risk of infecting your crop and promotes quality growth for future yields.
Delicious Recipes to Try with Oyster Mushrooms
Embarking on a culinary adventure with your homegrown oyster mushrooms opens doors to delightful gastronomic creations. The distinct yet delicate flavor of these fungi adds depth to an array of dishes while inviting you to experiment beyond the conventional culinary boundaries.
Harvesting your oyster mushrooms transforms your kitchen with innovative recipes that showcase the versatility of this fungus. From creamy oyster mushroom risotto to pan-seared mushrooms on toast, each dish raises the bar of your home cooking, offering a unique mouthwatering experience with each bite.
Oyster Mushrooms Kit: Frequently Asked Questions
Introduction: Get answers to the most commonly asked questions about growing your own oyster mushrooms kit.
1. What is an oyster mushrooms kit?
An oyster mushrooms kit is a convenient package that contains everything you need to grow your own oyster mushrooms at home, including substrate, spawn, and instructions.
2. How does an oyster mushrooms kit work?
The kit works by creating the ideal environment for oyster mushrooms to grow. You simply follow the provided instructions to prepare the substrate, inoculate it with the spawn, and then maintain the right conditions of temperature and humidity for the mushrooms to flourish.
3. How long does it take to grow oyster mushrooms using a kit?
The growing time can vary, but typically, oyster mushrooms can be harvested within 2 to 4 weeks after setting up the kit. It depends on factors like temperature, humidity, and the specific variety of oyster mushrooms.
4. Do I need any special equipment or expertise to use an oyster mushrooms kit?
No, an oyster mushrooms kit is designed for beginners and experienced growers alike. It includes all the necessary materials and detailed instructions, making it easy to get started even if you have no prior experience with mushroom cultivation.
5. Can I grow oyster mushrooms indoors?
Yes, oyster mushrooms can be successfully grown indoors using a kit. They do not require direct sunlight and can thrive in a controlled environment with proper air circulation and moisture levels.
6. How many times can I harvest from an oyster mushrooms kit?
Depending on the specific kit and growing conditions, you can generally expect to have multiple harvests from a single oyster mushrooms kit. After the first harvest, you can continue to provide the right conditions for the kit to produce subsequent flushes of mushrooms.
7. Are oyster mushrooms kits sustainable?
Yes, oyster mushrooms kits are considered sustainable because they utilize agricultural waste products as the substrate. By growing your own mushrooms with a kit, you are reducing food waste and minimizing your carbon footprint.
8. Can I grow oyster mushrooms outdoors with a kit?
While it is possible to grow oyster mushrooms outdoors, using a kit specifically designed for indoor cultivation is recommended for optimal results. Outdoor growing conditions can be more challenging to control and may result in lower yields.
9. Where can I purchase an oyster mushrooms kit?
Oyster mushrooms kits are available from various gardening supply stores, online retailers, and specialty mushroom producers. You can also consider seeking advice from local mushroom enthusiasts or farmers’ markets for recommendations on trusted sources.
10. Are oyster mushrooms kits suitable for a beginner?
Absolutely! Oyster mushrooms kits are often recommended for beginners due to their ease of use and reliable results. They provide a great introduction to the world of mushroom cultivation and can be a rewarding and educational experience.
Remember to follow the provided instructions and maintain the necessary conditions for successful mushroom growth with your kit. Happy mushroom growing!
Conclusion
In closing, growing Oyster Mushrooms at home offers the dual benefits of promoting self-sustenance and providing a fresh, natural source of nutrients. This connects us back to nature and imbues us with a sense of achievement.
Your journey with Oyster Mushroom kits, from understanding their lifecycle to enjoying their flavors in cuisines, demystifies the process of growing edible mushrooms. It’s a delightful adventure from culture to cuisine.
- Promote self-sustenance: From planting the spawn to watching it thrive, you control the entire process, ensuring fresh and natural produce.
- Become a part of nature: Understanding and being a part of the mushroom’s lifecycle nurtures a closer connection to nature.
- Achieve a sense of accomplishment: Growing your own food can bring about a heightened sense of achievement and be a stress-relieving activity.
- Experience a farm-to-table journey: The experience of growing Oyster Mushrooms at home and incorporating them in your kitchen introduces you to the true essence of farm-to-table culture.