If you’ve ever been curious about growing your own mushrooms, liquid culture mushrooms are a great place to start. With their faster colonization, increased yields, and higher success rate, they’re a popular choice among home cultivators. In this comprehensive guide, we’ll walk you through the step-by-step process of making your own liquid culture mushrooms at home. You’ll learn everything you need to know, from gathering the required materials to incubating and cultivating the mycelium.
Key Takeaways:
- Liquid culture mushrooms offer faster growth and higher success rates than other methods of mushroom cultivation.
- Gathering the right materials, sterilizing equipment, and creating a nutrient-rich liquid culture solution are essential steps in the process.
- The incubation and cultivation stages require careful monitoring of temperature, humidity, and lighting to ensure optimal results.
- Transferring the mycelium to a suitable fruiting substrate is the final step before harvesting your own delicious and nutritious edible fungi.
- By following this guide, you’ll be able to cultivate your own liquid culture mushrooms from start to finish.
Understanding Liquid Culture Mushrooms
Before delving into the process of making liquid culture mushrooms, it’s essential to understand what they are and why they are becoming increasingly popular among home cultivators.
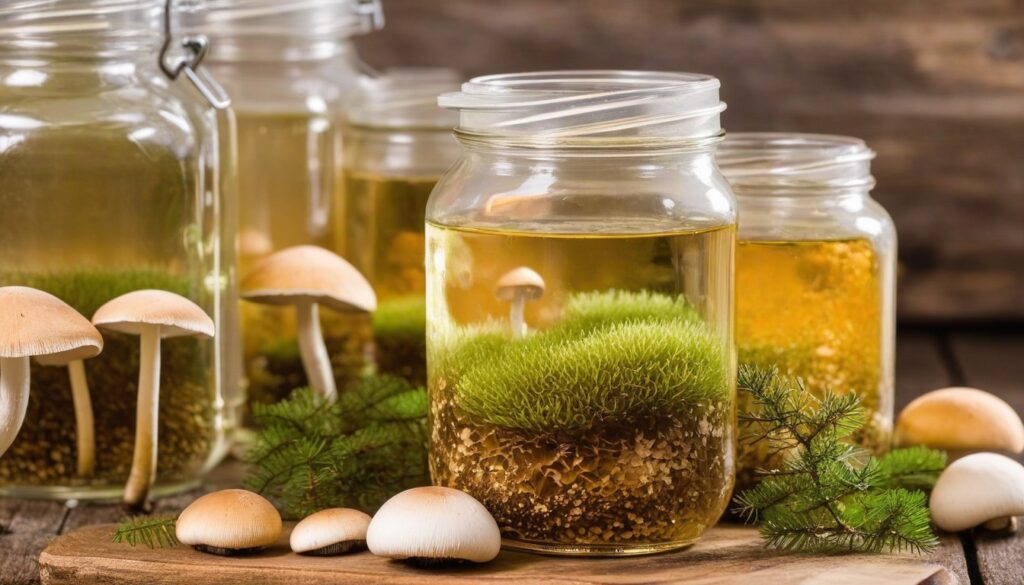
Liquid culture mushrooms refer to a technique that involves growing fungus in a liquid medium instead of traditional solid substrate. This approach offers a range of benefits and advantages that make it a preferred method for many cultivators.
The Benefits of Liquid Culture Mushrooms
One of the primary benefits of using liquid culture to grow your mushrooms is faster colonization. With liquid culture, the mycelium can spread through the nutrient-rich medium more quickly than with traditional substrate methods.
Another advantage is increased yields. The liquid culture medium provides a more robust and consistent nutrient source for the fungus, which can lead to larger and more plentiful crop yields.
Additionally, using liquid culture offers a higher success rate than other methods, making it a more reliable and effective way to cultivate edible fungi at home.
Tip: If you’re new to mushroom cultivation, liquid culture is an excellent place to start. It’s a straightforward method that produces consistent results, making it a perfect choice for beginners.
Gathering the Required Materials
Before diving into making liquid culture mushrooms, it’s important to gather all the necessary materials. You’ll need:
|
Materials |
Why You Need It |
|---|---|
|
Pressure cooker or autoclave |
To sterilize equipment and medium |
|
Glass jars with lids |
To hold liquid culture solution and sterilized substrate |
|
Malt extract |
To provide nutrients for the liquid culture medium |
|
Agar |
To thicken the liquid culture medium and provide a surface for inoculation |
|
Spore syringe or mycelium culture |
To inoculate the liquid culture medium with mushroom spores or mycelium |
|
Sterilization bags or tin foil |
To cover and protect sterilized equipment and substrate |
|
Alcohol or bleach |
To sanitize surfaces and tools |
|
Heating pad or lamp |
To maintain optimal temperature during incubation |
These materials can be found online or at local gardening stores. It’s important to note that all equipment and surfaces must be sterilized to prevent contamination and ensure successful liquid culture mushroom growth.
Preparing and Sterilizing the Equipment

Before you begin making your liquid culture mushrooms, it’s crucial to properly sterilize all of your equipment to prevent contamination. Here’s a step-by-step guide:
- Clean your equipment: Thoroughly wash all of your equipment, including jars, lids, and other tools, in warm soapy water. Rinse off all soap residue with hot water and dry the equipment.
- Prepare a sterilization container: Fill a large pot or pressure cooker with enough water to cover your jars and equipment. Cover the container and bring the water to a boil.
- Place equipment in the container: Using tongs, carefully place your equipment, including jars and lids, into the boiling water. Ensure that they are fully submerged and not touching the sides of the pot or pressure cooker.
- Sterilize equipment: Allow the equipment to boil for at least 30 minutes, ensuring that the water stays at a constant boil. If using a pressure cooker, follow the manufacturer’s instructions for sterilization time.
- Let equipment cool: Once sterilization is complete, turn off the heat and let the equipment cool down in the water. Do not remove the equipment from the container until it has cooled down completely.
- Use sterilized equipment: Once the equipment has cooled down, remove it from the container using tongs or gloves. Be sure to handle the equipment carefully to prevent contamination.
By following these simple steps, you can ensure that your equipment is properly sterilized and ready for making liquid culture mushrooms.
Creating the Liquid Culture Solution
Creating the perfect liquid culture solution is the heart of the mushroom cultivation process. It provides the mycelium with the necessary nutrients to grow and thrive. To make your own liquid culture solution at home, you will need the following ingredients:
|
Ingredients |
Measurement |
|---|---|
|
Agar |
20 grams |
|
Malt extract |
20 grams |
|
Bacterial cellulose |
2 grams |
|
Distilled water |
1000 milliliters |
It’s essential to sterilize all equipment, including the ingredients, before making the solution. Follow the guidelines outlined in Section 4 to ensure proper sterilization.
Once the equipment is ready, follow these steps to create your liquid culture solution:
- Weigh out the agar, malt extract, and bacterial cellulose and mix them together in a heat-resistant container.
- Add the distilled water to the container and mix thoroughly to dissolve the ingredients.
- Place the container in a pressure cooker or autoclave and sterilize at 15 psi for 20 minutes.
- Allow the solution to cool before transferring it into sterilized jars.
It’s essential to avoid contamination during the transfer process to the jars. Use a laminar flow hood or work in a clean and sterile environment. Once the solution is in the jars, tighten the lids securely and sterilize the jars again for another 20 minutes.
Tip: Experiment with different ingredients and ratios to find the perfect blend for your desired mushroom species.
Inoculating the Liquid Culture Jars
Now that you have your liquid culture solution ready, it’s time to inoculate the sterilized jars. This step is crucial to ensure successful growth and prevent contamination.
Here’s a step-by-step guide to inoculating your liquid culture jars:
- Clean and sterilize your workstation: Before you start, clean and sterilize your workstation using a disinfectant spray and wiping it down with a clean cloth. This will help reduce the risk of contamination.
- Prepare your spores or mycelium: Depending on the species of mushroom you’re growing, you’ll need to prepare either spores or mycelium. If using spores, use a syringe to extract the spore solution and inject it into the jar. If using mycelium, break it up into small pieces and transfer it to the jar.
- Seal the jars: Once you’ve added the spores or mycelium to the jar, seal it tightly with a sterilized lid. You can use a layer of micropore tape to cover the injection port of the lid.
- Label and store the jars: Finally, label your jars with the date and the type of mushroom species you’re growing. Then, store them in a warm and dark environment, such as a closet or incubator.
Remember, it’s important to work in a clean and sterile environment throughout the inoculation process to prevent any unwanted contamination. Follow these steps carefully, and you’ll have healthy mycelium growth in no time!
Incubation and Cultivation
After you have successfully inoculated your liquid culture jars, it’s time to begin the incubation and cultivation process. This stage is critical for the growth and development of the mycelium, as it requires specific environmental conditions to thrive.
First and foremost, you’ll need to maintain the proper temperature range for your specific mushroom species. Most liquid culture mushrooms prefer a temperature range of 72-78°F (22-26°C) for optimal growth. You can use a thermometer to monitor the temperature and make adjustments accordingly.
Humidity is also an essential factor to consider during incubation and cultivation. The ideal humidity level for liquid culture mushrooms is between 90-95%. You can achieve this by using a humidifier or by covering the jars with a damp towel. Be sure to monitor the humidity levels regularly and adjust them as needed.
Lighting is not required during the incubation stage, but some liquid culture mushrooms may benefit from exposure to light during the cultivation phase. If you choose to use lighting, be sure to use low-level light sources such as fluorescent or LED bulbs. Excessive light can damage the mycelium and inhibit growth.
During the incubation and cultivation stage, it’s essential to check the jars regularly for signs of contamination or mold growth. If you notice any discoloration or foul odors, it’s best to discard the jar to prevent the contamination from spreading.
The incubation and cultivation stage typically lasts 2-4 weeks, depending on the specific mushroom species and environmental conditions. Once your liquid culture jars have fully colonized with mycelium, you can move on to the next stage of the process: transferring the liquid culture to a suitable fruiting substrate.
Transferring Liquid Culture to Fruiting Substrate

Congratulations! Your liquid culture jars have fully colonized, and it’s time to transfer the mycelium to a suitable fruiting substrate. This final step is critical for achieving healthy and fruitful mushroom growth.
First, you need to select a high-quality fruiting substrate. Popular choices include grain, sawdust, and straw. Make sure the substrate is fresh, free of contaminants, and has the right moisture content, typically around 70%.
Next, prepare the substrate by sterilizing it in a large pot or pressure cooker. Once sterilized, transfer the substrate to a sterile environment, such as a laminar flow hood or a glove box.
Then, use a sterile transfer tool, such as a scalpel or a syringe, to extract a small amount of mycelium from the liquid culture jar. Add the mycelium to the fruiting substrate and mix it well to distribute it evenly.
Once the substrate is inoculated, transfer it to a sterile container, such as a plastic tub or a large glass jar. Cover the container with a lid or a breathable material, such as a coffee filter or a micro-porous tape, to allow for gas exchange.
Finally, place the container in a suitable environment for fruiting, with the right temperature, humidity, and lighting conditions for your chosen mushroom species. Monitor the substrate regularly for signs of fruiting, such as pins or mushrooms.
Remember to maintain proper moisture levels and humidity during this stage, spraying the substrate with water as needed to prevent drying out.
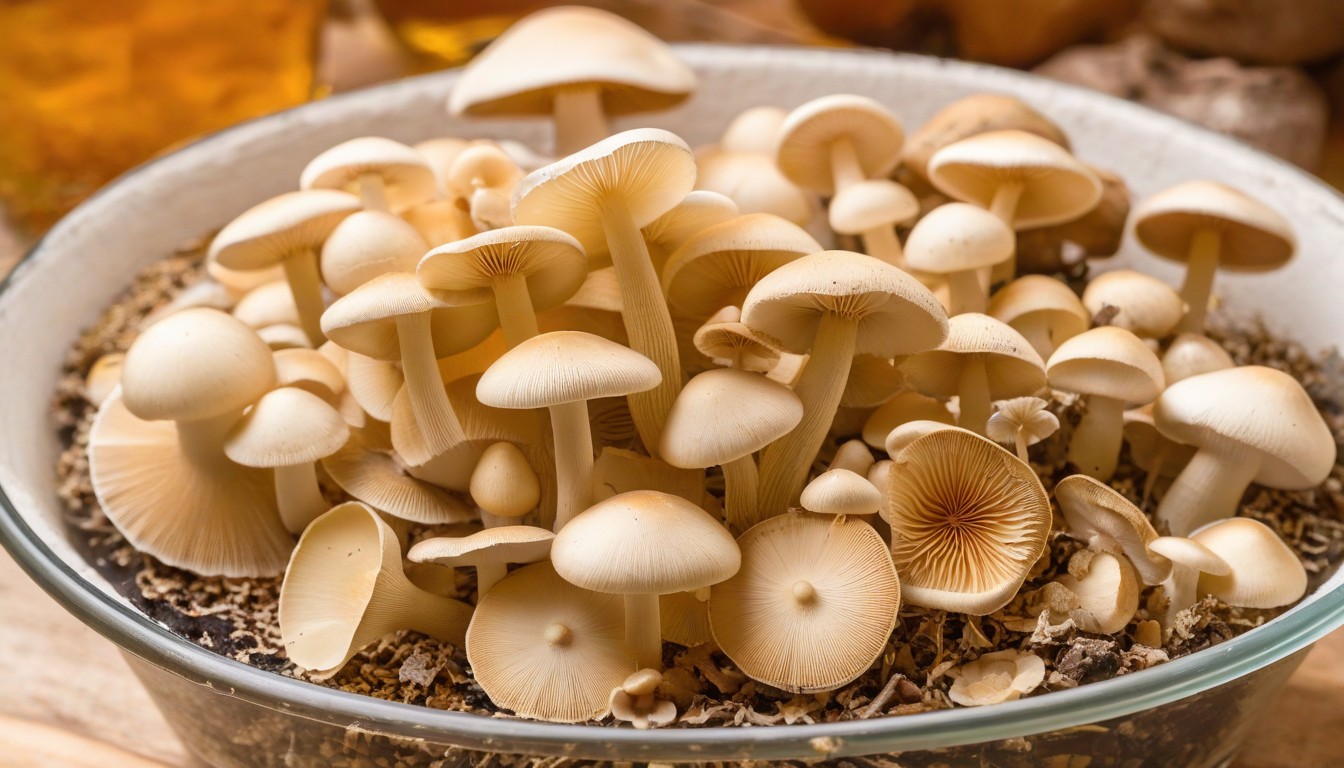
With patience and care, you’ll soon be rewarded with a bountiful harvest of delicious and nutritious mushrooms!
Conclusion
Now that you have completed our step-by-step guide on how to make liquid culture mushrooms, you are well-equipped to start your own mushroom cultivation journey. Remember, practice, patience, and attention to detail are the keys to success when it comes to growing mushrooms.
Experiment with Mushroom Species and Techniques
Don’t be afraid to experiment with different mushroom species and growing techniques to find what works best for you. Liquid culture mushrooms offer a wide variety of options to choose from, so feel free to mix and match to your heart’s content.
Enjoy the Rewarding Experience of Growing Your Own Mushrooms at Home
There’s nothing quite like the satisfaction of growing and harvesting your own food, and mushrooms are no exception. With a little effort and care, you can enjoy the delicious flavor and nutritional benefits of freshly grown mushrooms right from your own home. Happy cultivating!
FAQ
What are liquid culture mushrooms?
Liquid culture mushrooms refer to a method of cultivating mushrooms using a liquid medium instead of traditional solid substrates. This technique allows for faster colonization, increased yields, and a higher success rate.
What are the benefits of using liquid culture mushrooms?
There are several advantages to using liquid culture mushrooms. They tend to colonize faster, resulting in shorter cultivation times. Liquid culture also allows for easier and more precise inoculation, leading to higher success rates. Additionally, liquid culture can produce larger yields compared to other cultivation methods.
What materials do I need to make liquid culture mushrooms?
To make liquid culture mushrooms, you will need sterilization equipment (such as a pressure cooker), glass jars, lids, agar, malt extract, spore syringes or mycelium, and sterile technique supplies, such as gloves and alcohol wipes.
How do I sterilize the equipment for liquid culture mushrooms?
Proper sterilization is crucial to prevent contamination in liquid culture mushroom cultivation. You can sterilize the equipment by washing them thoroughly, then using a pressure cooker or autoclave to subject them to high heat and pressure for a specified period. This process ensures a clean and sterile environment for your mushrooms to grow.
How do I create the liquid culture solution?
To create the liquid culture solution, you will need to mix agar, malt extract, and other additives with water. This mixture is then sterilized to eliminate any potential contaminants. The resulting solution provides the necessary nutrients for mushroom growth.
How do I inoculate the liquid culture jars?
Inoculating the liquid culture jars involves transferring spores or mycelium into the sterilized jars using a syringe or other inoculation tools. This step is crucial for introducing the desired mushroom species into the liquid culture medium. The jars should then be sealed to prevent contamination.
What conditions are required for incubation and cultivation?
During incubation and cultivation, maintaining the optimal temperature, humidity, and lighting conditions is crucial. The temperature should be kept within a specific range depending on the mushroom species, typically between 70-80°F (21-27°C). Humidity levels should be around 90% to promote mycelium growth. Lighting is not necessary during this stage.
How do I transfer liquid culture to a fruiting substrate?
Once the liquid culture jars have fully colonized with mycelium, it’s time to transfer them to a fruiting substrate. This involves selecting a suitable substrate, such as grain or sawdust, and transferring the mycelium to it. Maintaining proper moisture levels and humidity during this stage is essential for successful fruiting.