
In this comprehensive guide, we will show you how to preserve your favorite mushrooms in a simple and efficient manner right in your own kitchen. Canning mushrooms is a great way to preserve their taste and texture for an extended period, and it can be done without the need for a pressure cooker.
Follow our step-by-step instructions, and learn all about the advantages of preserving mushrooms at home and why opting for a pressure cooker-free method can be a great option. We cover everything from selecting the right mushrooms and preparing them for canning to packing the jars and storing them for future use.
Key Takeaways
- Preserving mushrooms at home is a great way to extend their shelf life and enjoy their taste and texture for an extended period.
- You can can mushrooms without a pressure cooker by following our step-by-step instructions and tips.
- Choosing the right mushrooms and preparing them properly is crucial for a safe and delicious canned product.
- Creating a delicious canning liquid is an essential part of the process and can enhance the flavor of the mushrooms when consumed.
- Proper storage is crucial for maintaining the quality and extending the shelf life of your canned mushrooms.
Introduction to Canning Mushrooms
Are you looking to preserve your favorite mushrooms at home? Canning mushrooms is an excellent option for extending their shelf life and enjoying them throughout the year. In this section, we will explore the basics of canning mushrooms, including the benefits and why you should consider this preservation method. Let’s dive in!
The Benefits of Canning Mushrooms
Canning mushrooms offers several benefits, including:
- Preserving the flavor and texture of the mushrooms
- Extending the shelf life of your mushrooms
- Making it easy to use mushrooms in your recipes throughout the year
Introduction to Canning Mushrooms
Before we get started with the canning process, let’s review some essential information about canning mushrooms. First, it’s important to select the right mushrooms for canning. Not all mushrooms are suitable for this preservation method, so it’s essential to choose species that can hold up well during the canning process. Additionally, proper cleaning and preparation of the mushrooms and canning jars are crucial to ensure the safety of the final product.
Canning mushrooms can be a rewarding and enjoyable process that allows you to preserve your favorite fungi in a simple and efficient manner. In the next sections, we will explore the specific steps involved in canning mushrooms without a pressure cooker.
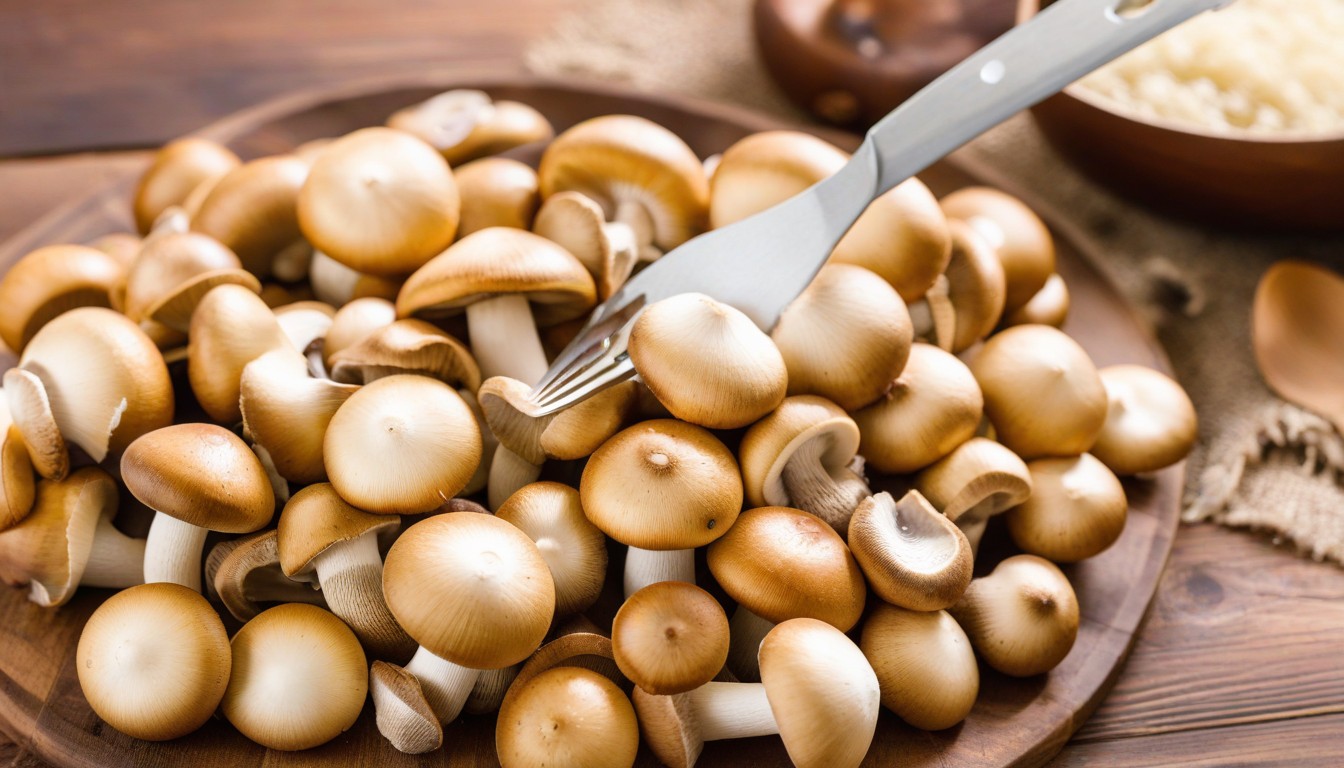
Choosing the Right Mushrooms for Canning
Before starting the canning process, it is crucial to select the best mushrooms for canning. Not all mushroom types are suitable for canning, and choosing the wrong one can lead to a disappointing finished product.
Here are some of the popular mushrooms that are suitable for canning:
|
Mushroom Type |
Description |
|---|---|
|
Button mushrooms |
A versatile and mild-flavored mushroom that is widely available. |
|
Portobello mushrooms |
A meaty and flavorful mushroom that holds up well during canning. |
|
Shiitake mushrooms |
An earthy and robust mushroom that adds depth of flavor to dishes. |
If you want to experiment with other types of mushrooms, make sure to research their suitability for canning and follow tested recipes.
Here are some factors to consider when selecting mushrooms for canning:
- Choose fresh and firm mushrooms that are free from blemishes or soft spots.
- Be mindful of the mushroom size – smaller mushrooms tend to hold up better during the canning process.
- Consider the mushroom flavor – select mushrooms that complement the canning liquid you plan to use.
By keeping these tips in mind, you can ensure that you are selecting the best mushrooms for canning, and your finished product will be both safe and delicious.
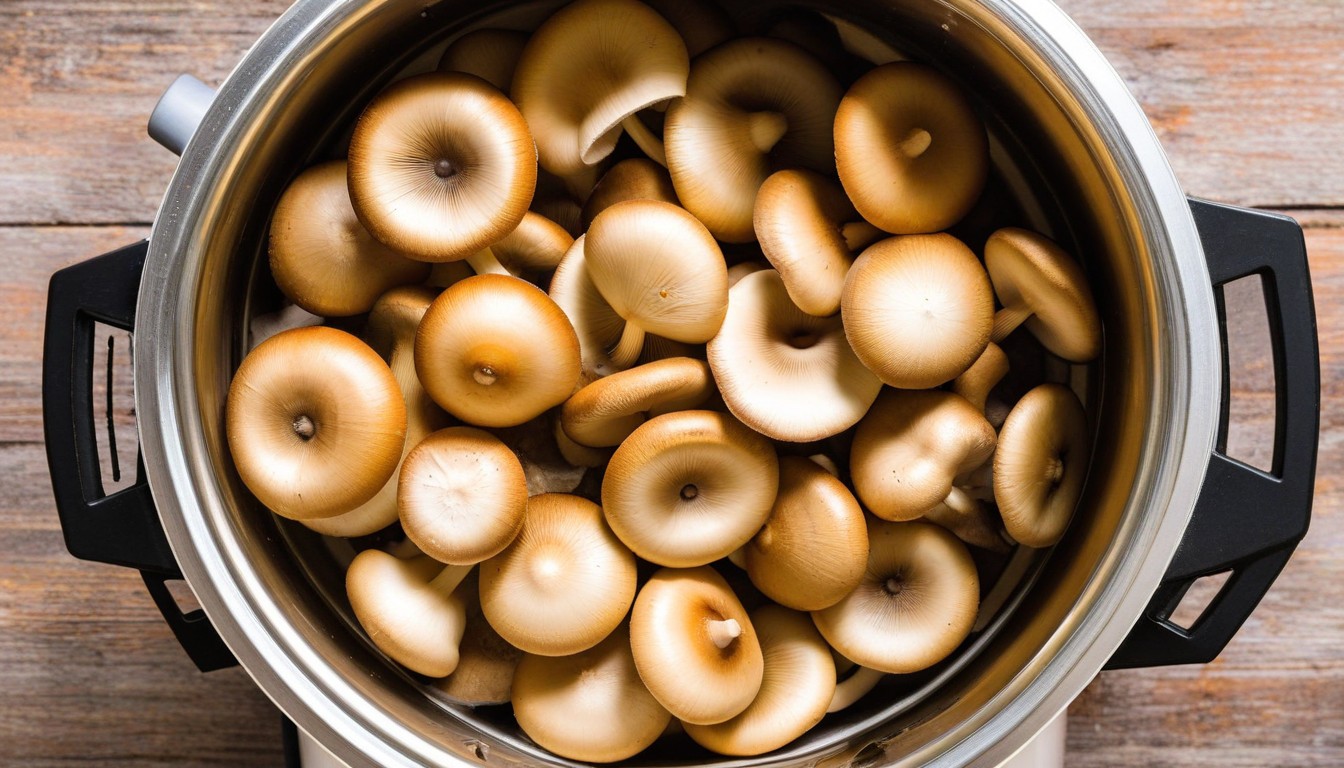
Preparing and Cleaning Mushrooms for Canning
Properly preparing and cleaning mushrooms is a vital step in the canning process. This ensures that the mushrooms are free of dirt, debris, and bacteria, making them safe for consumption. Here are the necessary steps to follow:
Selecting Mushrooms
Choose fresh mushrooms that are free of blemishes or soft spots. It is best to use mushrooms that are firm and have a tight cap. Avoid using mushrooms that are slimy or have a foul smell, as they may not be safe for consumption.
Cleaning Mushrooms
Cleaning mushrooms helps remove dirt and debris that may be present on them. Start by wiping the mushrooms with a damp cloth or paper towel to remove any surface dirt. Avoid washing mushrooms with water as they can absorb moisture, leading to spoilage.
Next, use a small brush, such as a toothbrush, to gently remove any remaining dirt or debris from the mushrooms. Use a clean cloth or paper towel to pat the mushrooms dry.
Preparing Mushrooms
Trim the mushroom stems and any discolored or blemished areas. Slice them to your desired size or leave them whole, depending on your preference.
Some mushrooms, such as shiitake, may have tough stems that need to be removed. Use a sharp knife to carefully cut off the stems, taking care not to damage the mushroom cap.
Now that your mushrooms are clean and prepped, you can move on to preparing the canning jars.
Preparing and Sterilizing Canning Jars
Before starting the canning process, it is important to ensure that your canning jars are clean and sterile. Sterilizing canning jars helps to prevent the growth of harmful bacteria, making sure that your canned mushrooms are safe to eat.
Follow these simple steps to prepare and sterilize your canning jars:
- Wash your canning jars and lids with hot, soapy water, and rinse them thoroughly.
- Place the jars and lids in a large pot of water, making sure that they are fully submerged.
- Bring the water to a boil and let the jars and lids boil for at least 10 minutes. If you live at an altitude higher than 1,000 feet, add an additional minute of boiling time for each additional 1,000 feet, up to a maximum of 15 minutes.
- Use a pair of tongs to remove the jars and lids from the pot and place them on a clean, dry towel.
- Allow the jars and lids to cool completely before filling them with your mushrooms.
It is essential to sterilize your canning jars to prevent spoilage. If you are using old jars, make sure to inspect them closely for any cracks or chips that could prevent a good seal. You can reuse canning jars, but make sure to replace the lids and rings with new ones for optimal results.
Preparing the Canning Liquid
Creating a flavorful canning liquid is crucial to elevating the taste of your canned mushrooms. The liquid will also act as a preservative, ensuring the mushrooms remain safe and delicious for an extended period.
Note: This recipe is for a basic canning liquid. Feel free to adjust the spices, vinegar, sugar, and salt to your liking.
|
Ingredients: |
Instructions: |
|---|---|
|
4 cups of water |
In a large pot, add 4 cups of water and bring to a boil. |
|
1 cup of white vinegar |
Add 1 cup of white vinegar to the boiling water. |
|
1 teaspoon of sugar |
Add 1 teaspoon of sugar to the mixture and stir until dissolved. |
|
1 teaspoon of salt |
Add 1 teaspoon of salt to the mixture and stir until dissolved. |
|
1 teaspoon of whole peppercorns |
Add 1 teaspoon of whole peppercorns to the mixture and stir. |
|
1 teaspoon of dried thyme |
Add 1 teaspoon of dried thyme to the mixture and stir. |
|
1 bay leaf |
Add 1 bay leaf to the mixture and stir. |
|
Optional: other spices to taste |
Add any additional spices to the mixture as desired. |
Bring the mixture to a boil and then reduce the heat to a simmer. Let the mixture simmer for 5-10 minutes to allow the flavors to meld. You can taste the liquid to adjust the seasoning if needed.
Your canning liquid is now ready to be used.
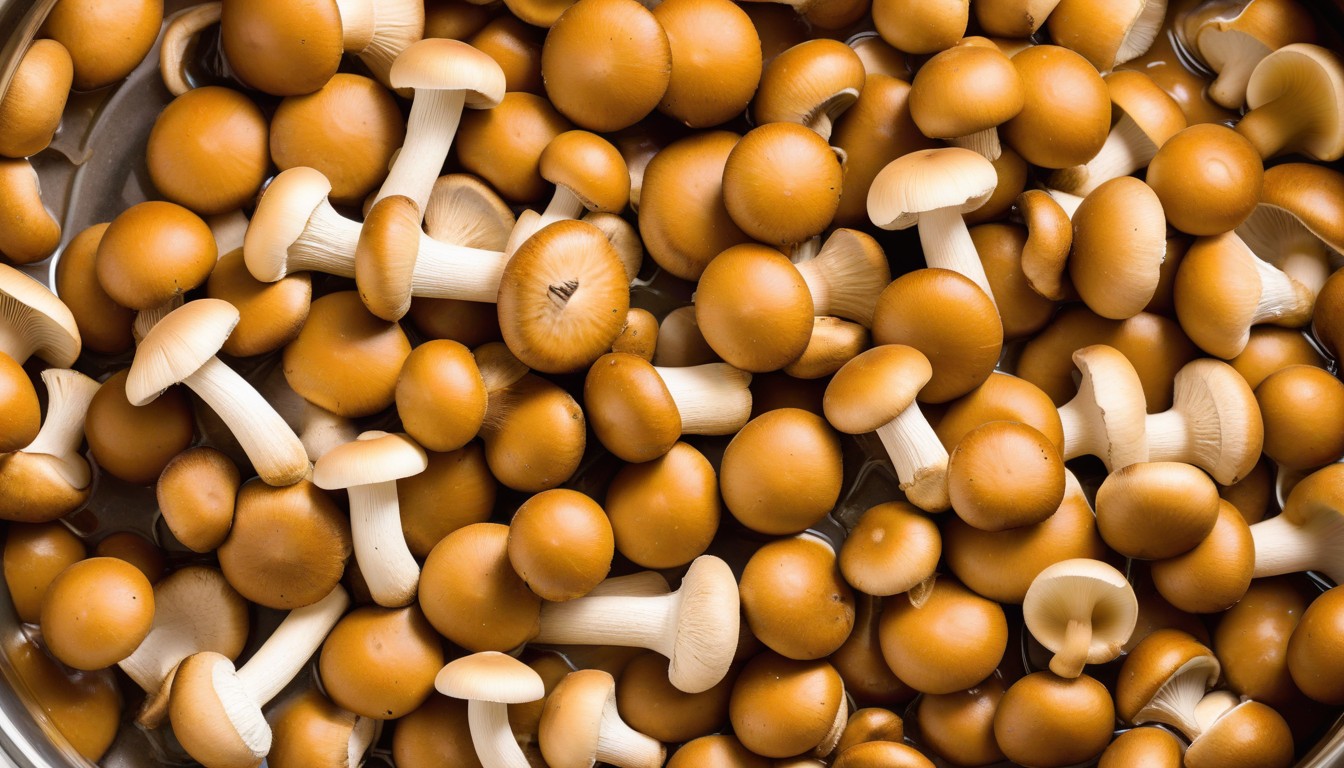
Packing the Mushrooms in Jars

Now that you have your mushrooms cleaned and prepared, it’s time to pack them into your canning jars. This step is crucial to ensure that the mushrooms are preserved correctly and retain their quality for an extended period.
Here’s how to pack your mushrooms in jars:
- Fill a large pot with water and bring it to a boil.
- Submerge your canning jars and lids into the boiling water and let them boil for at least 10 minutes to sterilize them.
- Remove the jars and lids from the water and let them cool on a clean towel or rack.
- Place a funnel in the first jar and begin filling it with mushrooms. Pack them tightly, but avoid cramming them in the jar. Leave about an inch of space at the top of the jar.
- Once you’ve packed the first jar, wipe the rim with a clean damp cloth to remove any debris.
- Place the lid on top of the jar and screw on the band until it is fingertip tight.
- Repeat the process for each jar, filling them with mushrooms, wiping the rims and sealing them with the lids.
Note: It’s important to leave some space at the top of the jar to allow for the expansion of the mushrooms during processing.
With your jars full and securely sealed, you’re now ready to move on to the next step: processing and sealing the jars.
Processing and Sealing the Jars
After the mushrooms are packed in the jars with the canning liquid, it’s time to process and seal the jars to ensure their long-term preservation. While a pressure cooker is a popular tool for processing canned goods, it’s not a requirement for canning mushrooms. Here, we’ll discuss alternative methods for processing and sealing the jars without the use of a pressure cooker.
To process the jars, place them in a large pot and cover with water. Make sure water level is about two inches above the jars. Bring the water to a boil and let it boil for the recommended processing time, which can vary depending on your altitude and the size of the jars. Check the processing time chart for your area to determine the appropriate time. Once the processing time is complete, turn off the heat and carefully remove the jars from the water using jar lifter tongs.
Sealing the jars without a pressure cooker is similar to sealing them with a pressure cooker. After processing the jars, let them cool for about twelve hours and then test the seals. Press down on the center of the lid; if it doesn’t move, it’s sealed correctly. If the lid moves, the jar hasn’t sealed, and it should be refrigerated and consumed within a week. Store the sealed jars in a cool, dry place, away from direct sunlight. Properly processed and sealed jars can be stored for up to one year.
Storing and Shelf Life of Canned Mushrooms
Properly storing your canned mushrooms is essential to ensure their quality and prolong their shelf life. Here are some tips on how to store your canned mushrooms:
- Store your canned mushrooms in a cool, dark, and dry place, away from direct sunlight, heat sources, and humidity.
- Avoid storing your canned mushrooms in the garage, attic, or basement, as temperature and humidity fluctuations can spoil the product.
- Make sure the storage area is clean and free from pests or rodents that can damage the jars.
- Place the jars on a shelf or a rack to keep them organized and easily accessible.
When it comes to the shelf life of canned mushrooms, it can vary based on various factors, such as the type of mushroom, the canning method used, and the storage conditions. Here is a rough estimate of the shelf life of canned mushrooms:
|
Type of Mushroom |
Shelf Life |
|---|---|
|
Button mushrooms |
2-5 years |
|
Portobello mushrooms |
2-5 years |
|
Shiitake mushrooms |
2-3 years |
|
1-3 years |
It’s important to note that these are just estimates, and the actual shelf life may vary. To ensure the safety and quality of your canned mushrooms, it’s recommended to use them within the first 2-3 years of canning and to discard any jars with signs of spoilage, such as bulging lids, unusual odors, or discoloration.
Using Canned Mushrooms in Your Recipes
Canned mushrooms are a versatile ingredient that you can easily incorporate into many dishes. Here are some recipe ideas to get you started:
Mushroom Soup
Homemade mushroom soup is a classic dish that can be made with either fresh or canned mushrooms. For a simple recipe, sauté diced onions and garlic in a pot until softened. Add in sliced mushrooms, chicken or vegetable broth, and a dash of heavy cream. Let the soup simmer until the mushrooms are tender and the flavors have melded together. Season with salt and pepper to taste and garnish with chopped parsley. Serve hot with crusty bread or crackers.
Mushroom Risotto
Risotto is a creamy and delicious Italian dish that can be made with canned mushrooms. Sauté sliced mushrooms in butter or olive oil until they release their moisture and become tender. Add in Arborio rice and cook until the rice is slightly toasted. Gradually add in hot chicken or vegetable broth, stirring continuously until the rice is cooked through. Stir in grated Parmesan cheese, salt, and pepper, and serve hot.
Mushroom and Spinach Quiche
A quiche is a savory pie that can be customized with different ingredients. For a mushroom and spinach quiche, start by blind-baking a pie crust. In a separate pan, sauté sliced mushrooms with garlic and spinach until the mushrooms are tender. Beat eggs and milk in a separate bowl, and then add the mushroom and spinach mixture to the bowl. Pour the mixture into the pie crust and bake in the oven until the filling is set and the top is golden brown.
Mushroom and Chicken Stir-Fry
A stir-fry is a quick and easy meal that can be made with canned mushrooms. For a mushroom and chicken stir-fry, start by marinating sliced chicken breast in soy sauce and cornstarch. Sauté the chicken in a wok or large pan until browned, and then remove from the pan. Sauté sliced mushrooms with ginger and garlic until tender, and then add the chicken back into the pan. Add in your choice of vegetables, such as snow peas or broccoli, and stir-fry until the vegetables are cooked through. Serve hot with rice or noodles.
Conclusion
In conclusion, canning mushrooms without a pressure cooker is an excellent option for preserving mushrooms at home. By following the step-by-step instructions and tips outlined in this guide, you can enjoy the flavors of freshly canned mushrooms from the comfort of your own kitchen. Plus, opting for this method allows you to avoid the need for a pressure cooker, making the process simpler and more accessible to everyone.
Remember to choose the right mushrooms, prepare them properly, pack them carefully, and process and seal the jars correctly. Once you have your canned mushrooms, store them in a dry and cool place to increase their shelf life. And don’t forget to get creative in the kitchen by exploring new recipes that incorporate your canned mushrooms.
So, whether you’re an experienced home canner or a beginner looking to try something new, canning mushrooms without a pressure cooker is an option you won’t regret trying. Enjoy the delicious taste of freshly canned mushrooms all year round, and take pride in knowing that you did it all yourself without the need for expensive equipment or special skills.
FAQ
What are the advantages of canning mushrooms without a pressure cooker?
Canning mushrooms without a pressure cooker provides a simple and efficient way to preserve your favorite fungi at home. It eliminates the need for specialized equipment and allows you to enjoy the flavors of freshly canned mushrooms with minimal hassle.
How do I select the right mushrooms for canning?
When choosing mushrooms for canning, it’s essential to select varieties that hold up well during the canning process. Look for mushrooms with a firm texture, such as button mushrooms or cremini mushrooms, as they tend to withstand canning better than more delicate varieties.
What are the necessary steps for preparing and cleaning mushrooms before canning?
To prepare and clean mushrooms for canning, start by trimming the stems and removing any dirt or debris. Rinse them briefly under running water, being careful not to soak them as mushrooms absorb water easily. Pat them dry with a clean towel before proceeding with the canning process.
How do I sterilize canning jars for mushrooms?
To sterilize canning jars for mushrooms, wash them thoroughly with hot, soapy water. Rinse them well and place them in a large pot of boiling water, ensuring they are fully submerged. Boil the jars for 10 minutes, then carefully remove them from the water and allow them to air dry on a clean towel.
What canning liquid should I use for mushrooms?
The canning liquid for mushrooms can be a combination of water, vinegar, spices, and herbs to enhance the flavors of the mushrooms. It’s important to follow a trusted recipe to ensure the right balance of flavors and acid levels for safe canning.
How do I properly pack mushrooms in canning jars?
To pack mushrooms in canning jars, start by placing them in the jar tightly, leaving enough headspace at the top. Gently press down on the mushrooms to remove any air pockets and ensure they are evenly distributed. Add the canning liquid, leaving the recommended headspace as indicated in the recipe.
Can I process and seal canning jars without a pressure cooker?
Yes, there are alternative methods for processing and sealing canning jars without a pressure cooker. One method is the water bath canning method, which involves submerging the jars in boiling water for a specified period. Another option is using a steam canner, which utilizes steam to achieve the necessary processing temperature.
How should I store canned mushrooms, and what is their shelf life?
Store canned mushrooms in a cool, dark place, such as a pantry or cellar. The shelf life of canned mushrooms can vary, but they can generally last up to 1-2 years if stored properly. It’s important to check for any signs of spoilage before consuming.
How can I use canned mushrooms in my recipes?
Canned mushrooms can be a convenient addition to various recipes. Use them in soups, stews, stir-fries, pasta dishes, or even as a topping for pizzas. Their preserved nature allows for easy incorporation into meals without the need for immediate use.